

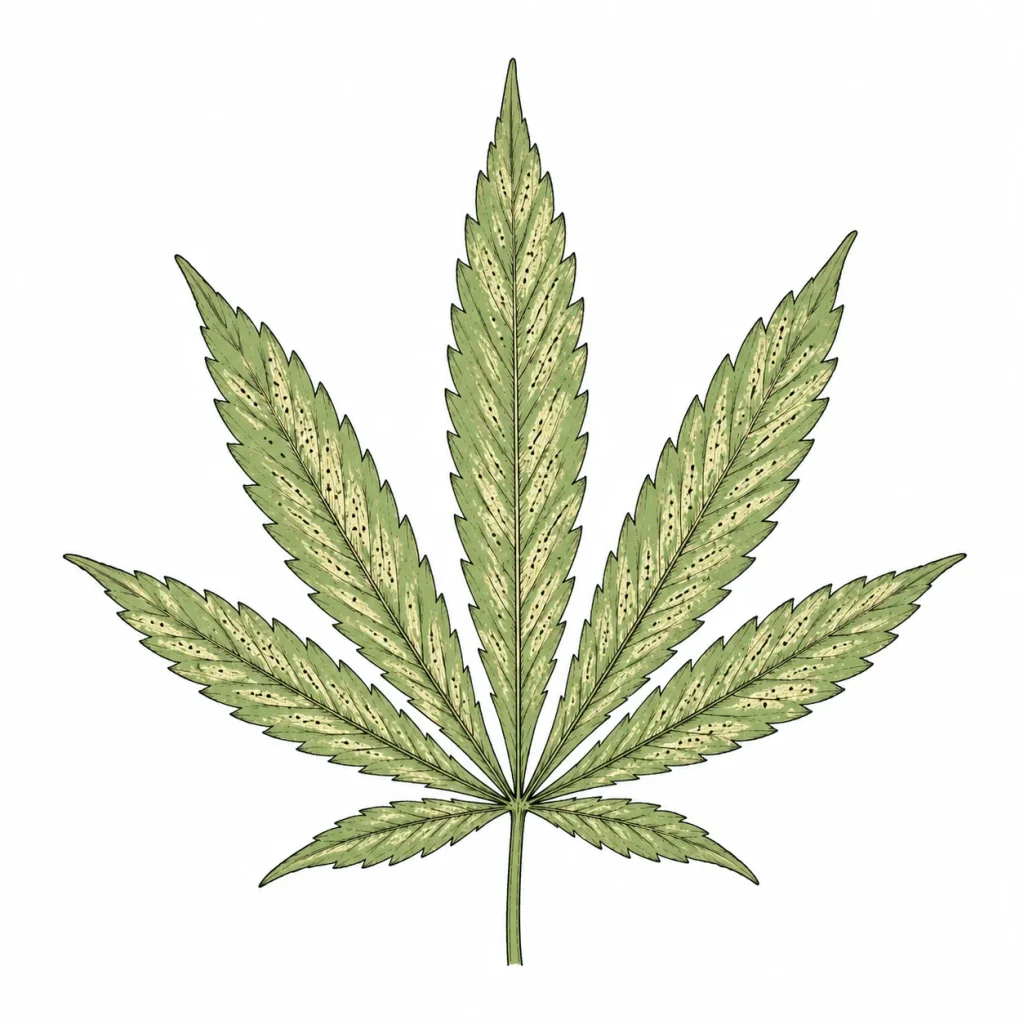
Spotting thrips on cannabis is a real challenge for many growers. These tiny insects are barely visible to the naked eye, and the damage they leave behind often gets mistaken for other problems. If you act too late, you risk serious yield losses, up to losing your buds entirely. In this article, PlantClue shows you how to identify thrips with confidence, what damage they cause and which methods work best to get rid of them. On the PlantClue plant diagnosis overview, you can also compare all the other pest and disease symptoms side by side.
What Are Thrips and Why Are They Dangerous for Cannabis?
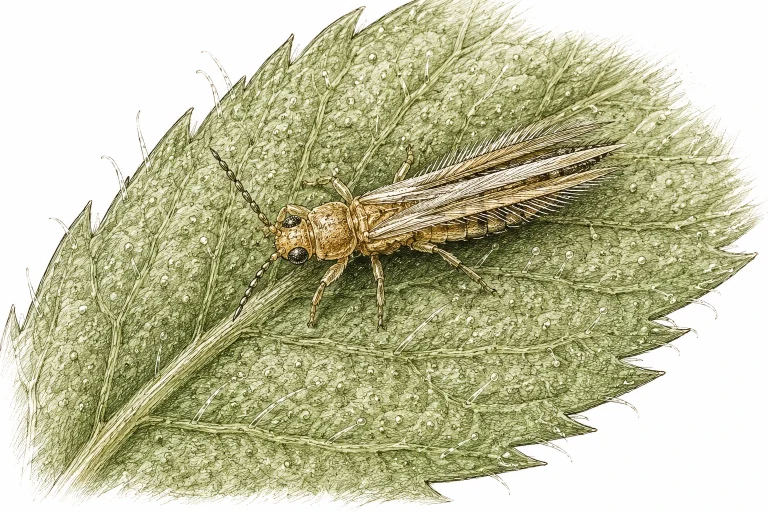
Thrips (scientific name: Thysanoptera) are tiny insects with fringed wings, usually just 0.02 to 0.08 in (0.5 to 2 mm) long. There are more than 6,000 known species worldwide, but for cannabis growers two matter most: the western flower thrips (Frankliniella occidentalis) and the onion thrips (Thrips tabaci). Both suck the cell sap out of your plant’s leaves and buds, causing lasting tissue damage.
What makes thrips so dangerous is how fast they multiply. Under ideal conditions (warm, dry and well heated), a population can explode within just a few weeks. Females lay their eggs right inside the plant tissue. That makes the larvae hard to reach and harder to control. On top of that, thrips can spread plant viruses such as TSWV (tomato spotted wilt virus), which can cause even more damage.
Thrips are a common problem in indoor grows, because the controlled, warm conditions give them a perfect place to live. In outdoor growing, wind, other plants and garden soil often bring in new ones. The bottom line: the earlier you spot thrips on your cannabis, the easier they are to control and the less damage your plants take.
- Size: 0.02–0.08 in (0.5–2 mm), barely visible to the naked eye
- Color: whitish-yellow (larvae), brown to black (adults)
- Fringed wings on adults
- Fast reproduction: several generations per season are possible
- Can transmit plant viruses
How to Spot Thrips on Cannabis: Symptoms and Damage You Should Know
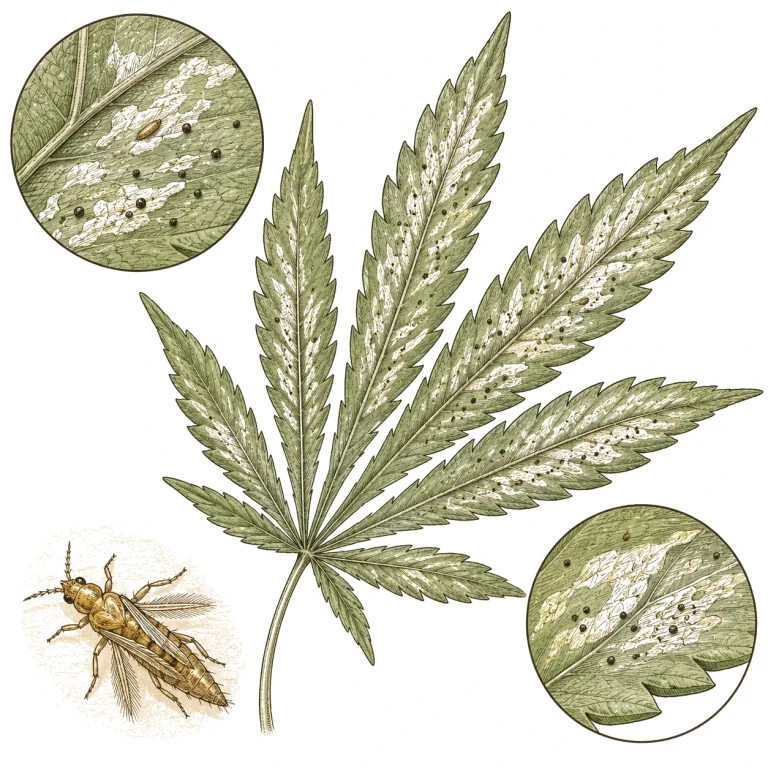
The most typical sign of a thrips infestation is shiny, silvery, irregular patches on the top of the leaves. They show up because thrips pierce the cells and suck out the contents. The empty cells reflect light differently than healthy tissue. These symptoms often get mistaken for magnesium deficiency, spider mites or mechanical damage, so a close inspection is important.
Next to the silvery feeding marks, you’ll often find tiny black specks of droppings on or under the leaves. These dark dots are a clear giveaway for thrips and set the infestation apart from a simple deficiency. Infested leaves can also curl slightly, become deformed or turn yellow, especially with a heavy infestation. Always check both sides of the leaves, since larvae like to hide on the undersides.
At a later stage, especially during the flowering stage, thrips also work their way into the buds and feed on the delicate flower tissue. This can leave you with discolored, damaged buds and seriously hurt the quality of your harvest. A loupe with at least 10x magnification helps you spot larvae and adults directly. Also use yellow sticky traps: thrips are strongly attracted to the color yellow and get stuck on them, which makes these traps a must for early detection.
- Shiny, silvery, irregular feeding marks on the tops of the leaves
- Tiny black specks of droppings on and under the leaves
- Curling, deformed or yellowing leaves
- Infested buds with discolored, damaged flower tissue
- Visible larvae (whitish) or adults (yellowish-brown to black) under a loupe
- Yellow sticky traps with caught insects as an early warning system
Telling Thrips Apart from Other Damage: The Most Common Mix-Ups
For a complete overview of all possible mix-ups, check out White Spots on Cannabis Leaves: Thrips, Spider Mites or Powdery Mildew? and the big pest overview.
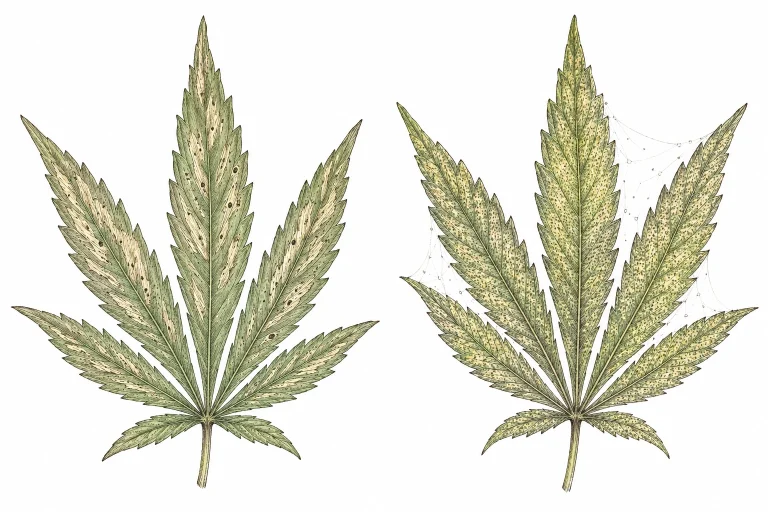
Thrips damage can look like other problems at first, so a clear diagnosis matters. Spider mites also leave silvery dots. But those come from tiny puncture marks (stippling) that are spread more evenly than thrips feeding marks. In a heavy infestation, spider mites also spin fine webbing on leaves and stems. You won’t see that with thrips.
Deficiencies such as a calcium deficiency in cannabis cause necrosis and brown spots too. These usually start at the leaf edges or tips, and they don’t come with tiny droppings. That’s the key difference: with thrips, you’ll almost always find the telltale black specks of frass. Pure nutrient deficiencies don’t have them. Also check the pH of your cannabis grow. The wrong pH can trigger deficiency symptoms that look like thrips damage.
Nutrient burn in cannabis can also cause curled, misshapen and discolored leaves that are easy to mistake for thrips feeding. Look at the big picture: nutrient burn usually shows up across the whole plant, while thrips damage starts in one spot and then spreads. When in doubt, grab a magnifying glass or jeweler’s loupe and actively look for the bugs or their droppings.
- Spider mites: even stippling + webbing, no black droppings
- Nutrient deficiency: necrosis with no droppings and no bugs
- Nutrient burn: symptoms across the whole plant
- Thrips: silvery feeding marks + black droppings + bugs visible under a loupe
- Yellow sticky traps give you clear proof of a thrips infestation
How to Get Rid of Thrips on Cannabis: Organic and Chemical Options
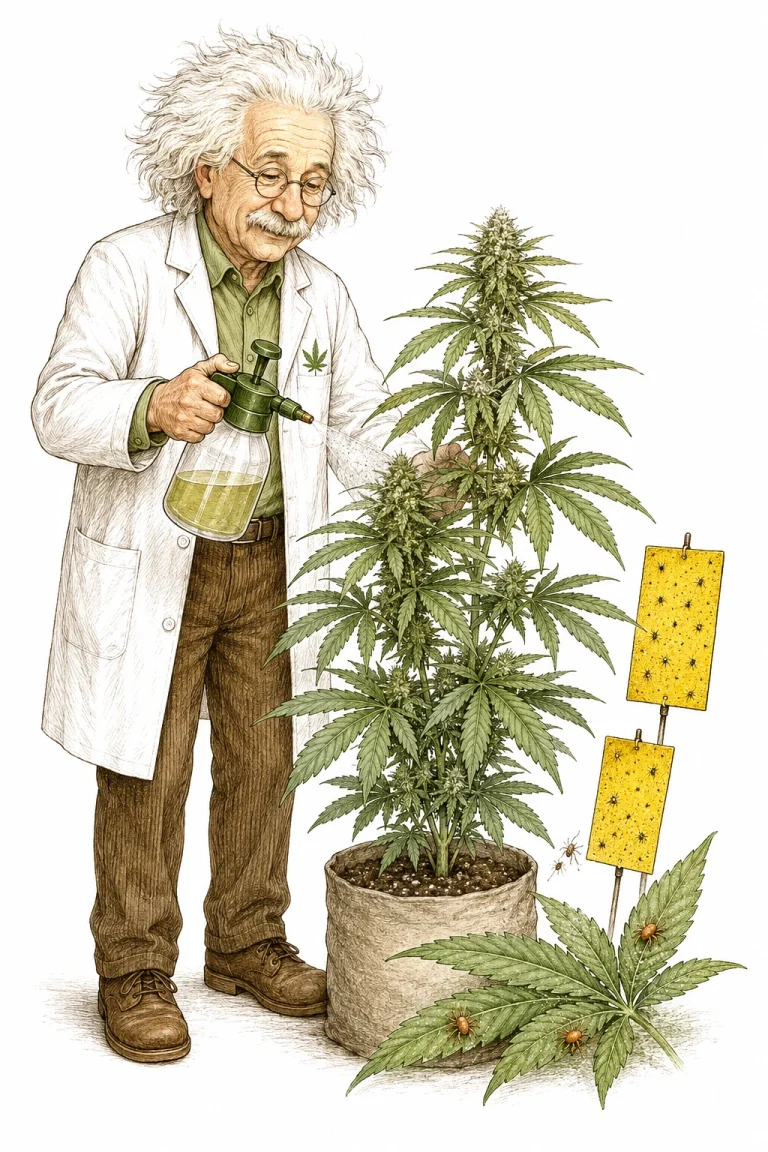
The good news: if you catch thrips early, you can get them under control. Always start with organic methods so you don’t put your harvest at risk or throw your grow’s ecosystem off balance. Neem oil is one of the most proven options. It disrupts the thrips’ hormone system, stops the larvae from molting and works as a preventive at the same time. Mix 5–10 ml of cold-pressed neem oil with a little liquid soap in 1 qt (1 L) of water and spray the whole plant, especially the undersides of the leaves. Repeat every 3–4 days for at least 2 weeks.
Beneficial insects are especially effective in an indoor grow. The predatory mites Amblyseius cucumeris (German) and Amblyseius swirskii specialize in thrips larvae and keep the population down for the long haul. The Bavarian Garden Academy (LWG, in German) explains more about using beneficial insects against houseplant pests. For heavier infestations, minute pirate bugs (Orius species) are a great choice, since they eat both larvae and adult thrips. You can order these beneficials from garden centers or specialty suppliers and simply release them on your plants. For best results, pair them with sticky traps to catch any adults that slip past your beneficials.
Insecticidal soap (potassium soap) sprays dry out the soft bodies of larvae and adults on contact. It’s cheap, gentle on plants and works fast. Pyrethrum extracts made from chrysanthemums also work well, but use them with care, since they can harm beneficial insects too. Insecticides like spinosad, which comes from soil bacteria and is approved for organic use, are a strong option for severe infestations. Same rule here, though: never use them shortly before harvest.
Remember to rotate your treatments to prevent resistance. Switch between neem oil, insecticidal soap and beneficial insects. Always treat every plant in your grow, even if only a few look infested – thrips move fast. After treatment, give your whole grow tent or grow area a thorough cleaning, remove any residue and check your ventilation. Poor air circulation and high temperatures can make thrips problems much worse.
- Neem oil: about 20–38 ml/gal (5–10 ml/L) of water + emulsifier, spray every 3–4 days
- Insecticidal soap (potassium soap): dries out larvae and adults on contact
- Predatory mites (Amblyseius cucumeris/swirskii): specialize in larvae
- Minute pirate bugs (Orius spp.): eat larvae AND adults
- Pyrethrum extract: effective, but use with care (harms beneficials)
- Spinosad: approved for organic use, very effective against heavy infestations
- Yellow sticky traps: catch adults and help you monitor at the same time
Preventing Thrips on Cannabis: How to Protect Your Grow for Good
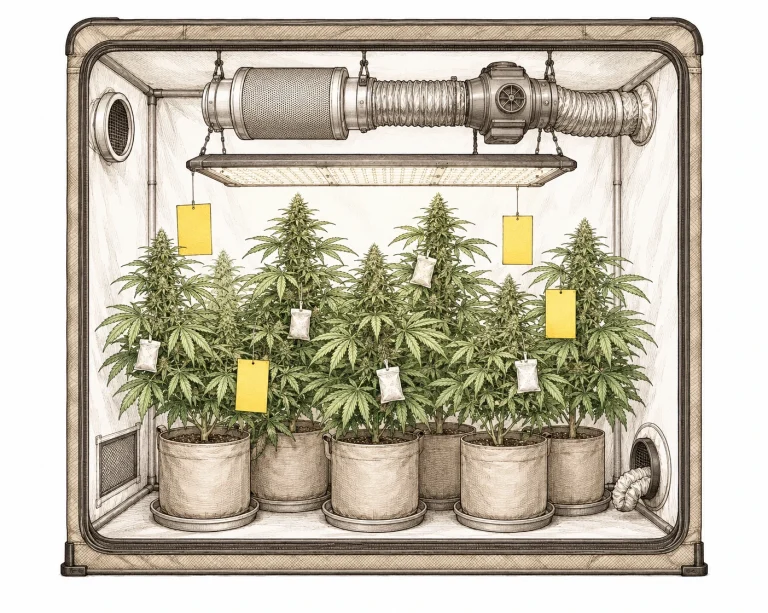
With thrips, prevention works better than any treatment. Your strongest defense is strict quarantine for new plants and clones. Keep anything new in a separate area for at least a week and watch it closely before it goes into your main grow. Check new growing medium, fresh soil and seedling pots too. Thrips can hide in the soil as eggs or larvae.
Keep the humidity (relative humidity, RH) in your grow between 40 and 60 percent and make sure air circulation is strong enough. Thrips love hot, dry conditions. A humid, well-ventilated space is far less attractive to them. A solid watering routine matters here too, because drought-stressed plants are more vulnerable to all kinds of pests. Check your plants regularly with a magnifier and keep yellow sticky traps hanging at all times. That way you can catch an infestation right away.
As a preventive step, hang predatory mite sachets (slow-release bags) on your plants. They release beneficial insects steadily and keep thrips numbers low before a real population can build up. Outdoors, companion planting helps. Lavender, basil and marigolds near your cannabis plants keep many pests away and attract beneficial insects at the same time. Keep your grow area clean, remove dead plant material right away and disinfect your tools regularly.
- Quarantine new plants and clones: watch them for at least 7 days
- Keep humidity at 40–60 % and maintain good ventilation
- Keep yellow sticky traps up at all times and check them weekly
- Use predatory mite sachets as a preventive measure
- Companion plants outdoors: lavender, basil, marigolds
- Keep your grow area clean and remove dead plant material
- Disinfect tools and pots after every use
Thrips in the Flowering Stage: What to Do When You Spot Them Late
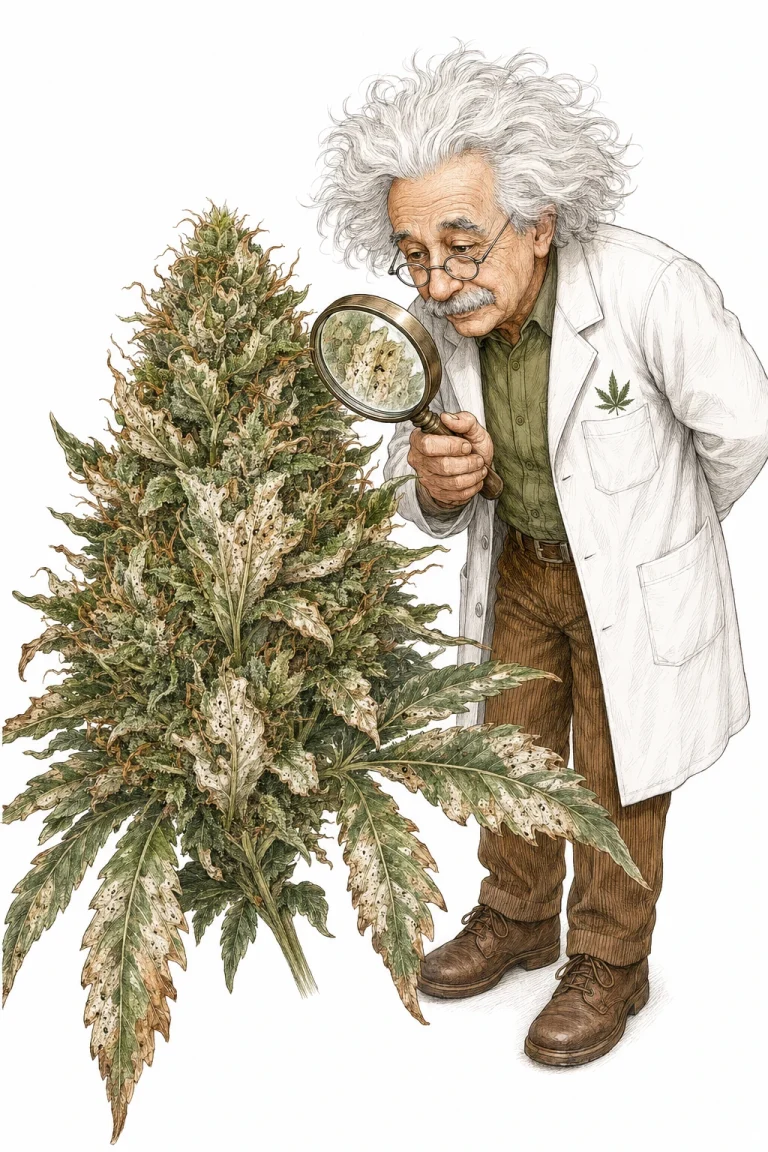
Thrips in the flowering stage are especially tricky, because many common treatments shouldn’t be used close to harvest. Chemical insecticides and even some organic oils can leave residues in your buds that hurt quality and safety. The rule here: stick to water-based treatments like insecticidal soap (potassium soap), or release minute pirate bugs (Orius spp.), which work without any chemical residue.
If you spot thrips on cannabis that’s already deep into flowering, first figure out how far the infestation has spread. You can carefully remove individual affected buds or branches, seal them in a bag for disposal and make a clean cut. Isolate affected plants right away so the pests can’t spread. Yellow sticky traps placed right next to the plants catch adults and can noticeably reduce the pressure.
Keep in mind that drought stress makes your buds more vulnerable. Check regularly that your plants get enough water, and avoid big temperature swings in your grow. Not sure whether yellow spots on the leaves come from thrips or something else? Take a look at our article on causes of yellow cannabis leaves. It includes a detailed guide to telling the causes apart.
- Don’t use chemical insecticides in late flowering
- Use insecticidal soap and minute pirate bugs (Orius) as residue-free alternatives
- Carefully remove heavily infested buds and dispose of them safely
- Isolate affected plants right away
- Add more yellow sticky traps to keep the population in check
- Make sure your plants get enough water – drought stress makes them more vulnerable
For a general game plan against sap-sucking pests, check out our article on pest control. Similar silvery scratch marks can also come from whiteflies or aphids. A close look at the bugs themselves with a magnifier clears things up.
Frequently Asked Questions
How do I recognize thrips on my cannabis plant?
Typical signs are shiny, silvery feeding marks on the upper side of the leaves and tiny black specks of droppings on and under the leaves. With a 10x magnifier, you can spot white larvae or yellowish-brown to blackish adults directly. Yellow sticky traps help with early detection.
Are thrips only an indoor problem?
No, thrips go after outdoor plants too. Outside, they blow in on the wind or hitch a ride on companion plants and infested soil. Indoors, the warm, dry environment helps them multiply faster, which is why infestations there are often more intense.
What’s the best treatment for thrips on cannabis?
Neem oil, insecticidal soap and beneficial insects like predatory mites (Amblyseius cucumeris) and minute pirate bugs (Orius spp.) are the most effective and plant-friendly options. For heavy infestations, you can use spinosad. Rotate all methods so the thrips don’t build up resistance.
Can I get rid of thrips completely?
Wiping them out completely is tough, because eggs survive inside plant tissue and in the soil. But with consistent treatment for at least 2–3 weeks plus beneficial insects working alongside, you can knock the population down to a harmless level. In the long run, prevention through clean work habits and regular checks is your best strategy.
How long does it take for thrips damage to show up on cannabis?
The first symptoms often appear only 1–2 weeks after the infestation starts, once the population is big enough to leave visible feeding marks. That’s why regular checks with a magnifier and yellow sticky traps are so important for early detection.
Are thrips a health risk when you consume the buds?
Thrips themselves are harmless to people. A heavy infestation and the plant damage it causes can lower the quality of your buds, though. What matters more: don’t get chemical residues into your buds by using sprays the wrong way shortly before harvest.
Bottom Line
Spotting thrips on cannabis is the first and most important step to protect your grow – the sooner you act, the less damage these tiny pests can do. With a mix of regular checks, yellow sticky traps, neem oil and beneficial insects, you’ve got effective tools against any infestation. Especially in the flowering stage: stick to residue-free methods and isolate infested plants right away. If you want to solve other plant problems, the Plant Diagnosis overview on PlantClue gives you all the key info at a glance.
