

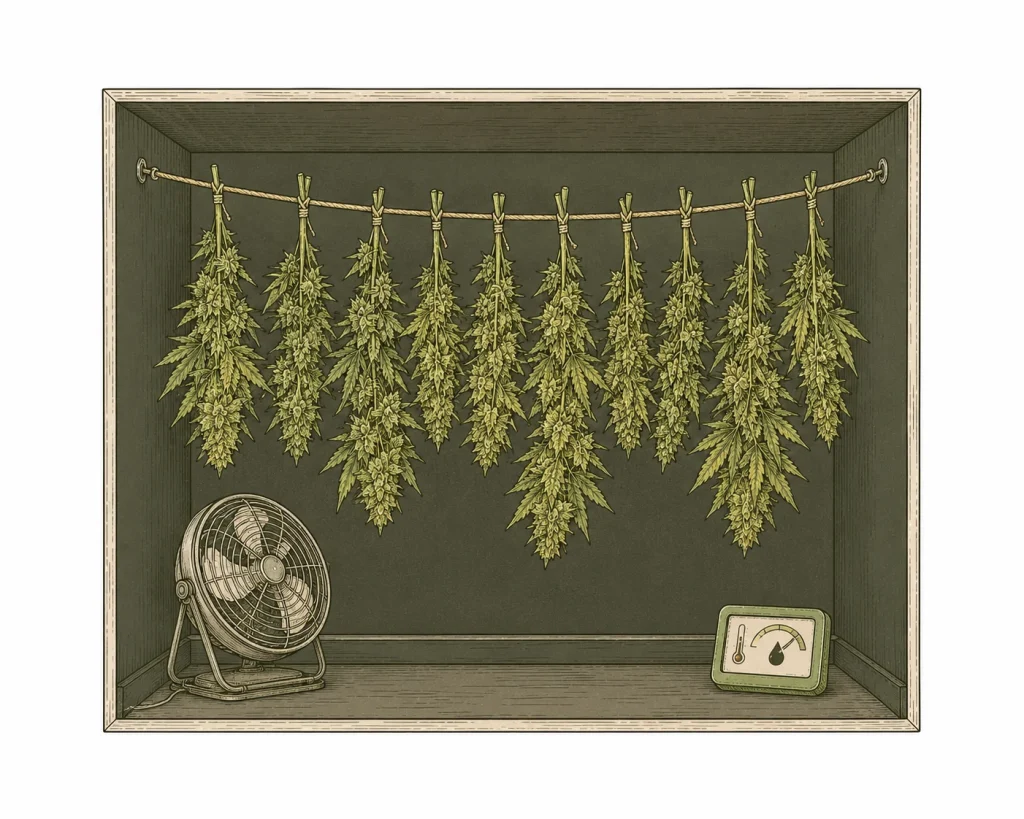
Setting up a cannabis drying room is one of the most important decisions in your whole grow. The drying stage has a huge impact on the quality, aroma and effect of your harvest. The wrong temperature or too much humidity can wipe out weeks of work in just a few days. In this guide, you’ll learn step by step how to build a dialed-in drying room, which gear you need and which values you should hold steady. Whether you use a whole room, a closet or a grow tent, the basic principles are always the same.
Why Setting Up Your Cannabis Drying Room Matters So Much
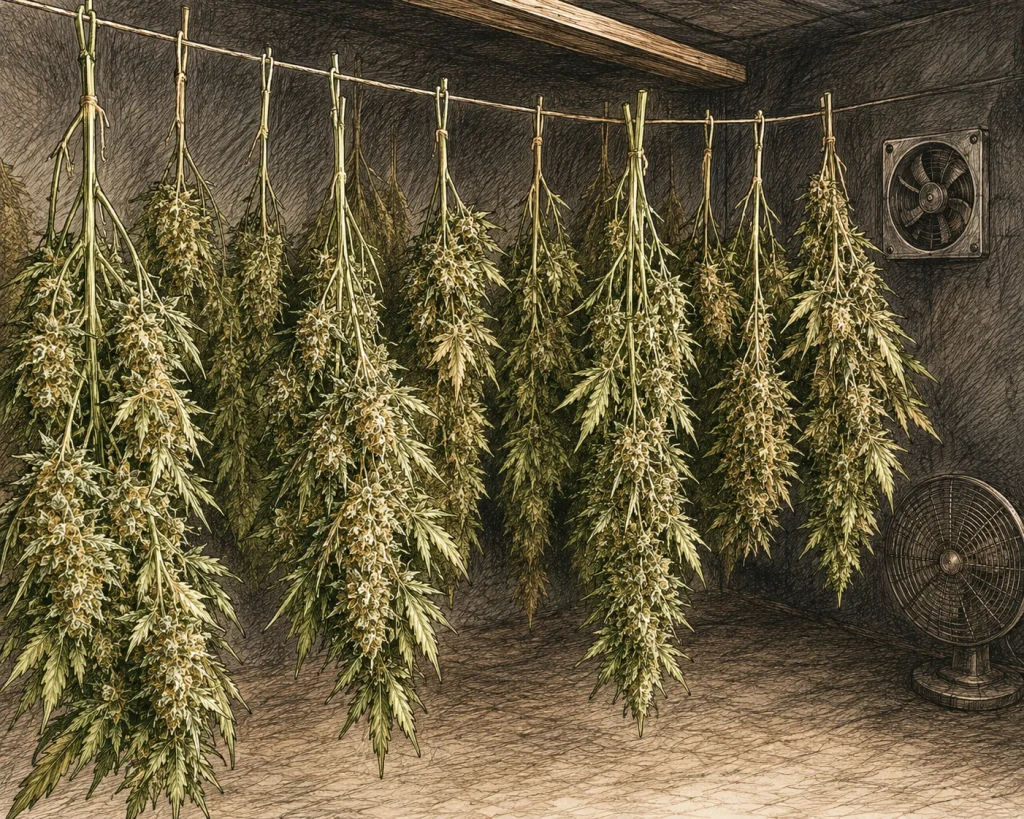
Many growers spend months focused on lighting, nutrients and training techniques – and then drop the ball on the final stretch. But real quality control only starts after the harvest. A poorly set-up drying room can lead to mold, terpene loss, harsh smoke and a lower-quality end product overall.
The drying stage takes 7 to 14 days, depending on your method and environment. During this time, water slowly evaporates from the buds in a controlled way, without destroying the delicate cannabinoids and terpenes. Drying too fast at high temperatures burns off aromas and can leave a grassy, bitter taste. Drying too slowly at high humidity creates perfect conditions for bud rot (botrytis) and other molds.
A properly set-up drying room protects your harvest and can noticeably improve the look, smell and taste of your buds. It’s worth investing a little time and a small budget here – the payoff is a much better end product.
- Bad drying can permanently destroy terpenes and cannabinoids
- Mold can wipe out an entire harvest in 24–48 hours
- Controlled drying greatly extends shelf life
- A good dry is the foundation for successful curing
- The gear usually pays for itself with your very first harvest
Ideal Temperature and Humidity for Your Cannabis Drying Room
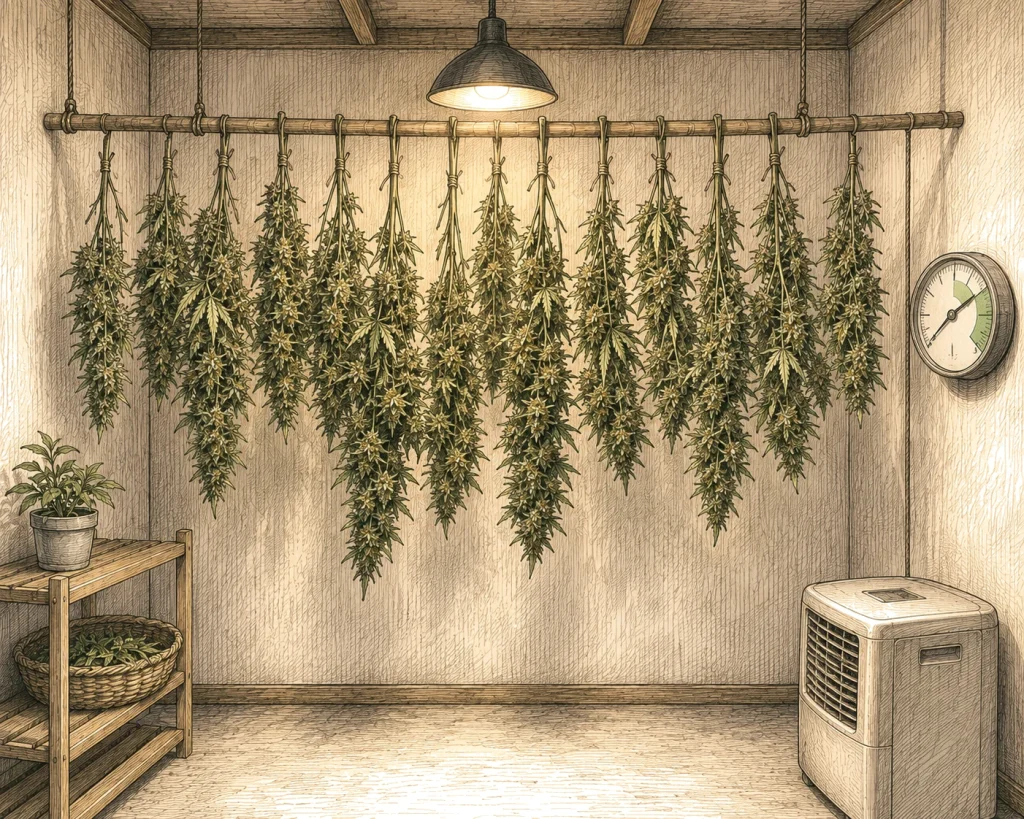
The most important factors when setting up a cannabis drying room are temperature and relative humidity (RH). These two values decide how fast water evaporates from the buds and whether the space invites mold. A good rule of thumb is the classic 60/60 rule: 60 % relative humidity at 60 °F (15.5 °C). In practice, though, slightly adjusted values often work better.
The ideal temperature in a cannabis drying room is between 59 and 70 °F (15–21 °C), with 64 °F (18 °C) considered the gold standard. Temperatures above 77 °F (25 °C) speed up evaporation so much that terpenes get lost and the buds dry out on the outside while moisture stays trapped inside – a classic trigger for mold later during curing. Temperatures below 59 °F (15 °C) slow the process way down and raise the risk of bud rot.
Relative humidity should stay steady between 55 and 60 %. Anything above 65 % is critical and gives botrytis a big boost. Anything below 40 % dries the buds too fast, which can leave you with crispy outsides and damp centers. That’s why a good digital hygrometer is a must – place it in several spots around the room so you can spot temperature differences.
Swings can be almost as harmful as values that are constantly off. A drying room that sits at 55 % humidity during the day and 70 % at night is riskier than one that holds a steady 62 %. So invest in a humidifier or dehumidifier with a humidistat that adjusts things automatically.
- Ideal temperature: 59–70 °F (15–21 °C), best at around 64 °F (18 °C)
- Humidity: 45–60 % RH, best at 55 %
- Above 65 % RH: serious mold risk
- Below 40 % RH: drying too fast and out of control
- A digital hygrometer with min/max memory is a must
- A humidistat for automatic control is recommended
- Consistency matters more than hitting exact numbers
Setting Up Your Cannabis Drying Room: Picking the Right Spot and Space
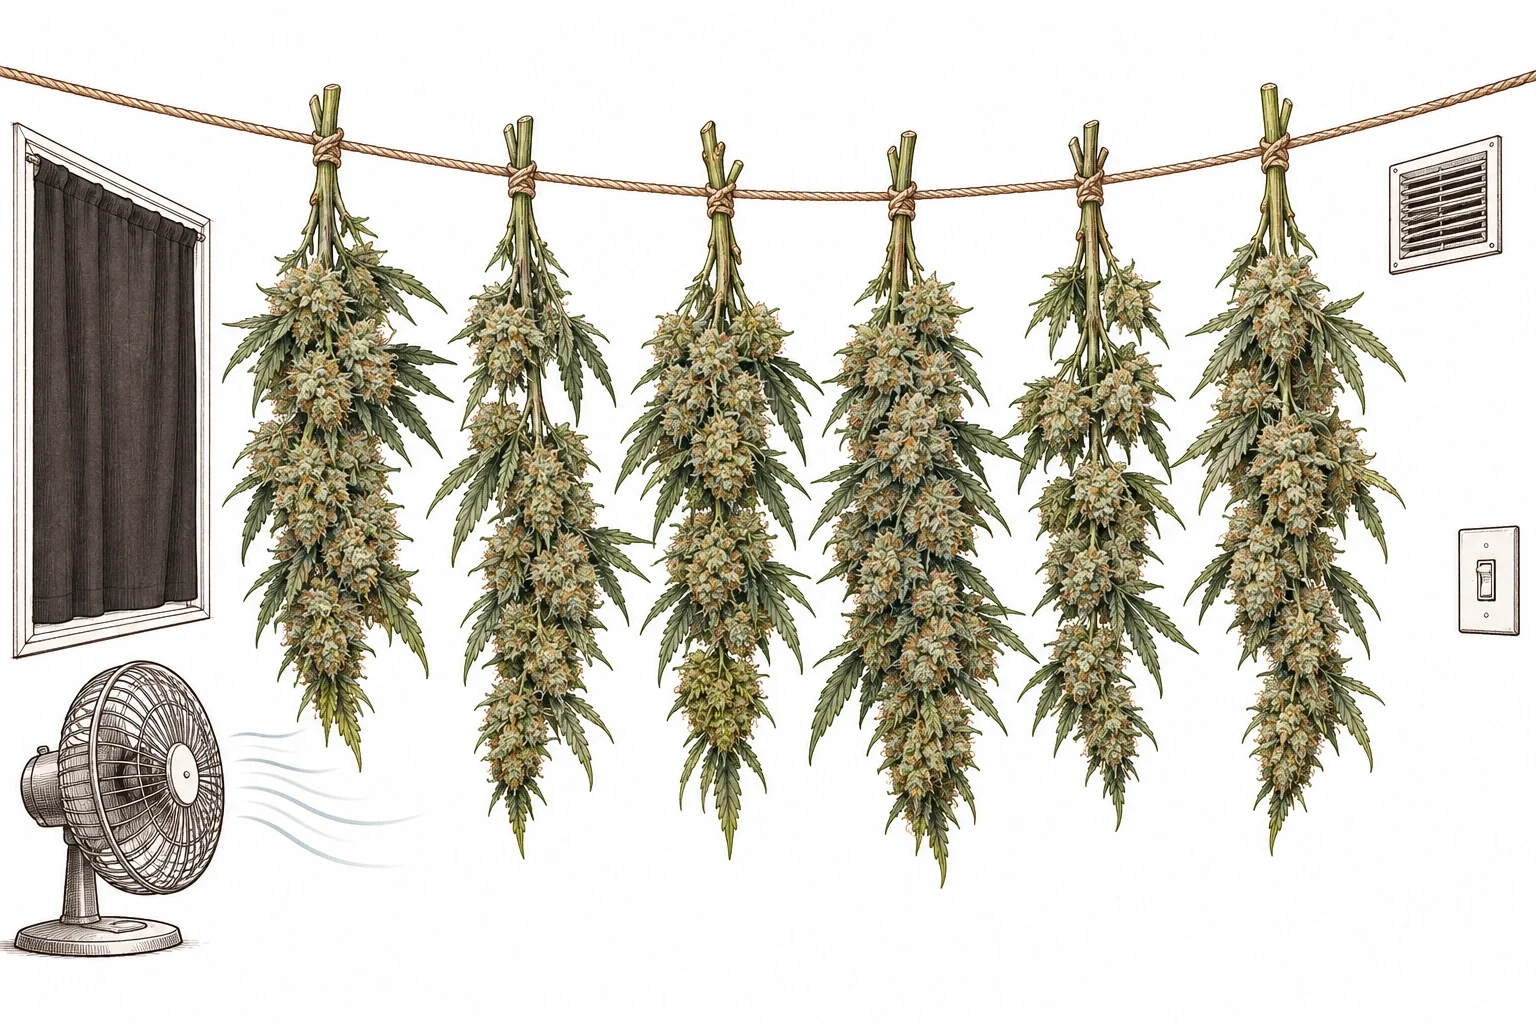
Pretty much any dark room works as a cannabis drying room, as long as you can dial in the right conditions. Classic options are a spare basement room, a bedroom closet, a second grow tent or a dedicated drying room. The most important thing: the room has to be completely dark. Light, especially UV light, actively breaks down THC and other cannabinoids.
The room should be well insulated so outside temperatures don’t swing it around too much. Basements are often ideal because they’re naturally cooler and more stable. The catch: basement humidity can run higher than you want, so you’ll often need a dehumidifier.
Match the room size to your harvest. If the hanging branches are packed too tight, air can’t circulate and damp pockets form – a perfect breeding ground for mold. Rule of thumb: leave at least 2–4 in (5–10 cm) between hanging branches. About 10.8 sq ft (1 m²) of hanging space is enough for a small to medium harvest of 2–4 plants.
No spare room? A second grow tent can double as your drying space. Make sure the lights are completely off and the exhaust keeps running. Important: never dry in the same room as live plants. Mold spores from drying buds can spread to your living plants.
- Total darkness is a must – no UV light
- Basement: stable temperature, but often too humid
- Closet or second grow tent as an alternative
- At least 2–4 in (5–10 cm) between hanging branches
- Never dry in the same room as live plants
- The room must seal up for odor control
- Avoid drafts – no airflow blowing straight on the buds
Equipment List for Setting Up a Cannabis Drying Room
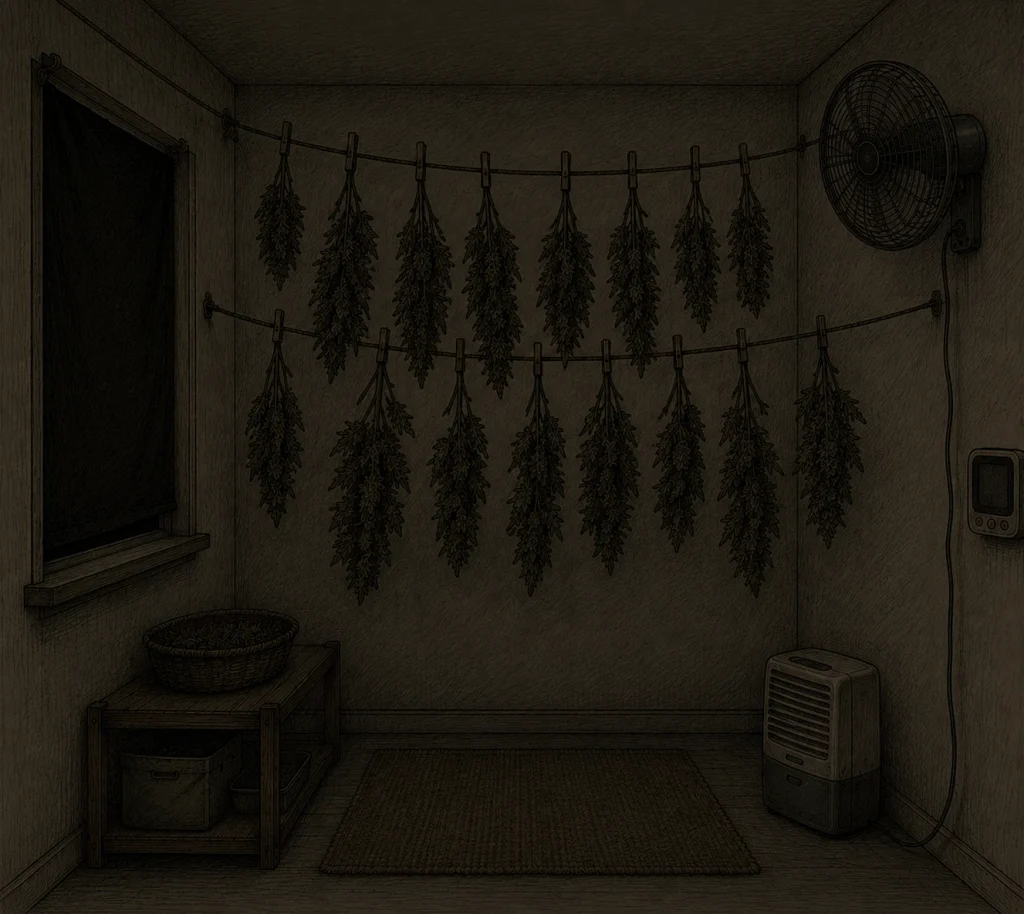
The right gear makes all the difference when you set up your cannabis drying room. You don’t need to spend a lot, but a few basics are non-negotiable. The most important one is a digital thermo-hygrometer – ideally with a data logger, so you can spot overnight swings.
For air circulation, you need a small fan. Don’t point it straight at the buds – it should just keep the air in the room gently moving. Oscillating fans are ideal because they don’t create a constant stream in one direction. The air needs to circulate, but direct wind can dry your buds out too fast.
Depending on the natural humidity where you live, you’ll need either a dehumidifier (humid climates or basements) or a humidifier (very dry spaces, especially in winter). A unit with a built-in humidistat is ideal because it switches on and off automatically. Compressor models with a humidistat and hose drain are covered in the grow tent dehumidifier comparison. For odor control, a carbon filter with a small inline fan is a smart move – drying cannabis buds smell incredibly strong.
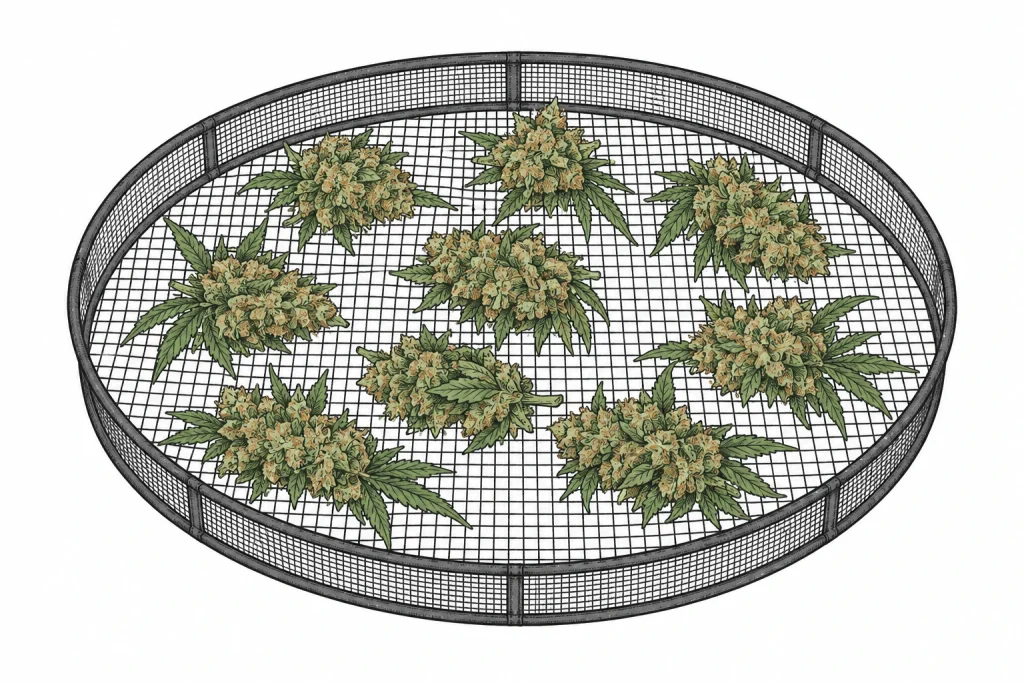
To hang your branches, you’ll need hangers, rods or a dedicated drying rack (hanging mesh net). Hanging whole branches beats drying nets because the buds dry more evenly and get fewer flat spots. Drying nets work well for popcorn buds or single buds that are no longer on a branch.
- Digital thermo-hygrometer with data logger – a must
- Oscillating fan for gentle air circulation
- Dehumidifier or humidifier with humidistat
- Carbon filter + inline fan for odor control
- Rods, lines or clothes rails for hanging
- Drying nets for loose buds
- Scissors and gloves for harvest and prep
- Blackout material or curtains to block light
Drying Room Gear: What You Really Need
The list above shows what you need – but not every hygrometer or curing jar is equally good. Here are the specific buying criteria, so you don’t just grab the first thing you see.
Hygrometer: One unit is rarely enough, because temperature and humidity vary across the room. Up near the ceiling it’s often warmer and drier than down by the floor. You’re better off with two or three small digital hygrometers placed at bud height in different spots around the room. An accuracy of ±3% relative humidity (RH) is plenty for home use. You only need a pricey pro unit with a data logger if you want a complete overnight record of your readings.
Drying net vs. hanging: Whole branches belong on a line or a rod. That’s still the best method for colas and bigger buds. A multi-tier drying net (German) is worth adding for popcorn buds and single buds, or when you simply don’t have enough room to hang everything. Look for at least 3–4 tiers and enough space between the layers so air can circulate there too.
Curing jars: Regular mason jars work reliably and are the classic choice for curing. The only thing that matters is that they seal truly airtight. Dedicated curing jars with a hygrometer built into the lid save you from opening them every day to check, because you can read the value right on the jar. Pair them with a Boveda pack (62% RH) and the humidity in the jar can even regulate itself. The pack absorbs or releases moisture depending on what your buds need at the moment, which helps prevent both over-drying and under-drying.
You’ll find specific models in our drying & curing gear overview.
Step by Step: Setting Up Your Cannabis Drying Room Made Easy
Before the first branches go in, clean and disinfect your drying room thoroughly. Otherwise, mold spores from old harvests can contaminate your new one. Wipe down every surface with a mild disinfectant solution and let the room dry completely. Then mount your hanging setup, rods or lines, across the room.
Next, set up your fan so it keeps the air moving in the room without blowing directly at the spots where your branches will hang. Place the thermo-hygrometer in the middle of the room at the height of the hanging branches. Keep it away from walls and vents, because they can throw off your readings.
Hook up your dehumidifier or humidifier and set it to your target of around 55% RH. Let the room run for 24 hours and check whether the readings settle. Only start your harvest once temperature and humidity hold steady in the target range. Skipping this test run is a common beginner mistake, and it can cost you an entire harvest.
When you bring in your freshly cut branches, give them enough space. Hang them upside down, either as whole plants or as individual branches. Leave at least 2 in (5 cm) of space between each branch. Don’t overload your cannabis drying room: two batches are better than one big batch with poor airflow. Check your readings every day and look over all your buds for early signs of mold.
- 1. Clean and disinfect the room thoroughly
- 2. Mount your hanging setup and make sure there’s enough spacing
- 3. Set up the fan, with no airflow blowing directly on your buds
- 4. Place the thermo-hygrometer close to your buds
- 5. Set your dehumidifier/humidifier and run a 24-hour test
- 6. Only bring in branches once your readings are stable
- 7. Check daily for mold and swings in your readings
- 8. After 7–14 days: check your buds and move on to curing
Common Mistakes When Setting Up a Cannabis Drying Room (and How to Avoid Them)
The most common mistake is drying too fast because of high temperatures or low humidity. Lots of growers want to cut the wait short, so they crank up the heat or point a strong fan right at their buds. The result can be buds that are bone-dry outside but still damp inside, with a grassy taste and lost terpenes. Take your time. Slow drying over 7 to 14 days is always the better choice.
Another classic mistake is neglecting airflow. Without moving air, damp pockets can form between tightly packed branches, and mold can take hold within hours. At the same time, strong direct airflow does damage too. The fix: an oscillating fan on a low setting that spreads the air gently without blowing on your buds.
Many growers also underestimate how much light exposure matters. Even dimmed room light or a sliver of light under a door can cause measurable THC loss over several days. Keep your room fully dark, and seal even small light leaks with tape or blackout film.
The last common mistake: moving buds into curing jars too early. If your buds feel dry on the outside but still hold too much moisture inside, that moisture can condense on the jar walls during curing and lead to mold. Do the snap test: a properly dried small branch should snap audibly and break when you bend it. If it just bends, it needs more time.
- Too much heat burns off terpenes – never go above 77 °F (25 °C)
- No airflow blowing directly on the buds
- Not keeping the room dark leads to THC degradation
- Too little space between branches invites mold
- Jarring too early risks mold during the cure
- Not checking your readings regularly
- Overloading the drying room cuts down air circulation
Setting Up a Cannabis Drying Room for Different Setups
How you set it up depends on the space you have. The simplest and cheapest option is a converted closet or wardrobe. Pull out all the shelves, mount two crossbars, attach a small oscillating fan on the side, hang a hygrometer inside and block every light leak with black tape. This setup costs well under $60 and is plenty for 2–4 plants.
For medium-sized harvests, a second grow tent set up just for drying works great. The upside: the tent is already lightproof and often has a vent port for the carbon filter. Take out the lights and any reflective mats that hold too much heat, and run the ventilation on a low setting.
If you dry larger amounts on a regular basis, a dedicated drying room with automated climate control is worth the investment. Here, a climate controller runs several devices (dehumidifier, humidifier, fan, heater) automatically based on sensor readings. That may sound like overkill. But if you bring in big harvests several times a year, the setup can pay for itself quickly by protecting your buds.
Outdoor growers with big harvests can also use an insulated garden shed or a walk-in basement as a drying room. Here, keeping humidity in check matters even more, because outside weather has a strong influence. If you can, time your harvest for favorable outdoor temperatures and humidity. Fall harvests in wet weather call for especially close monitoring.
- Closet setup: cheap, simple, good for 2–4 plants
- Second grow tent: already lightproof and ventilated
- Dedicated room with climate controller: ideal for regular harvests
- Basement or garden shed: for outdoor growers with large amounts
- Drying racks as an add-on for popcorn buds
- Budget setup possible from around $35–60
From Drying Room to Curing: The Transition and What Comes Next
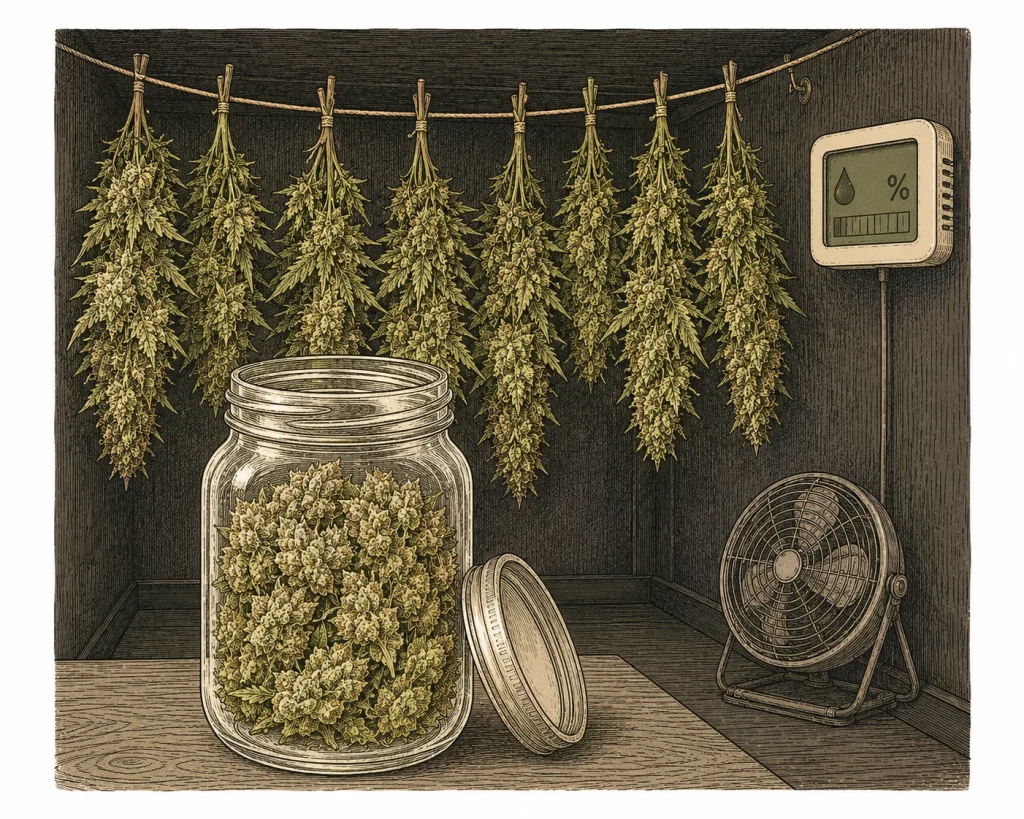
When your buds pass the snap test – a small stem breaks with an audible snap – and the outside feels dry, it’s time to cure. During curing, the dried buds age in airtight glass jars (mason jars) for at least 2 weeks, ideally 4–8 weeks. In that time, the leftover moisture spreads evenly through the buds, chlorophyll breaks down, and aroma and flavor improve a lot.
Fill the jars about 75 % full – don’t pack them, just drop the buds in loosely. For the first 1–2 weeks, open the jars daily for 15–30 minutes (“burping”) to let moisture and gases escape. Check for mold every time. Store the jars at 60–65 % RH and 59–68 °F (15–20 °C). You can add Boveda packs (62 %) (German) to regulate humidity.
One thing growers often forget: the quality of your cure depends directly on the quality of your dry. If you dried too fast, curing can only save so much. If you dried clean and slow, curing can bring out a real flavor explosion. So take your time with your cannabis drying room – it’s the foundation for everything that comes after.
- Snap test: the stem should snap audibly – not bend
- Fill jars 75 % full, pack loosely
- Burp daily for 15–30 minutes during the first two weeks
- Curing temperature: 59–68 °F (15–20 °C) at 60–65 % RH
- Boveda packs (62 %) for hands-off humidity control
- Cure for at least 2 weeks, ideally 4–8 weeks
- Check daily for mold
Before you hang your buds in the drying room, give them a rough trim. If you’re still unsure about the harvest window, double-check first that you’re not harvesting too early.
Frequently Asked Questions
What temperature is ideal for a cannabis drying room?
The ideal temperature is between 59 and 70 °F (15 and 21 °C), with 64 °F (18 °C) considered the sweet spot. Temperatures above 77 °F (25 °C) destroy terpenes and can make the buds dry out too fast. Temperatures below 59 °F (15 °C) slow the process down too much and raise the risk of mold.
How long does it take to dry cannabis in a drying room?
Under ideal conditions (64 °F (18 °C), 55 % RH), drying takes 7–14 days. Smaller buds dry faster than big, dense colas. The snap test tells you when they’re ready: a small stem should snap audibly when you bend it.
Does a cannabis drying room have to be completely dark?
Yes, total darkness is a must. Light, especially UV light, actively breaks down THC and other cannabinoids. Even dim ambient light over several days can cause measurable losses. Seal off every light source, no exceptions.
What happens if the humidity in your drying room is too high?
Above 65% relative humidity (RH), you create a perfect breeding ground for bud rot (botrytis, gray mold) and other molds. They can wipe out an entire harvest in 24–48 hours. Get a dehumidifier with a built-in humidistat that adjusts automatically.
Can I use my grow tent as a drying room?
Yes, a second or unused grow tent makes a great drying space. Turn off all lights completely, remove any reflective mats that trap heat, and set your ventilation to low. Never dry buds in the same space as living plants.
How can I tell when my buds are done drying?
The most reliable check is the snap test: Bend a small stem. It should snap audibly and break, not just bend. The buds should also feel dry on the outside but still slightly springy inside. If the outer layer feels leathery but the stem won’t snap, your buds need more time.
Do I need a carbon filter in my drying room?
For odor control, a carbon filter is highly recommended. Drying cannabis buds put out an extremely strong smell that can spread through your whole building without filtration. A small inline fan with a matching carbon filter is a cheap and effective fix.
Before you set up your cannabis drying room, wait for the right harvest window and work through your harvest step by step. Right after drying comes curing and fermenting. If problems pop up while drying, our Plant Diagnosis hub can help. For more on ideal room climate and mold prevention, check out the DLR Rheinpfalz (German).
A poorly set up drying room is the most common reason your cannabis smells like hay instead of its real terpenes.
Bottom Line
Setting up a cannabis drying room doesn’t take expensive gear. It takes sticking to the right numbers: 59–70 °F (15–21 °C), 55–60% relative humidity (RH), total darkness and gentle air circulation with no fan blowing directly on your buds. Follow these basic rules and you’ll be rewarded with aromatic, potent buds that show off all the work you put into your grow. Spend a few bucks on a good hygrometer/thermometer combo and a dehumidifier. These two devices matter more than any other gear in your drying room. And don’t forget: proper drying is the foundation for successful curing.
