

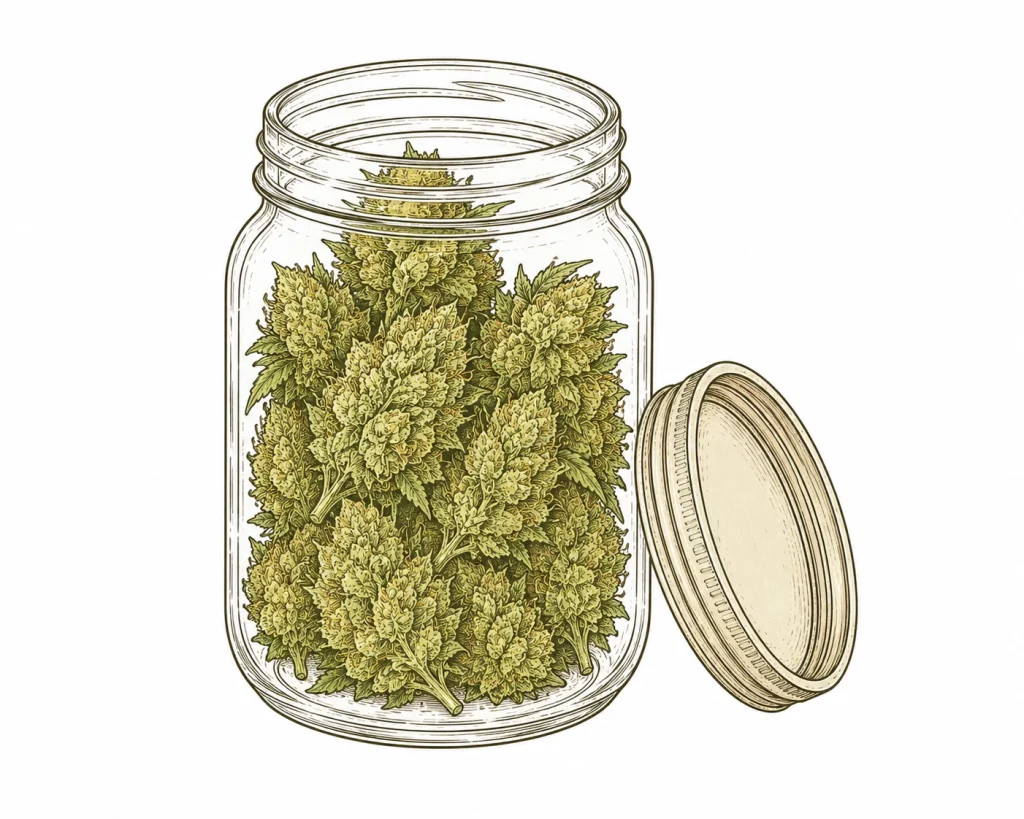
Curing is the step that turns an average harvest into truly top-shelf bud, and sadly it’s the one most beginners skip or get wrong. Cure your buds with care and you’ll be rewarded with a richer aroma, smoother smoke and a noticeably better effect. It sounds complicated, but with the right know-how it’s easy to do. In this guide, you’ll learn how the process works, what supplies you need and the most common curing mistakes.
What Is Cannabis Curing and Why Does It Matter So Much?
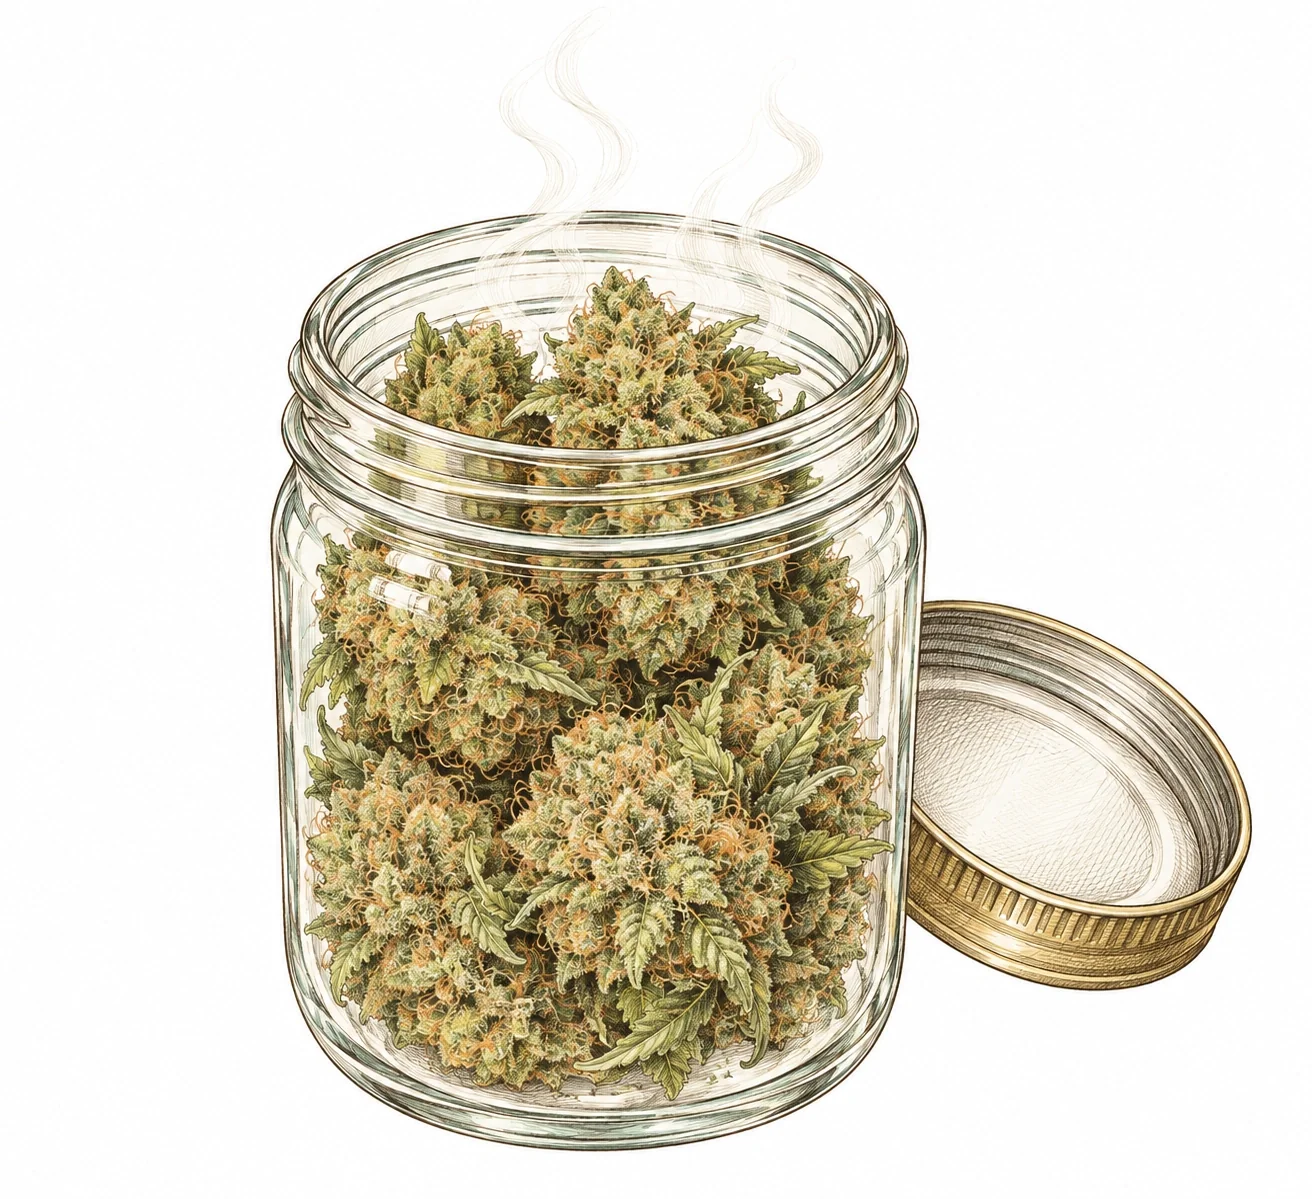
Curing is the controlled aging of cannabis buds after drying. During the cure, enzymes and microorganisms in the plant material break down chlorophyll, sugars and other unwanted compounds. The result is a much smoother smoke without the harsh throat bite that freshly dried bud often has.
Curing is often called “fermenting,” even though technically it’s an enzymatic breakdown process. The key is that your buds still hold about 60 to 65 percent residual moisture when you start curing. If the material is too dry, there’s barely any curing process left to happen. If it’s too wet, you risk mold.
Besides improving flavor, curing also affects the effect profile. Studies and years of grower experience suggest that well-cured cannabis delivers a more even, pleasant effect, because the cannabinoid and terpene profile keeps stabilizing during the aging phase. So if you want to get the most out of your harvest, curing is a must.
Of course, a great harvest also depends on the quality of the plant itself. Our complete indoor growing guide walks you through all the basic steps for healthy, high-yielding plants.
- Chlorophyll breaks down: smoke gets smoother and more pleasant
- Terpenes keep developing: aroma becomes more complex and intense
- Cannabinoids stabilize: more consistent effect
- Moisture gets balanced: better shelf life over time
- Mold is prevented: as long as you do it right
Drying Cannabis the Right Way: The Foundation for a Great Cure
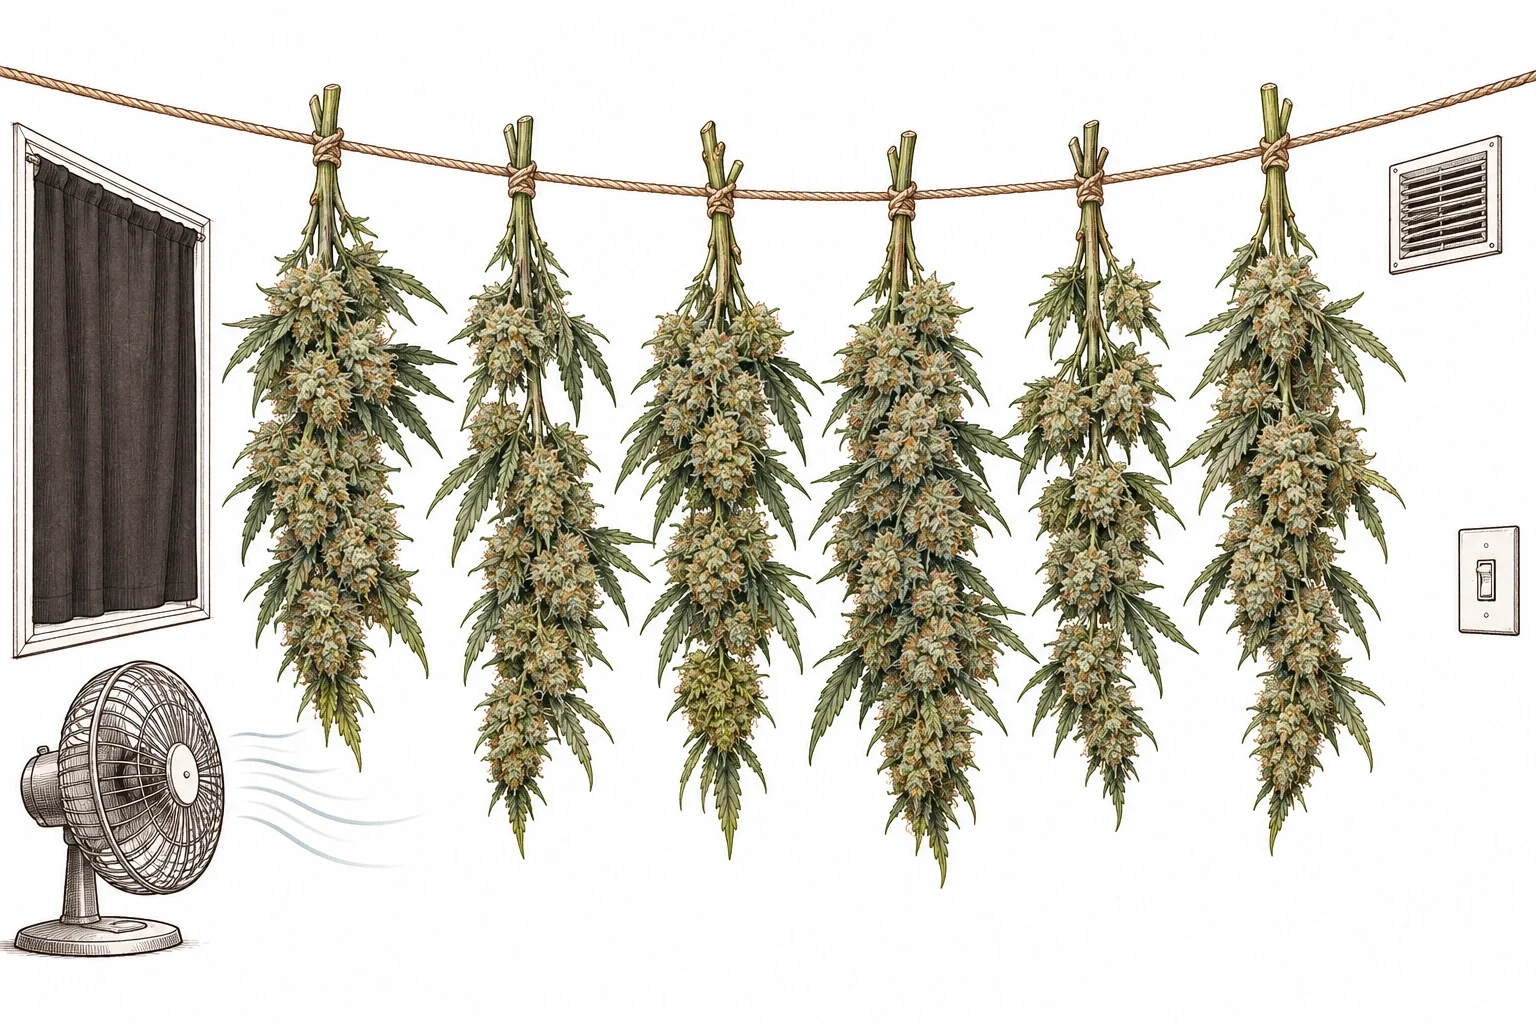
Before you can start curing, your buds need to be dried properly first. This step often gets underestimated, but it’s the absolute foundation for good results. Hang the harvested branches or individual buds in a dark, well-ventilated room. The ideal temperature is 64 to 72 °F (18 to 22 °C), and humidity should stay between 45 and 55 percent.
Drying usually takes 7 to 14 days, depending on bud size and room conditions. Here’s an easy test: when small stems snap instead of bending, your buds are dry enough for the next step. The outside of the buds should feel dry, while the inside is still slightly moist.
Always avoid direct sunlight and high temperatures while drying. UV light breaks down terpenes and cannabinoids, and too much heat speeds up evaporation so much that the buds dry too fast. Never point a fan directly at the buds. Use it only to keep the air moving around the room.
A common drying problem is uneven moisture, which can lead to mold later during the cure. If your plants had issues earlier on, take a look at our Plant Diagnosis overview to make sure no existing problem is hurting the quality of your harvest.
- Temperature: 64 to 72 °F (18 to 22 °C)
- Humidity: 45 to 55 percent while drying
- Duration: 7 to 14 days, depending on bud size
- No direct light on the buds
- Airflow: indirect, no fan blowing straight at the buds
- Snap test: stems should snap, not bend
Curing Cannabis: The Right Way to Use Mason Jars
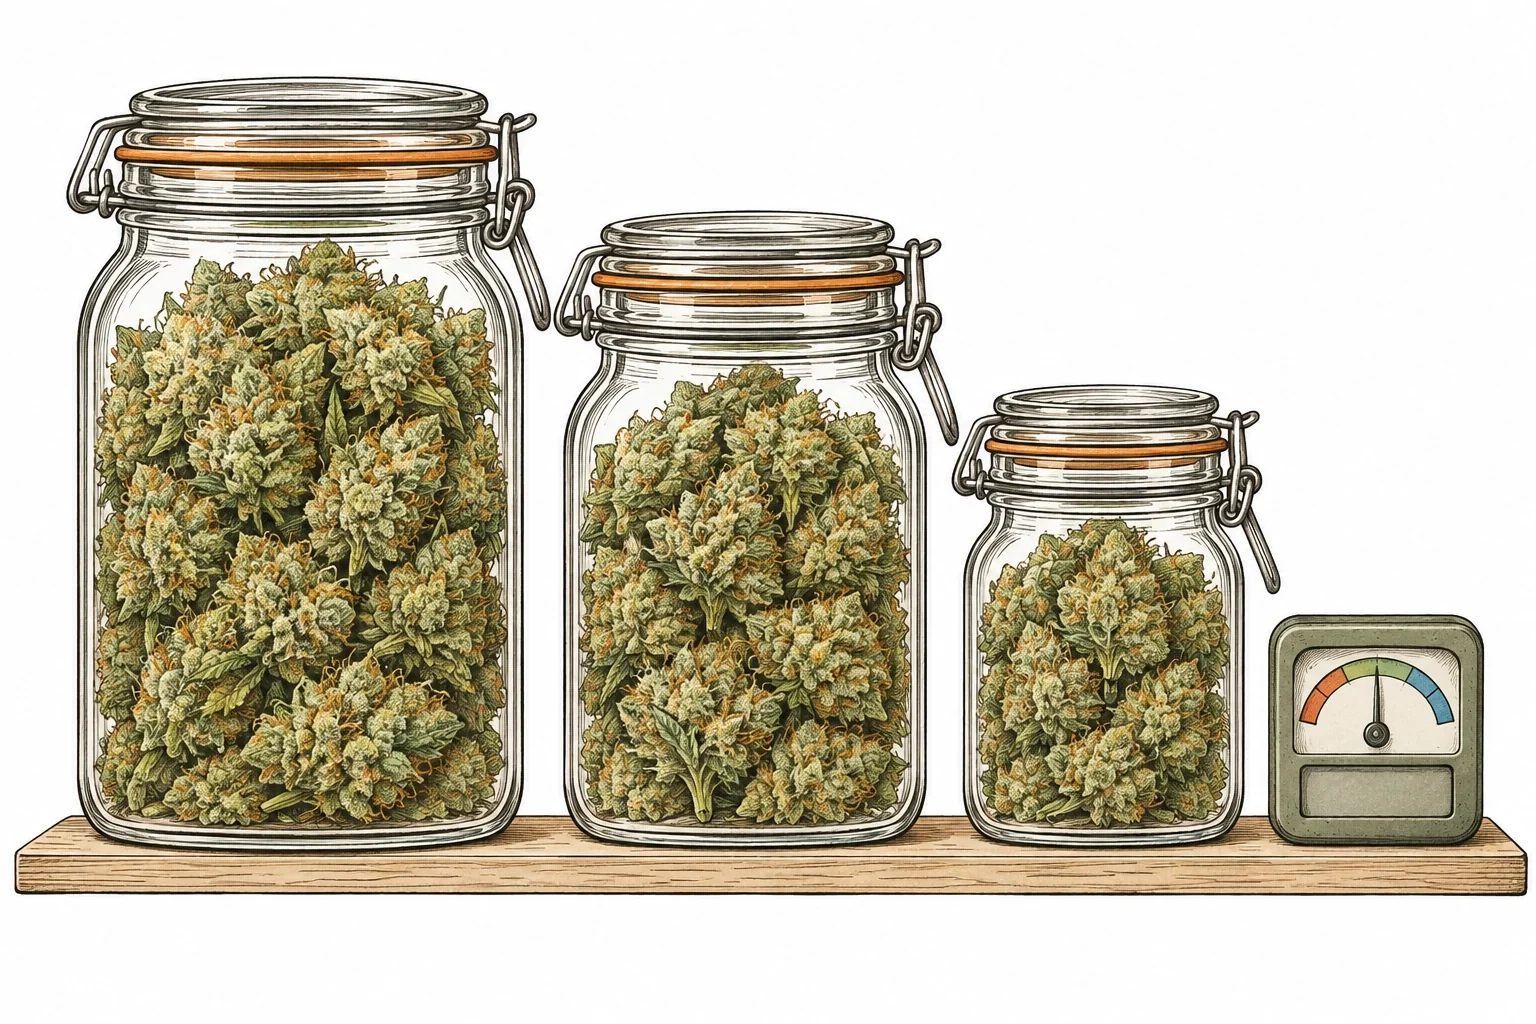
The mason jar method is the most proven and simplest way to cure cannabis. Use glass jars with an airtight lid. Pint to quart mason jars (0.5 to 1 L) work best. Skip plastic containers: they can absorb odors and hurt the quality of your final product.
Fill the jars loosely to about 75 percent with your dried buds. Don’t pack them down, because your buds need enough air space. Close the jars and store them in a cool, dark spot at around 64 to 72 °F (18 to 22 °C). For the first two weeks, open the jars every day for 15 to 30 minutes. Growers call this “burping.” It lets moisture and built-up gases escape and brings fresh air in.
During the first few days, you may notice the buds feel moister in the jar than when you put them in. That’s normal: moisture from inside the buds is spreading out evenly again. If your buds smell strongly of ammonia when you open the jar, there’s too much moisture, and you’re risking mold. In that case, leave the jars open longer or add Boveda packs rated at 62 percent humidity to keep moisture in check.
After two weeks of daily burping, you can cut back to once a week. For the best results, cure for at least four weeks. Six to eight weeks often gives you even better results. Some experienced growers let their harvest cure for several months.
- Use glass jars: mason jars, no plastic
- Fill level: 75 percent, place buds loosely, don’t press them
- Burping: open daily for 15 to 30 minutes during the first 2 weeks
- Storage temperature: 64 to 72 °F (18 to 22 °C)
- Target humidity in the jar: 58 to 65 percent
- Minimum time: 4 weeks, ideally 6 to 8 weeks
- Boveda packs: help you regulate humidity
How to Monitor Your Cannabis Cure: Signs Your Buds Are Making Progress
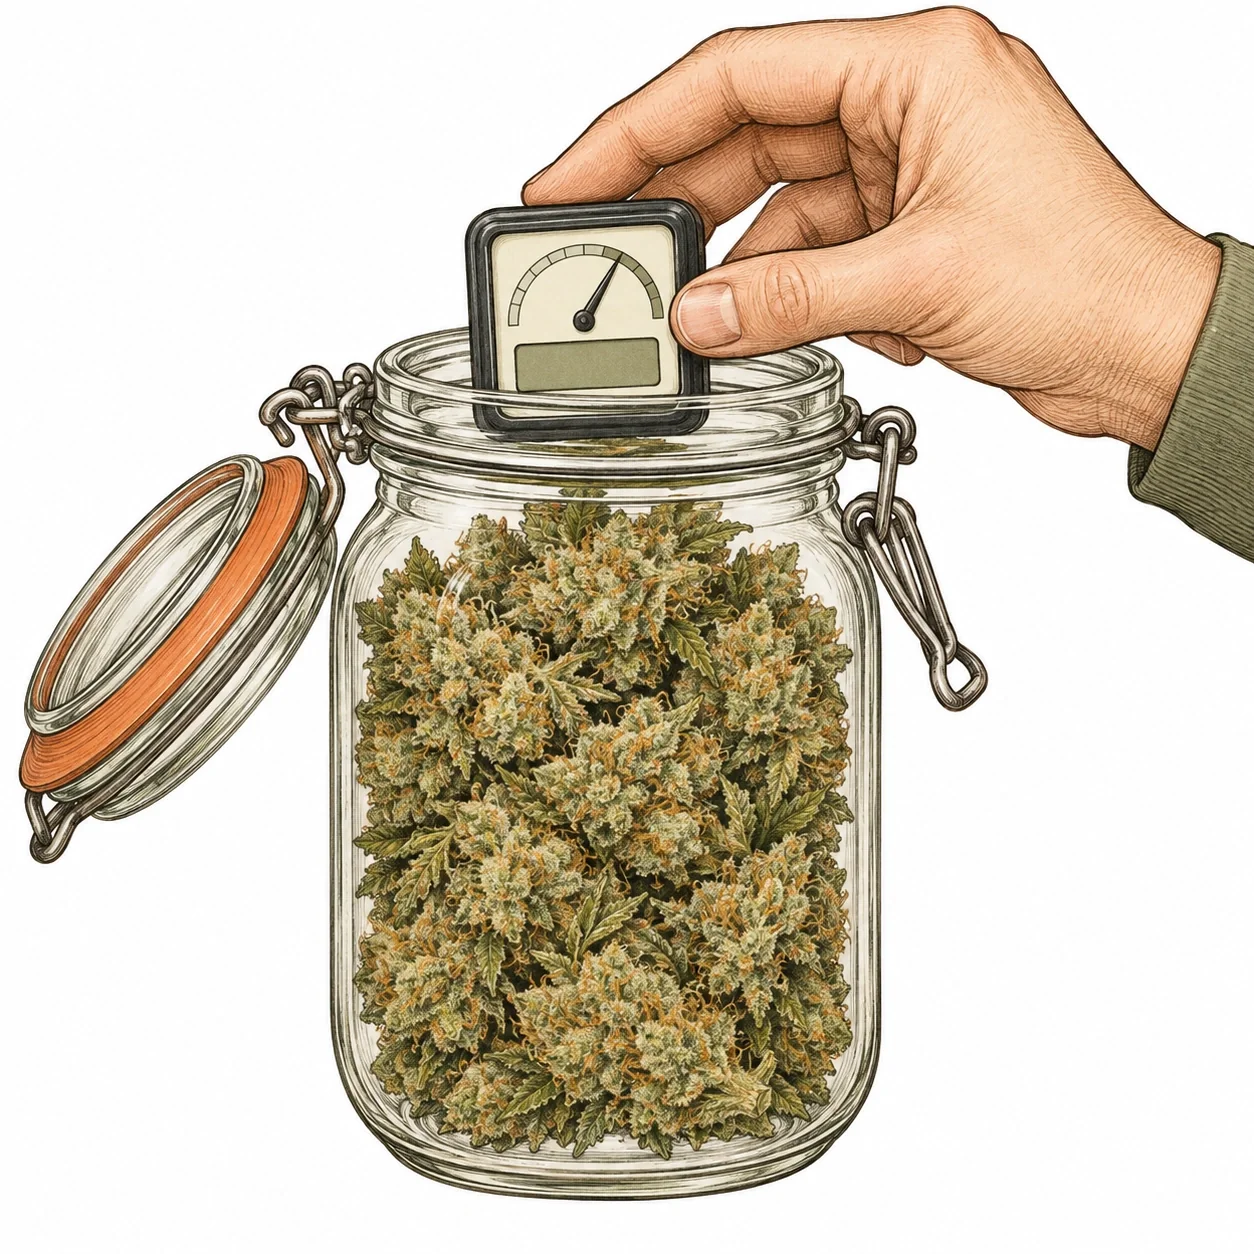
Putting a small hygrometer in every jar is highly recommended. These mini hygrometers are cheap and reliably tell you whether the humidity in the jar is in the ideal range of 58 to 65 percent. Above 70 percent gets risky, and mold can start to grow. Below 55 percent, your buds dry out too much and the cure can stall.
Your nose is the best progress check: in the first few days, freshly jarred buds often smell grassy or like fresh hay. That’s the chlorophyll smell, and it fades as the cure goes on. After two to three weeks, a more pleasant, strain-typical aroma should come through. After four to eight weeks, the fruity, earthy or floral terpenes should be easy to pick out.
The buds also change a little in appearance. Colors get slightly richer and the trichomes look clearer. If you spot yellow or brown patches, that can point to mold or a nutrient deficiency left over from the vegetative stage. pH problems during your grow can directly affect the final product. That’s why dialing in the right pH throughout the whole grow matters so much.
Reach into the jars regularly and feel whether any buds are sticky or damp. Take those buds out for a bit, let them dry separately, then put them back in. This helps prevent mold from pockets of trapped moisture.
- Place a mini hygrometer in the jar for accurate readings
- Target: 58 to 65 percent humidity in the jar
- Grassy smell at the start: normal, fades over time
- Ammonia smell: too moist, burp longer right away
- Mold spots: remove affected buds immediately
- Look and feel your buds every time you burp
Common Cannabis Curing Mistakes and How to Avoid Them
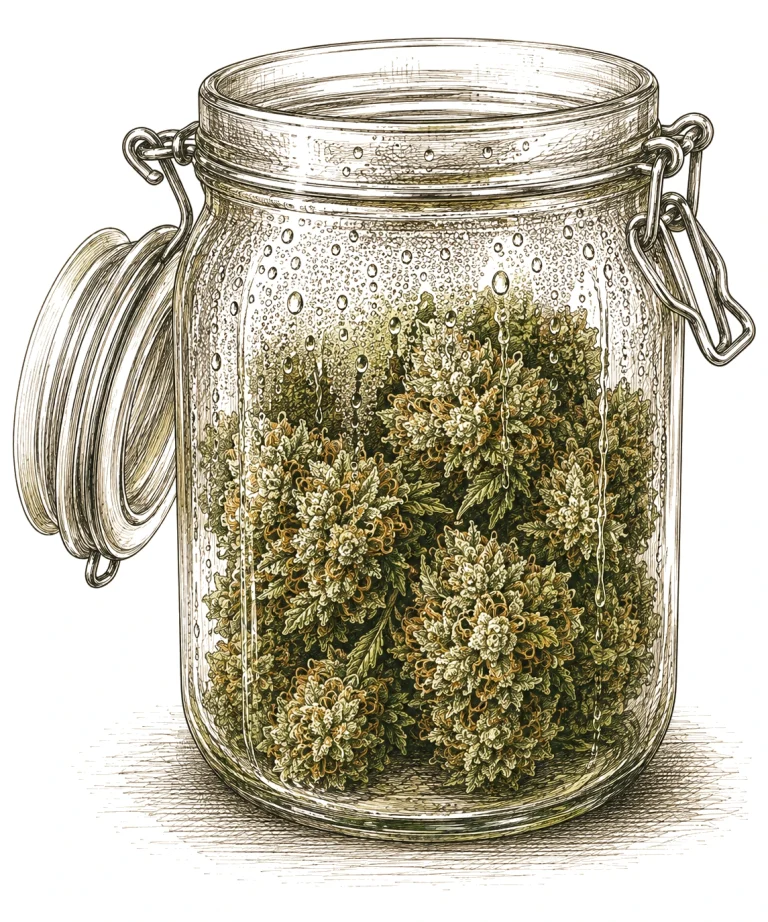
The biggest curing mistake is jarring buds that are still too wet. If the plant material holds too much water, mold can develop within a few days and wipe out your whole harvest. So check with the stem snap test and a hygrometer before you jar your buds. A little extra drying time always beats starting too early.
Another common mistake is skipping the burping in the first few weeks. If you just seal the jars and leave them alone for weeks or months, you risk mold from trapped moisture or an anaerobic process that creates nasty smells. Opening the jars daily for the first 14 days isn’t optional. It’s a must.
Too much light hurts your cure, too. UV light and heat break down cannabinoids and terpenes. Always store your curing jars in the dark, ideally in a closet or a box. Direct sunlight can do damage even through green or amber glass.
Many beginners also underestimate how much nutrient problems during the grow can hurt your final quality. Too much nitrogen right before harvest, for example, can lead to harsh, poor-tasting smoke that even curing can’t fully fix. Read up on nutrient burn in cannabis so you can head off these problems while your plants are still growing.
- Mistake 1: Jarring buds that are too wet – this can lead to mold
- Mistake 2: Skipping burping – moisture builds up in the jar
- Mistake 3: Light exposure – breaks down terpenes and cannabinoids
- Mistake 4: Storage temperature too high – speeds up degradation
- Mistake 5: Using plastic containers – can change the taste
- Mistake 6: Stopping too early – quality keeps improving up to week 8
Curing Cannabis: Alternatives to the Classic Jar Method
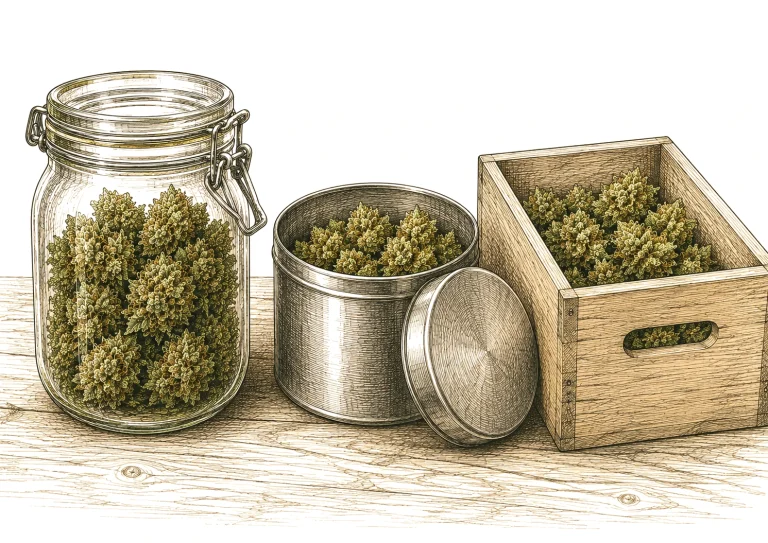
Besides the classic jar method, there are other approaches that are especially handy for bigger harvests. Stainless steel CVault containers are a popular alternative. They’re lightproof, food-safe and often come with built-in holders for Boveda packs. Their advantage over glass is that they’re tough and block all light. The downside is the higher price.
For very large amounts, professional growers rely on boxes made of untreated cedar or sandalwood. The wood absorbs excess moisture and releases it slowly, which makes humidity easier to control. At the same time, the wood passes subtle aromas on to the buds – something some growers see as a mark of quality.
Another method is water curing. You submerge the buds in water for 4 to 7 days and change the water every day. This method is very effective at removing chlorophyll, salts and other water-soluble compounds. The result is extremely smooth smoke, but at the cost of some terpenes – the aroma gets noticeably weaker. That’s why water curing is better suited to specific processing purposes than to everyday curing.
No matter which method you choose: patience is the most important factor in curing cannabis. If you give it at least four weeks – ideally six to eight – you’ll be rewarded with clearly better quality than if you smoke freshly dried buds right away.
- CVault metal cans: lightproof, sturdy, good for medium amounts
- Cedar boxes: natural humidity control, slight aroma transfer
- Water curing: very smooth smoke, but less aroma
- Classic mason jar: best choice for small to medium amounts
- All methods: always store in the dark at 64 to 72 °F (18 to 22 °C)
Curing Cannabis and Long-Term Storage: How to Keep Your Harvest Fresh
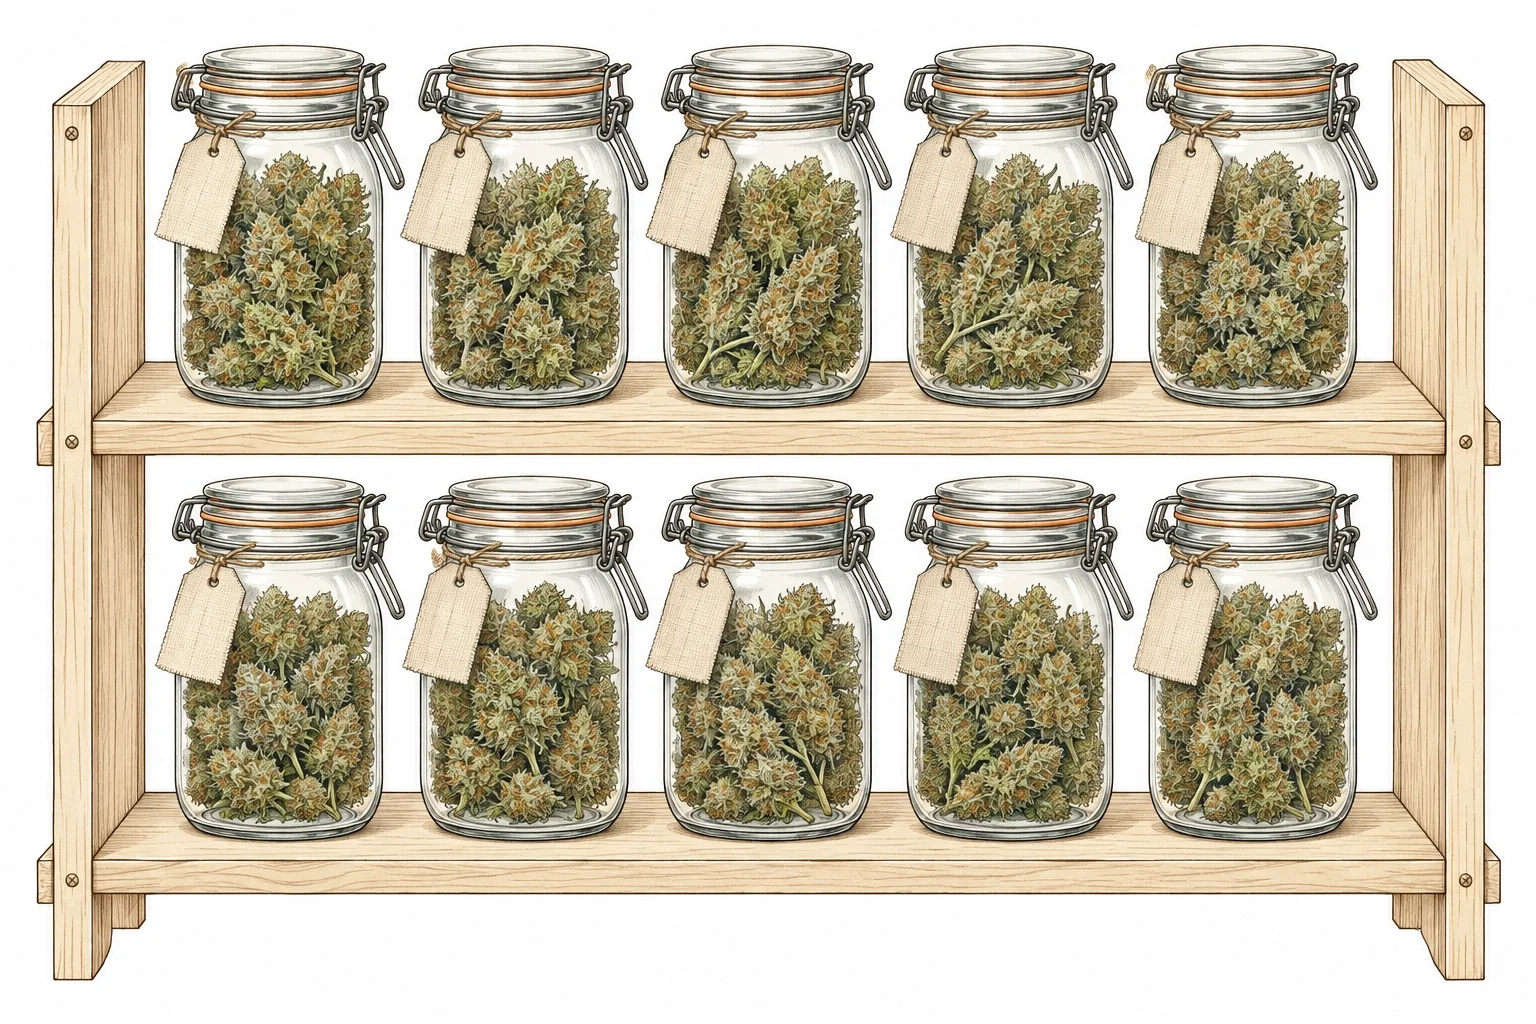
Well-cured cannabis can keep for months or even years if you store it properly. The key is the combination of darkness, cool temperatures and stable humidity. A basement or a dark kitchen cabinet works perfectly. Avoid storing it in the fridge: temperature swings every time you open the door can cause condensation inside the jar and encourage mold.
Boveda packs or similar humidity regulators (Integra Boost, Vicencio) keep the humidity in your jar stable at 58 or 62 percent over the long run. Our cannabis storage comparison (German) shows which regulators, bags and jars work best. Replace these packs every three to six months, or as soon as they feel hard – that means they’ve released all their moisture.
Label your jars with the strain name, harvest date and jarring date. That way you stay organized and can track how your buds mature. Many growers report that cannabis hits its absolute peak quality after six to twelve months of curing – especially strains with complex terpene profiles.
If you’ve spotted problems like yellow leaves or other deficiencies on your plants, it’s important to fix them during the grow. Yellow leaves on cannabis can point to nutrient problems that directly affect the quality of your harvested and cured buds.
- Long-term storage: cool, dark, stable humidity
- No fridge: temperature swings promote condensation
- Boveda packs: keep humidity stable at 58 or 62 percent
- Swap packs: every 3 to 6 months or when they feel hard
- Labeling: note strain, harvest date and jarring date
- Sweet spot: many strains reach peak quality after 6 to 12 months
Mistakes made during drying carry over into the cure. Learn more in our article on drying mistakes (German). If your finished harvest still smells like hay instead of cannabis after curing, you’ll find the causes in Cannabis smells like hay (German).
Aspergillus and Storage Mold: Why You Should Never Smoke Infected Buds
Even after a perfect cure, mold can still show up later in poorly stored jars. The most common culprit is Aspergillus. Bud rot (botrytis, gray mold) looks fluffy and light gray. Aspergillus is different: it often shows up as a dark green to black, powdery coating between the bud leaves.
This isn’t just a cosmetic problem. Aspergillus spores can survive the heat of smoking or vaping. If you inhale them, they can cause a lung infection. With a healthy immune system, it usually stays at irritation of the airways. In people with weakened immune systems (from medication, HIV or chronic illness, for example), it can turn into invasive aspergillosis. That’s a serious illness that needs medical treatment.
- Cause: humidity (RH) in the jar staying above 65%, not burping often enough, or condensation from temperature swings during storage
- How to spot it: a dark, powdery or velvety coating instead of the light, fluffy threads of botrytis
- What to do right away: throw out infected buds completely instead of cutting the mold off. The fungal network usually runs through the whole bud.
- Don’t smoke or vape it: the spores reliably survive the heat
For a complete overview of all types of mold and fungus on cannabis, plus how to tell them apart, check out our Fungal Diseases & Mold diagnosis.
Blue Mold (Penicillium) on Stored Buds
Besides Aspergillus, Penicillium often shows up on poorly stored cannabis. It’s the classic blue-green mold you probably know from spoiled fruit or bread. On buds, it appears as small, velvety spots in shades of blue, green or turquoise. It can spread fast to neighboring buds.
- Cause: just like Aspergillus, mainly humidity in the jar that stays too high and not enough burping
- How to spot it: a velvety coating with a clear blue, green or turquoise tint. That sets it apart from the dark Aspergillus coating and the light, fluffy fuzz of botrytis.
- Risk: Penicillium spores can also irritate your airways and may promote infections if your immune system is weakened
Same rule as with Aspergillus: throw out infected buds completely, and never smoke or vape them.
Frequently Asked Questions
What’s the minimum cure time before cannabis buds are ready?
For noticeable results, plan on at least four weeks. A six- to eight-week cure gives you much better results. For top quality, experienced growers recommend three to six months. A cure shorter than two weeks barely makes a measurable difference.
What’s the difference between drying and curing?
Curing cannabis is about more than just drying. Drying removes most of the moisture from your buds and usually takes 7 to 14 days. Curing is the controlled aging process that follows, in a sealed container. During the cure, enzymes break down chlorophyll and sugars, and the aroma and effect profile improves. You need to dry before you can cure.
What humidity do I need in my curing jar?
The sweet spot is 58 to 65% relative humidity inside the jar. Below 55%, fermentation pretty much stops. Above 70%, mold becomes a real risk. A small hygrometer in the jar lets you keep a close eye on it.
What does “burping” mean when curing cannabis?
Burping means opening your curing jars every day for 15 to 30 minutes during the first two weeks. This lets trapped moisture and gases escape while fresh, oxygen-rich air flows in. It helps prevent mold and keeps the fermentation process even.
What should I do if my buds smell like ammonia?
An ammonia smell means there’s too much moisture and anaerobic bacteria are getting active. Open the jar all the way right away and let the buds air out for 1 to 2 hours. Check with a hygrometer, and only put the buds back once the humidity is below 65%. A slight ammonia smell usually fades with more curing.
Can I cure cannabis in plastic bags or plastic containers?
Plastic isn’t a good choice for curing. It absorbs odors, can potentially release harmful substances and isn’t airtight enough. Always use glass, like Weck jars or Mason jars. For larger amounts, CVault containers made of food-grade steel work well.
Can curing improve low-quality cannabis?
Curing can make the smoke smoother and bring out the aroma, but it can’t fully fix poor genetics, serious nutrient problems or mold. The best quality starts with a plant that was healthy all along and was fed and watered correctly.
For more on storage quality and preventing mold, check out the LWG Bayern (in German).
You can find suitable curing jars with hygrometers on our Recommended Gear page.
The Bottom Line
Curing and fermenting your cannabis isn’t an optional extra. It’s what separates a mediocre stash from truly top-shelf buds. With the right prep, a good hygrometer, clean glass jars and, above all, patience, you can get results that freshly dried buds simply can’t match. A cure of at least four weeks, ideally six to eight, is always worth it. Avoid the mistakes covered above, burp your jars consistently, and you’ll be rewarded with richer aroma, smoother smoke and a more stable effect.
