

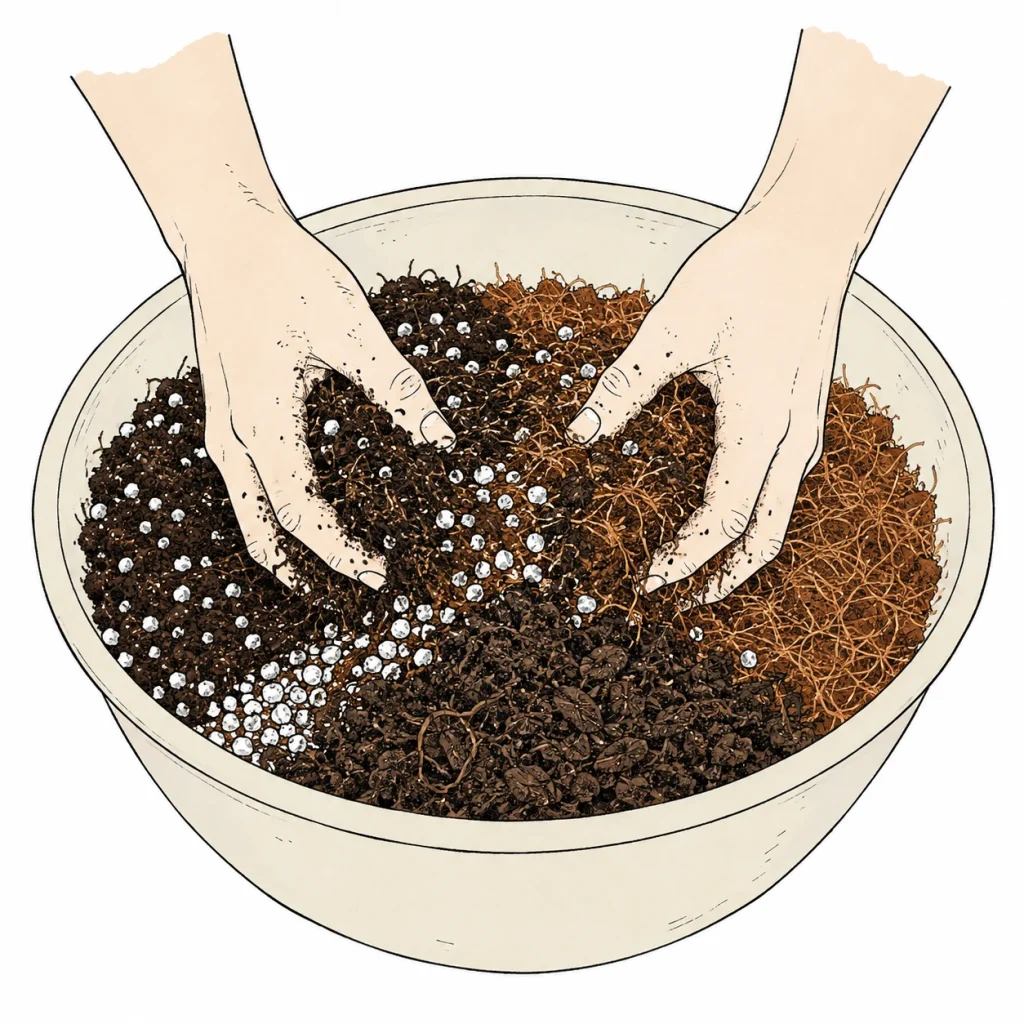
Mixing your own cannabis soil lays the groundwork for healthy, high-yielding plants. The right recipe decides how well your cannabis plants take up nutrients, how much air reaches the roots and how stable the pH stays in the root zone. Store-bought mixes are often a compromise. A homemade mix can be dialed in to exactly what you and your strain need. Once you’ve learned to mix your own growing medium, you’ll rarely want to go back to bagged soil. In this guide, you’ll learn which ingredients you need, which recipes have proven themselves and how to avoid the most common mistakes when mixing.
Why Mixing Your Own Cannabis Soil Makes Sense
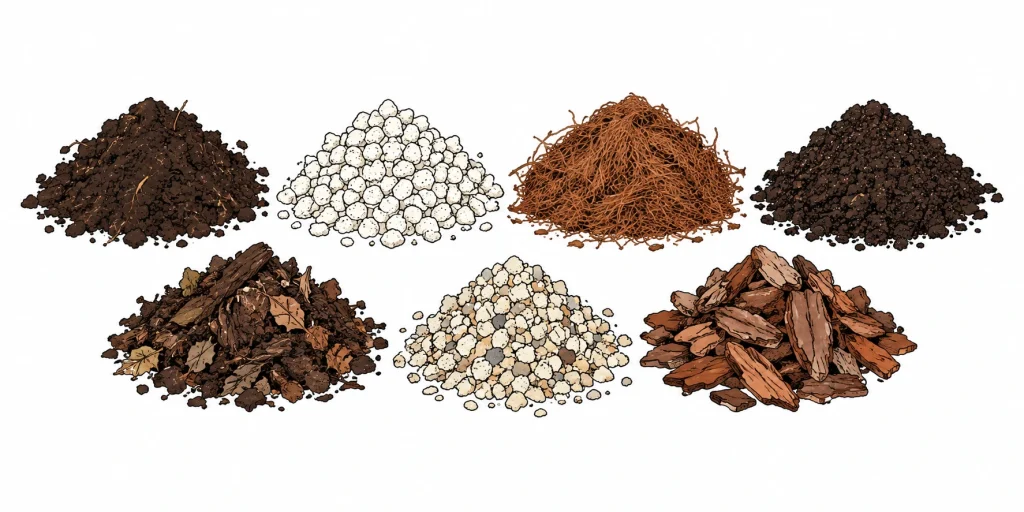
A lot of first-time growers grab the first bag of potting soil they see at the garden center. That works, but rarely as well as it could. Off-the-shelf soils are often too dense, pack too many nutrients for young seedlings or have a pH buffering capacity that isn’t ideal for cannabis. When you mix your own growing medium, you get full control over drainage, water retention, nutrient content and aeration.
A homemade cannabis mix can also save you money: the individual ingredients are cheaper in bulk than ready-made specialty mixes. Plus, you can blend different mixes for each stage: a light, low-nutrient mix for germination, a balanced mix for the vegetative stage (veg) and a mix rich in phosphorus and potassium for the flowering stage. This targeted approach gives you more control as a grower and can lead to better harvests over time.
- Full control over nutrient content, drainage and aeration
- Lower costs when you buy the individual ingredients in bulk
- Recipes you can adjust for each growth stage
- No unwanted additives or overly “hot” starter nutrients
- Better pH stability thanks to carefully chosen ingredients
The Key Ingredients for Your Homemade Cannabis Soil Mix
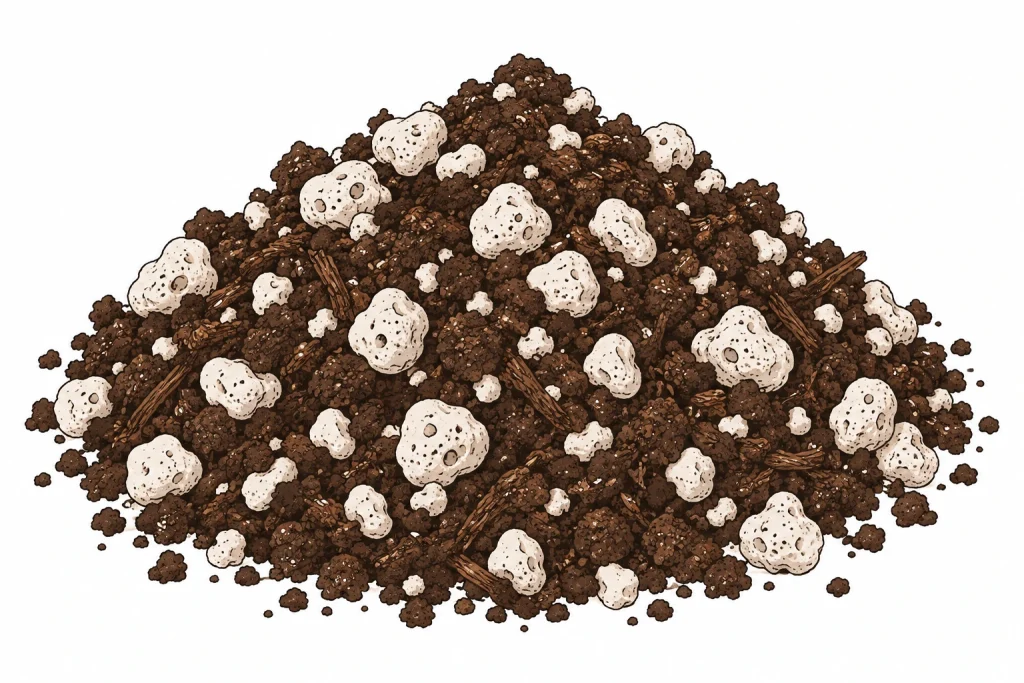
A good cannabis growing medium is made from several base ingredients that complement each other. Each one has a specific job: some store nutrients, others improve drainage, and others boost root aeration. Here are the most important base ingredients for your own mix.
High-quality soil is the foundation of every mix. Quality potting soil, compost-based soil or a specialty potting mix with a neutral pH between 6.0 and 7.0 all work well. Avoid soils with a very high peat content, since peat can push your pH down hard. Research from Weihenstephan-Triesdorf University of Applied Sciences shows that peat-free alternatives like green-waste compost or coco products can work just as well when managed properly. Perlite is one of the must-have ingredients: this porous volcanic rock massively improves drainage and aeration, helps prevent waterlogged roots and encourages root growth. For most mixes, aim for 20 to 30 percent perlite.
Coco coir (coco) is a great addition to soil, or even a full replacement for it. Coco has a fairly neutral pH, excellent water retention and good aeration. We compare ready-made coco coir you can buy (German) on a separate page. Worm castings (vermicompost) are a nutrient-rich organic ingredient that feeds soil life and delivers slow-release nutrients. Adding 10 to 20 percent worm castings upgrades any mix. If you recycle your own kitchen scraps, you can also plan in bokashi ferment as an organic boost. Biochar improves the cation exchange capacity (CEC) of your mix, holds water and nutrients and supports beneficial microorganisms.
Other useful ingredients include perlite alternatives like pumice or clay pebbles (LECA) (German) for drainage, coco pith for organic matter, dolomite lime to stabilize pH, and organic amendments like guano, horn meal, calcified seaweed or mycorrhizal fungi products. The pH for cannabis in your finished mix should sit between 6.0 and 7.0 so all nutrients stay readily available.
- Base soil: quality potting soil, compost-based soil or coco, pH-neutral
- Perlite: 20–30% for drainage and aeration
- Coco coir: water retention and aeration
- Worm castings: 10–20% for nutrients and soil life
- Biochar: nutrient storage and support for microorganisms
- Dolomite lime: pH buffer for stability
- Mycorrhizal fungi (mycorrhizae): boost nutrient uptake by the roots
- Organic amendments: guano, horn meal, calcified seaweed
Proven Soil Mix Recipes for Cannabis – From Beginner to Pro
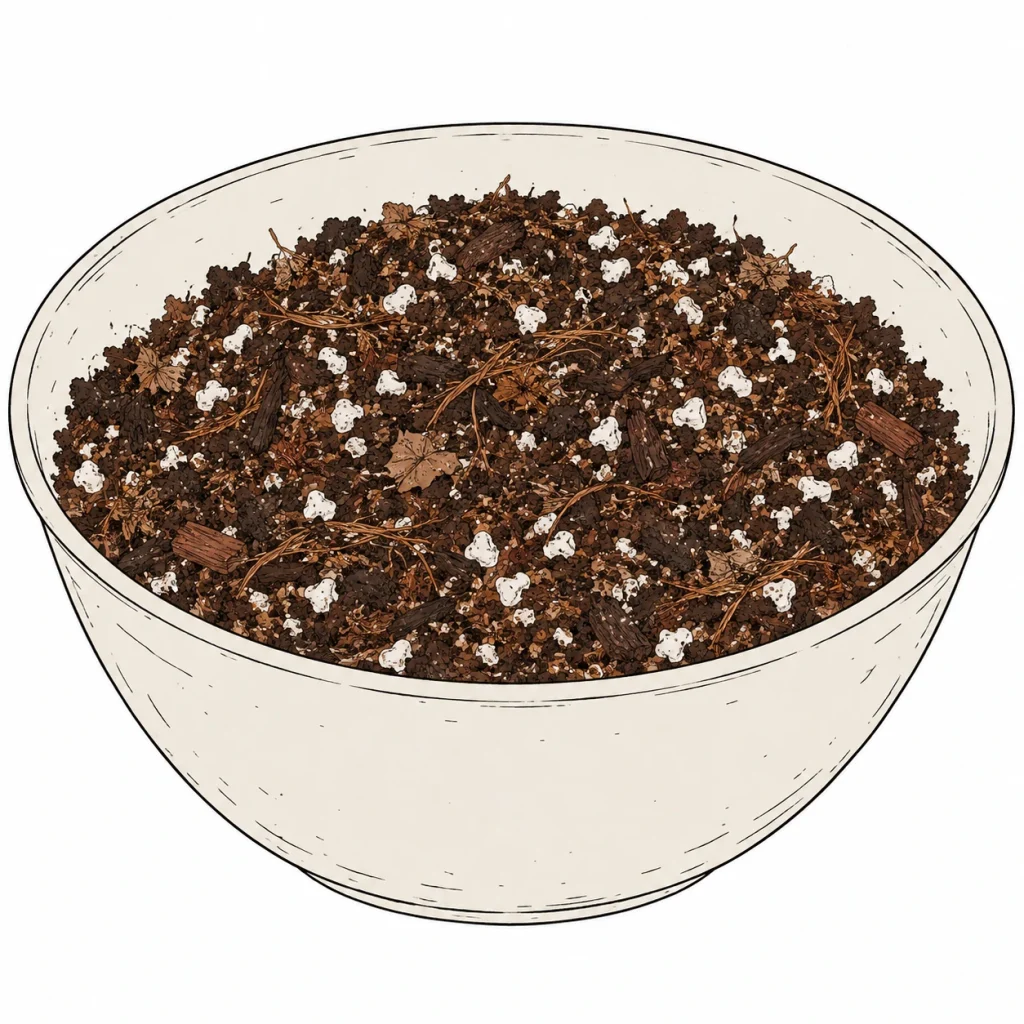
There’s no single perfect soil recipe for cannabis. The best mix depends on how you grow, the plant’s stage, the strain and how you like to water. Still, a few base recipes have earned their stripes in the grow community. Use them as a starting point and tweak them to fit your setup. If you’d rather not mix your own, check out our comparison of ready-made grow soils: Best soil for cannabis (German).
The beginner recipe (simple and reliable): 60% high-quality potting soil (e.g. Plagron Bat Mix, BioBizz All-Mix or similar), 30% perlite, 10% worm castings. This mix is easy to make, buffers well and holds enough nutrients for the first 4–6 weeks. After that, you’ll need to add organic or mineral nutrients. It’s a great pick for first-time growers because it’s forgiving and doesn’t tip into nutrient burn right away.
The balanced all-round recipe for intermediate growers: 40% compost-based soil, 25% perlite or pumice, 15% coco coir, 10% worm castings, 5% biochar, 5% organic amendments (guano, horn meal, dolomite lime). This mix gives you excellent drainage and aeration, a balanced nutrient base and works for the whole grow cycle.
The super soil recipe for organic growers (living soil): 40% high-quality compost-based soil, 15% perlite, 15% coco coir, 10% worm castings, 5% biochar, 3% dolomite lime, 2% bat guano (high in phosphorus), 2% seabird guano, 2% kelp meal, 2% feather meal, 2% mycorrhizal fungi inoculant, 2% gypsum (calcium sulfate). Super soil needs to “cook” (ferment) for 4–6 weeks before you use it. During that time, microorganisms break down the organic amendments and make the nutrients available to your plants. With super soil, you often don’t need any extra nutrients during the grow – just water.
The coco-heavy mix for more control: 50% coco coir, 30% perlite, 15% worm castings, 5% biochar. This mix drains really well and is ideal if you water often. Coco holds almost no nutrients, so you need to feed from day one. That can be a drawback for beginners, but it’s a big plus for experienced growers who want precise control over feeding. Always keep the basics of how to water cannabis properly in mind – coco mixes are less forgiving of overwatering or underwatering than soil mixes.
- Beginner: 60% soil, 30% perlite, 10% worm castings
- Intermediate: 40% compost-based soil, 25% perlite, 15% coco, 10% worm castings, 10% amendments
- Super soil: complete organic mix with 4–6 weeks of cooking time
- Coco mix: 50% coco, 30% perlite, 15% worm castings – needs frequent watering
- Seedling mix: 80% fine soil, 20% perlite – low in nutrients for seedlings
How to Mix Your Own Growing Medium: Step by Step
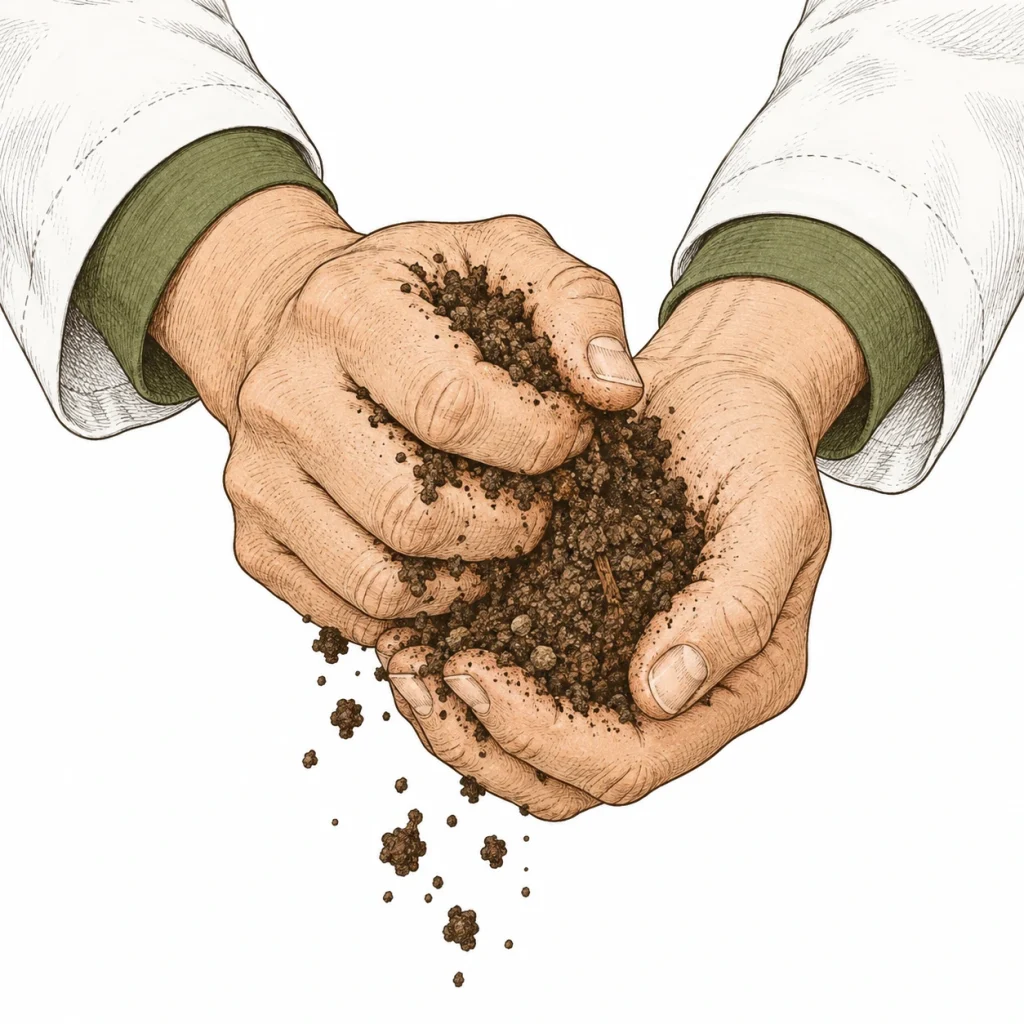
Mixing your own growing medium is easier than most people think. With the right ingredients and a few simple steps, you’ll have a pro-grade mix in no time. Here’s the hands-on, step-by-step guide.
Step 1 – Plan and gather your materials: First, pick a recipe that fits your experience level and growing method. Figure out how much mix you need in total (pot volume × number of plants) and buy your ingredients to match. Buy perlite, coco coir, worm castings and other amendments in bulk – it’s a lot cheaper.
Step 2 – Prep the components: Hydrate coco coir before use and, if needed, buffer it with a Cal-Mag solution, since coco naturally binds calcium and magnesium. You can use perlite straight out of the bag. Worm castings should be moist, but not wet. Biochar benefits from being charged with a nutrient solution or compost tea before you mix it in.
Step 3 – Mix: Use a clean tub, bin or tarp. Add the components a little at a time and mix thoroughly until everything looks even. Moisten the mix lightly – it should hold its shape when squeezed, but not drip. Here’s the classic “squeeze test”: grab a handful of the mix, squeeze it firmly and open your hand. If it holds its shape and then crumbles apart when you poke it, the moisture is just right.
Step 4 – Check the pH: Measure the pH of your finished mix with a soil test kit or a pH meter. Aim for a pH between 6.0 and 7.0 for soil mixes (6.5 is the sweet spot) or 5.8–6.3 for coco-heavy mixes. If the pH is too high, add a little sulfur or an acidic fertilizer. If it’s too low, dolomite lime helps. Getting pH correction right is a topic of its own – one you’ll definitely want to master.
Step 5 – Cooking your super soil (super soil only): Fill the finished mix into clean trash bags or large bins. Keep it moist (but not wet) and store it somewhere warm. Turn it every few days. After 4–6 weeks, your super soil is ready. You can tell it’s done when it has an earthy, pleasant smell and a dark, crumbly texture.
- Figure out how much you need: pot volume × number of plants = total amount
- Rinse coco coir before use and buffer it with Cal-Mag
- Mix your growing medium evenly and thoroughly
- Squeeze test: the medium clumps together but doesn’t fall apart
- Aim for a pH between 6.0 and 7.0 and measure it
- Super soil: let it cook for 4–6 weeks
- Tools: tub, shovel, pH meter, gloves
Mixing Your Growing Medium for Each Growth Stage
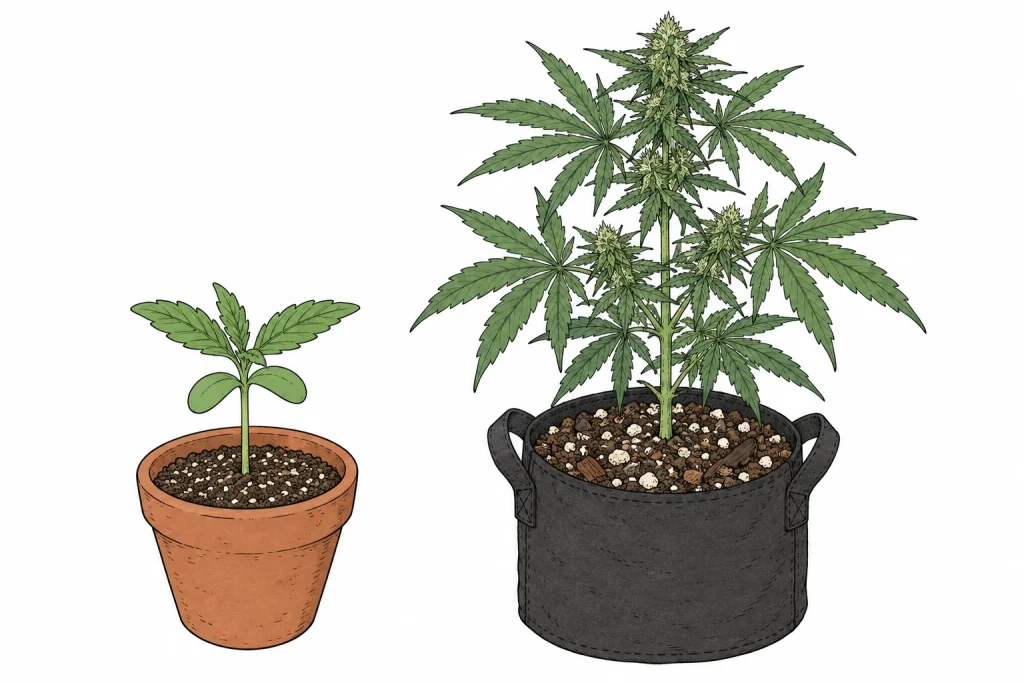
Cannabis needs different things from its growing medium at different stages of life. During germination and the seedling stage, it wants a light, airy, low-nutrient soil with a fine texture. Too many nutrients can burn the delicate roots of young seedlings and stunt their growth. For seedlings, use a mix of 80% fine, low-nutrient soil and 20% perlite. Ready-made seed-starting mixes are a solid option, too.
In the vegetative stage, nutrient demand goes up – especially for nitrogen. Now a richer mix with more worm castings or organic amendments makes sense, and home-brewed compost tea can give your soil life an extra boost. Drainage stays important, since you’ll be watering more often. In general, your medium should supply enough nitrogen during veg for fast leaf growth without tipping over into nutrient burn.
In the flowering stage, your plant’s nutrient needs shift completely: nitrogen becomes less important, while phosphorus and potassium take center stage. A lighter medium with good drainage helps bud development. If you mix your own, you can work in organic bloom amendments like bat guano (high in phosphorus), seabird guano, or langbeinite (K-Mag). A balanced ratio supports terpene development and resin production.
For indoor cannabis growing, it’s especially important to match your growing medium to your controlled conditions. Indoor plants can’t send their roots down into deeper soil layers with different nutrient levels – they rely entirely on what’s in the pot. That’s why drainage matters so much: overwatering is one of the most common mistakes in indoor growing and can lead to root rot and nutrient problems.
- Germination: 80% fine soil, 20% perlite – low nutrients
- Vegetative stage: nitrogen-focused mix, good drainage
- Flowering stage: phosphorus and potassium amendments, lighter medium
- Indoor: excellent drainage and precise nutrient control are key
- Outdoor: can be mixed with garden soil, use deep pots
Common Mistakes When Mixing Your Growing Medium (and How to Avoid Them)
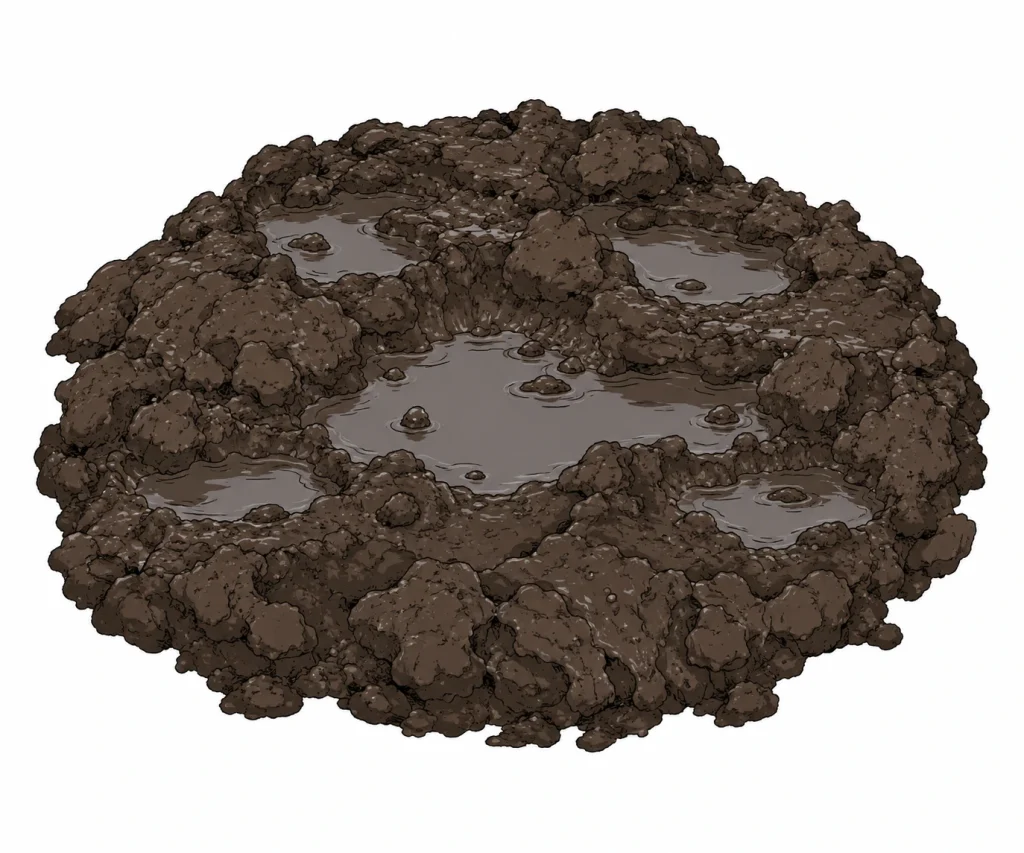
Even experienced growers make mistakes when mixing their medium. Here are the most common ones and how to avoid them. The first and most frequent mistake is poor drainage. Many growers use too little perlite or skip it entirely – the result is a dense, poorly draining mix that can lead to waterlogged soil and root problems. Every mix should contain at least 20% perlite, ideally 25–30%.
Another common mistake is giving seedlings too many nutrients. Organic amendments are great in general, but seedlings can only handle very little. Use a low-nutrient mix for the first 2–3 weeks and ramp up the nutrients gradually. Too many nutrients can cause burnt leaf tips and growth stress – often showing up as classic yellow cannabis leaves.
Mistake number three is ignoring pH. Lots of growers check the pH of their water but not of the finished mix. The wrong medium pH can block nutrient uptake and cause symptoms that look like deficiencies but aren’t – all the nutrients are there, your plant just can’t access them. Always measure the pH of your finished mix and adjust it if needed.
Mistake four: the wrong ratio of ingredients. Too much coco coir without enough organic matter gives you a nutrient-poor mix that needs constant feeding. Too much compost, on the other hand, can lead to nutrient burn. Stick to proven recipes at first and only tweak them once you have some experience. Mistake five is using low-quality ingredients. Cheap big-box potting soil often contains pests, mold spores or unknown chemical additives. Invest in quality ingredients. It pays off with healthier plants and bigger harvests.
Finally, many growers forget to “wake up” their mix before planting. Homemade mixes, especially super soil, benefit from being lightly moistened and left to rest for a few days before you plant. This gets the microorganisms going and stabilizes the pH. By the way, all of these points tie directly into how and how often you water your plants. You’ll find the basics in our article on how to water cannabis the right way.
- Not enough perlite: plan for at least 20–30%
- Too many nutrients for seedlings: use a light seedling mix
- Not checking pH: always test the pH of your growing medium, too
- Wrong ingredient ratio: start from proven recipes
- Low-quality ingredients: buy quality products, it’s worth it
- Not activating the mix: moisten it and let it rest before planting
Mixing Your Own Soil: pH, Nutrients and Soil Testing
A pro approach to mixing your own cannabis soil always includes checking pH and nutrient levels. Simple pH test strips are fine to start with, but a good pH meter gives you more accurate readings. Measure the pH in both the dry and the moistened mix, since water can shift the pH.
Electrical conductivity (EC) tells you the total nutrient content of your mix. An EC that’s too high early on can overwhelm the roots. For seedlings, aim for under 500 ppm (1.0 mS/cm), for plants in veg 600–1,000 ppm (1.2–2.0 mS/cm), and for flowering plants up to 1,250 ppm (2.5 mS/cm). That makes an EC meter a smart investment if you mix your own soil regularly.
For advanced growers, a professional soil test can be worth it now and then. It shows exactly which nutrients are present and in what amounts, so you can fine-tune your mix. Labs and some grow shops offer these tests, and they usually run about $25 to $70. That’s an investment that can pay for itself quickly on bigger grows.
Don’t forget: beyond the chemistry, the life in your soil matters just as much. Beneficial bacteria, fungi (especially mycorrhizal fungi) and other microorganisms are what make nutrients available to your plants, and they help protect the roots from pathogens. In our Plant Diagnosis hub you’ll find an overview of all the problems that can also be caused by your growing medium, from nutrient deficiencies to root diseases.
- Target pH: 6.0–7.0 for soil, 5.8–6.3 for coco mixes
- EC for seedlings: under 500 ppm (1.0 mS/cm)
- EC in the vegetative stage: 600–1,000 ppm (1.2–2.0 mS/cm)
- EC in the flowering stage: up to 1,250 ppm (2.5 mS/cm)
- Soil testing: worth it for bigger grows
- Mycorrhizal inoculant: boosts nutrient uptake and root health
- The biology in your soil is at least as important as the chemistry
When transplanting, timing is key for switching to a new mix. For an overview of ready-made alternatives, check out our growing medium comparison.
Frequently Asked Questions
What’s the best soil mix for cannabis as a beginner?
For beginners, a simple three-part mix works great: 60% quality potting soil (e.g. BioBizz All-Mix or Plagron Bat Mix), 30% perlite and 10% worm castings. This mix is forgiving, has enough nutrients for the first few weeks and drains well.
How much perlite should I add to my cannabis soil?
Every cannabis soil mix should contain at least 20% perlite, ideally 25–30%. Perlite improves drainage and aeration, prevents waterlogged roots and promotes healthy root growth.
Can I use regular garden soil for cannabis?
Regular garden soil isn’t a great choice. It’s often too compact, can contain pests or mold spores and doesn’t offer an ideal nutrient balance for cannabis. If you do use garden soil, mix in at least 30% perlite and check the pH.
What is super soil and how long does it need to cook?
Super soil is a fully organic mix packed with so many nutrients that your plants only need plain water for the entire grow. After mixing, it needs to cook in a warm spot for 4–6 weeks so microorganisms can break down the amendments and make them available to your plants.
What pH should my homemade soil mix have?
Soil-based mixes should sit between pH 6.0 and 7.0, with 6.5 as the sweet spot. Coco-heavy mixes do better in the slightly acidic range of 5.8 to 6.3. Always check the pH right after mixing and again after the first time you wet the mix.
Do I need mycorrhizal fungi in my homemade growing medium?
Mycorrhizal fungi (mycorrhizae) aren’t a must, but they’re highly recommended. These fungi form a network around the roots and can noticeably boost nutrient uptake. They make the most sense in organic mixes and super soil. Avoid fungicides, because they can kill off your mycorrhizal cultures.
How often do I need to feed a homemade growing medium?
That depends heavily on your recipe. Nutrient-rich mixes like super soil often need no extra nutrients at all. Simpler soil-and-perlite mixes usually need supplemental feeding after 4–6 weeks. Coco-heavy mixes need nutrients right from the start.
You’ll find ready-to-use components for mixing your own growing medium in our Recommended Gear.
What’s the difference between Light-Mix and All-Mix soil?
Many brands like BioBizz or Plagron offer their soils in two basic versions: Light-Mix is a lightly fertilized starter medium, mostly peat or coco with very little pre-added food. It’s ideal for seedlings, clones and growers who want full control over feeding with liquid nutrients. All-Mix, on the other hand, comes pre-loaded with organic nutrients for 4 to 6 weeks. It’s a great fit for beginners who want to feed as little as possible during the early vegetative stage.
This difference directly affects your risk of nutrient burn: if you add full-strength nutrients on top of pre-fertilized All-Mix, you can end up with nutrient burn pretty fast. With Light-Mix, the bigger risk is starting your first feeding too late or too weak. For a side-by-side price and product comparison of different soil brands, check out our page Buying Cannabis Soil (German).
How do I mix cannabis soil from coco and worm castings?
A solid coco and worm castings mix is 50 percent coco coir, 30 percent perlite and 15 to 20 percent worm castings, topped off with 5 percent biochar. This coco-heavy recipe drains really well and is more forgiving of overwatering than pure soil mixes. The trade-off: you’ll need to water more often and should start feeding in the vegetative stage, since coco and worm castings hold very few long-term nutrients on their own.
Bottom Line
Mixing your own cannabis growing medium takes some time and planning, but it pays off with healthier plants, bigger yields and more control over your grow. The right soil recipe isn’t rocket science. Start with a proven base of quality soil, plenty of perlite and organic amendments, and you’re on the right track. Always check your pH, match your nutrients to each growth stage and take your time when mixing. If you still run into trouble with a well-dialed medium, use the Cannabis Plant Diagnosis Hub as your go-to reference. Even the best mix can’t prevent every challenge a grow can throw at you.
