

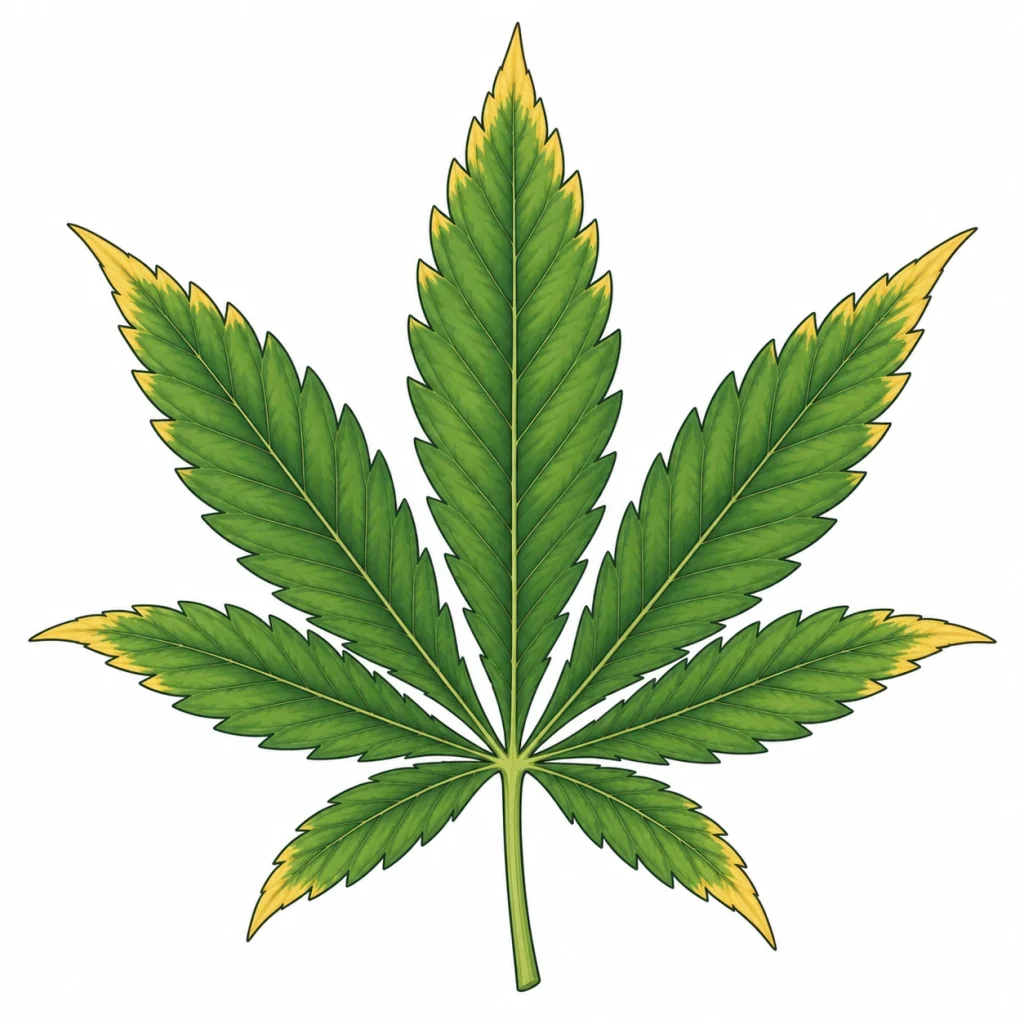
When cannabis leaf tips turn yellow, your plant is sending you a clear warning sign – and it’s one of the most common problems home growers run into. Check the cannabis laws where you live before growing. The good news: in most cases you can narrow down the cause quickly and fix it before any serious damage sets in. Yellow leaf tips are almost always caused by stress, and often it’s stress you created as the grower – too many nutrients, the wrong pH, or less-than-ideal growing conditions. In this article, PlantClue walks you step by step through diagnosing the problem and getting your plant back on track.
Why Do Cannabis Leaf Tips Turn Yellow? Here’s What’s Behind It
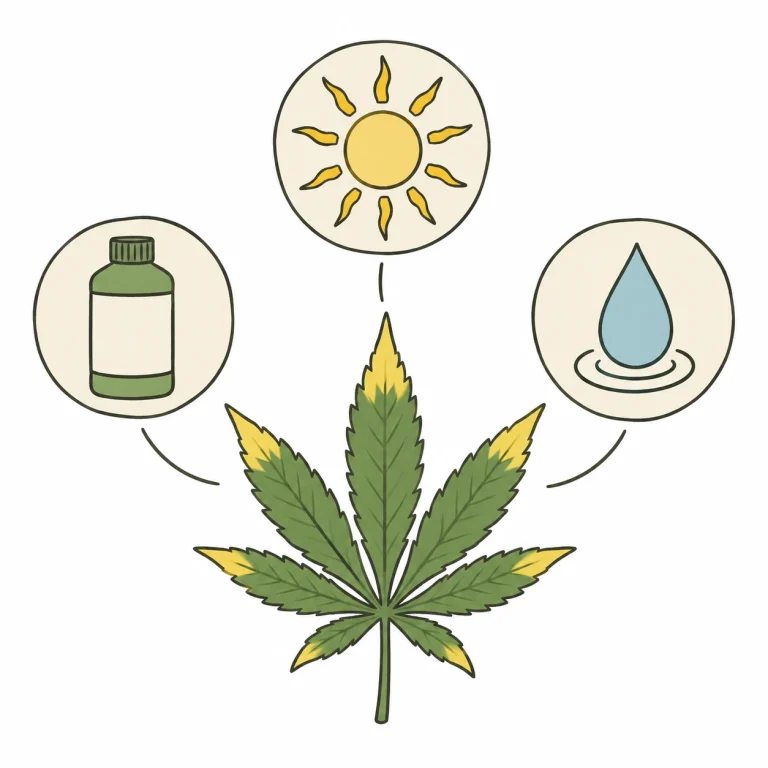
Yellow or brown leaf tips on cannabis are almost always a symptom of stress. Unlike a classic nutrient deficiency, which usually shows up across the whole leaf, leaf tip problems start at the very edges of the leaves. That’s because the plant pushes harmful substances or excess amounts of certain elements out to the outermost cells of the leaf – basically as a last resort.
The key is telling them apart: yellow tips that look soft and watery point to different causes than tips that look dry, crispy, or brown and burnt — for the brown version, you’ll find the right diagnosis in our article on brown cannabis leaf tips. This observation is your first diagnostic step. Also check whether the symptoms show up on the oldest, lower leaves or on the young growth tips up top – that tells you a lot about the likely cause.
As a rule of thumb, yellow leaf tips usually mean one of four things: too many nutrients (overfeeding), the wrong pH in your growing medium or water, heat stress from lights that are too intense or high temperatures, or, less often, a specific nutrient deficiency. Let’s go through every cause step by step.
- Yellow, dry leaf tips: Often nutrient burn or heat stress
- Yellow, soft tips with yellowing spreading toward the middle of the leaf: More likely a nutrient imbalance caused by a pH problem
- Only young leaves affected: Possible potassium deficiency or calcium excess
- Lower leaves affected first: More likely nitrogen deficiency or the plant pulling nutrients from older leaves
- Evenly spread across the whole plant: Stress response to growing conditions
Nutrient Burn: The Most Common Reason Cannabis Leaf Tips Turn Yellow
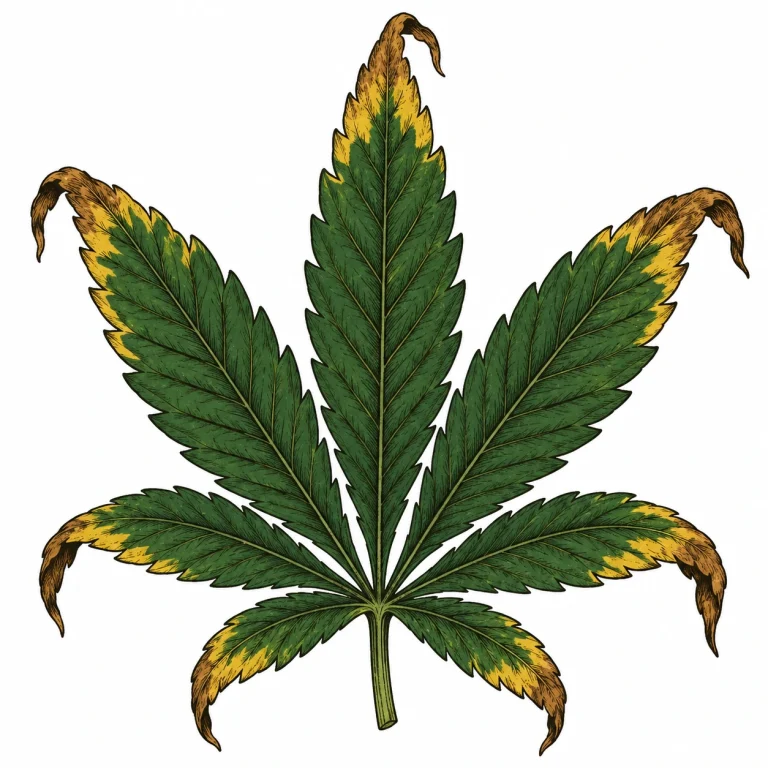
One of the most common reasons cannabis leaf tips turn yellow is overfeeding – better known among growers as “nutrient burn” or “nute burn.” When you give your plant more nutrients than it can use, they build up in the leaf cells and cause chemical stress. The leaf tips get hit first because that’s where the excess nutrients basically get “dumped.”
Here’s how you can spot nutrient burn: The leaf tips are yellow to brown and feel dry and crispy. The rest of the leaf is a deep green, sometimes even an unnaturally dark green. The affected tips snap off easily. The problem usually starts in the middle of the plant and works its way up.
The fix for nutrient burn is flushing: Run pH-adjusted water through your growing medium – about 3 times the volume of your pot. After flushing, hold off on feeding for at least a week or use clearly reduced nutrient doses. For indoor growers, an EC meter is also a smart buy so you can keep a constant eye on the nutrient strength of your water – during the vegetative stage, values between 600 and 1,000 ppm (1.2–2.0 mS/cm) are usually ideal. Learn more in our article on how to spot and fix nutrient burn in cannabis.
- Symptom: Yellow-brown, dry and crispy leaf tips
- Other signs: Unnaturally dark green leaves overall
- Fix: Flush the growing medium with 3x the pot volume of pH-adjusted water
- Prevention: Check the EC (electrical conductivity) of your water regularly
- Take a 7–14 day break from feeding after flushing
pH Out of Balance: The Hidden Cause of Yellow Leaf Tips
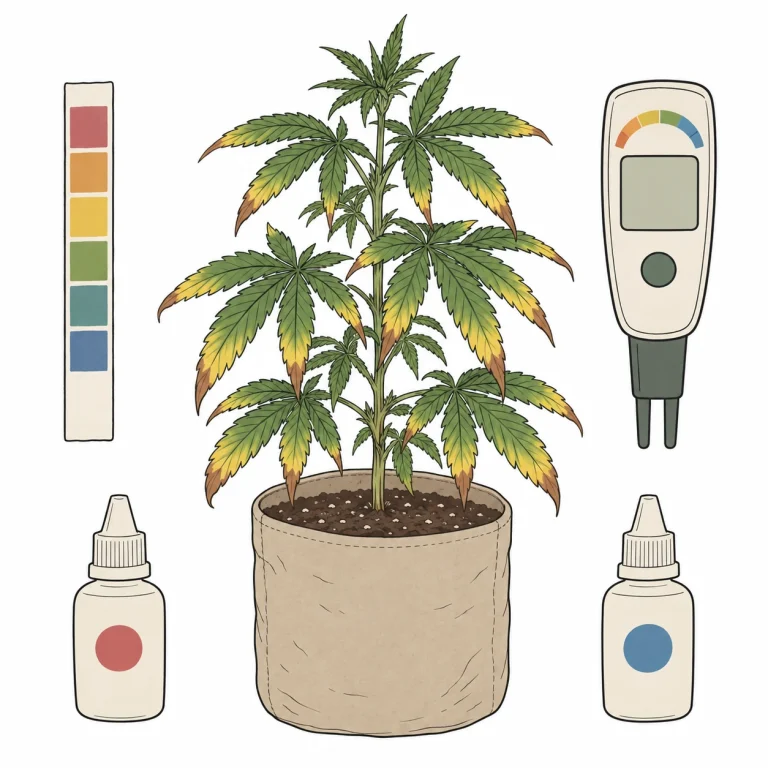
The wrong pH is sneaky because it doesn’t leave a visual signature of its own – but it makes every other problem worse and can push even well-fed plants into crisis. When the pH in your growing medium or water is outside the ideal range, your plant can’t take up nutrients properly. The result: Your plant starves even though there are plenty of nutrients in the medium, and you see symptoms like yellow leaf tips.
If you grow in soil, aim for a pH between 6.0 and 7.0, ideally around 6.5. In hydro or coco, keep your pH between 5.5 and 6.5, with the sweet spot at 5.8 to 6.0. If your pH stays too low or too high, certain nutrients get locked out. A low pH can block calcium and magnesium, and a high pH can block iron and zinc. Both can show up at the leaf tips. That’s why dialing in your pH is a core grower skill. Our article How to adjust pH for cannabis and avoid common mistakes walks you through it step by step.
Spot yellow leaf tips and not sure if feeding is to blame? Check your pH right away. Measure the pH of your runoff and compare it with the pH of the water you feed. If the runoff reads much lower, salts may be building up and your growing medium may be getting too acidic.
- Best pH for soil: 6.0–7.0 (ideal 6.5)
- Best pH for hydro/coco: 5.5–6.5 (ideal 5.8)
- Measure your runoff: it tells you the pH in your growing medium
- pH too low: calcium and magnesium get locked out
- pH too high: iron and zinc get locked out, and both can turn leaf tips yellow
Heat Stress and Light Burn: When Heat Turns Cannabis Leaf Tips Yellow
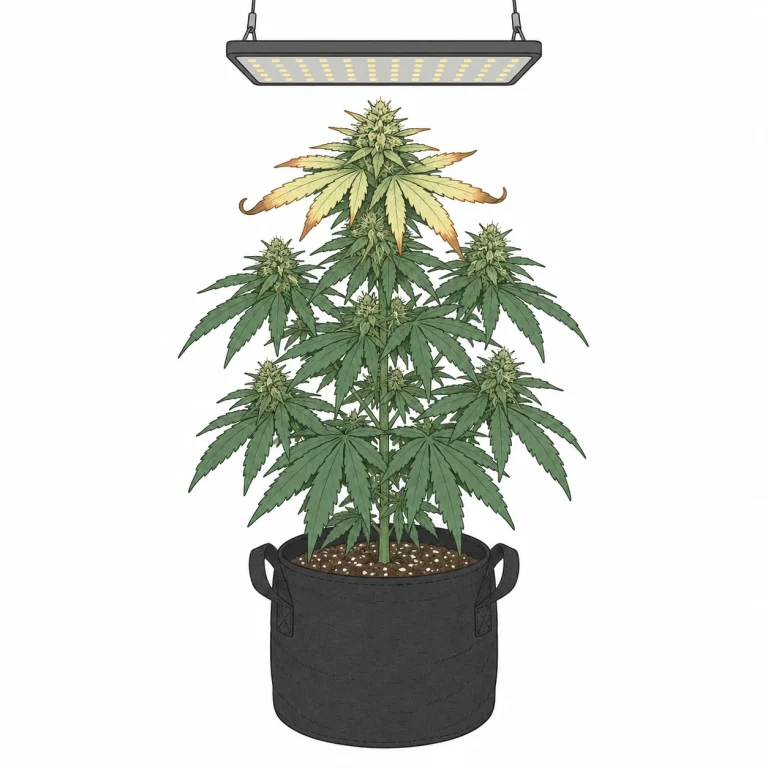
Heat stress and overly intense light are two more common reasons cannabis leaf tips turn yellow. In indoor grows, your tent can climb past 86 °F (30 °C) fast, especially in summer or under powerful LED and HPS lights. From around 82 °F (28 °C), your plant starts to feel the stress. You’ll often see it first at the tips of the upper leaves closest to the light.
Light burn, meaning damage from light that’s too strong or too close, looks a lot like nutrient burn. Here’s the difference: light burn always hits the leaves closest to the light first, so the top growth. Nutrient burn tends to show up more evenly across the whole plant. So check your light height first. For quality LEDs, most manufacturers recommend 20–31 in (50–80 cm) during veg and 16–24 in (40–60 cm) during the flowering stage.
Wind burn can cause yellow leaf tips too. It happens when a fan blows too hard or straight onto the leaves. You’ll spot it by leaves curling inward with yellow-brown tips. Never point your fans directly at your plants. Let the air circulate around them instead. During the day, the ideal temperature in your grow tent is between 72 and 81 °F (22–27 °C).
- Temperatures above 82 °F (28 °C) can cause heat stress with yellow leaf tips
- Light burn: hits the top leaves closest to the light first
- Recommended LED distance: 20–31 in (50–80 cm) in veg, 16–24 in (40–60 cm) in flower
- Wind burn from a fan pointed straight at the plant: leaves curl inward and the tips dry out
- Ideal temperature: 72–81 °F (22–27 °C) during the day, no lower than 64 °F (18 °C) at night
Nutrient Deficiencies: When Yellow Leaf Tips Point to a Deficiency
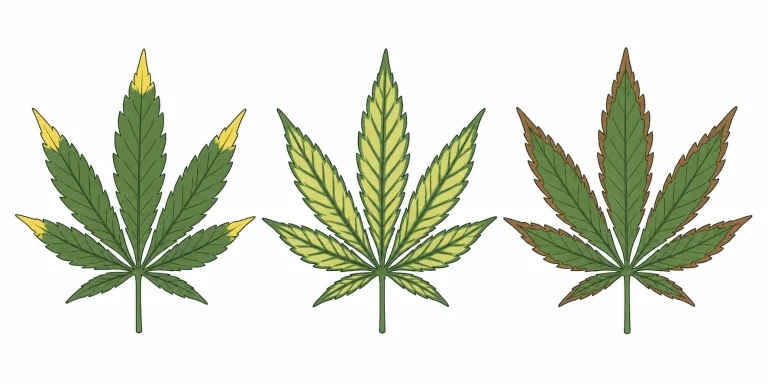
Yellow leaf tips don’t always mean too much of something. Sometimes your plant is missing something (you’ll find a full rundown of all deficiency symptoms in our deficiency overview). Potassium deficiency in particular often shows up as yellow-brown leaf tips and edges, while the center of the leaf stays green at first. Potassium is essential for water regulation through the stomata and for moving sugars through the plant. When it runs short, the leaf edges are the first to dry out.
Calcium deficiency looks a bit different. First, pale yellow to white spots appear between the leaf veins, and only then do the tips slowly change color. Calcium mainly drives cell growth and is especially important for young shoots, so new leaves are often hit first. Check out our in-depth article How to spot and fix calcium deficiency in cannabis fast.
Nitrogen deficiency, on the other hand, starts on the oldest, lowest leaves with even yellowing all over. If only the tips are affected, nitrogen is rarely the only cause. As a rule of thumb: to tell a real deficiency apart from a pH-related nutrient lockout, always check your pH first. Also worth a read: When cannabis leaves turn yellow gives you a full overview of every cause of yellowing.
- Potassium deficiency: yellow-brown leaf tips and edges, leaf center stays green
- Calcium deficiency: spots between the veins, young leaves hit first
- Nitrogen deficiency: even yellowing of the lower leaves, rarely just the tips
- Always check your pH first before you change your nutrients
- Mixed symptoms are possible: several deficiencies can show up at the same time
Step-by-Step Diagnosis: Pinpointing the Cause of Yellow Cannabis Leaf Tips
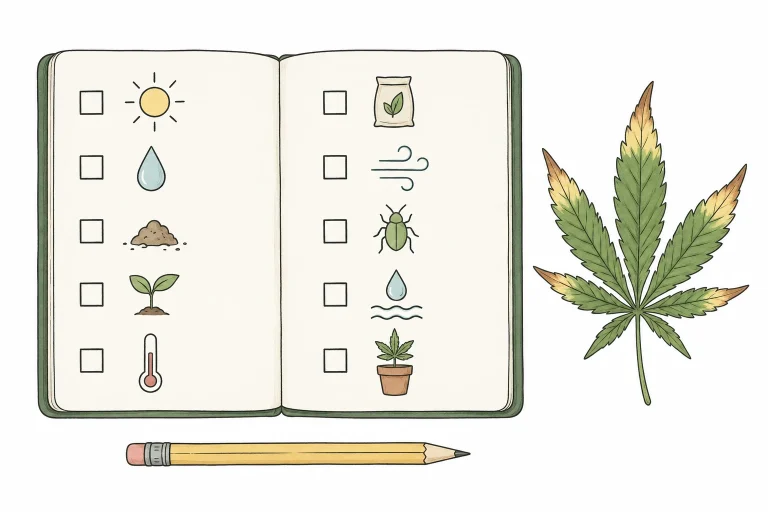
When your cannabis leaf tips turn yellow, a structured diagnosis is the key. Always work through it step by step instead of blindly switching nutrients or adjusting the pH right away. Guesswork can make things worse. The plant diagnosis overview on PlantClue gives you a complete system for getting your bearings fast with any plant problem.
Start with a visual inspection. Which leaves are affected: older ones at the bottom or new growth up top? What do the tips look like: dry and crispy, or soft and mushy? Do you see other symptoms, like discoloration across the leaf, odd shapes or patterns? Does the growing medium smell bad? That can point to a root problem.
Step two: measure the pH and EC of your feed water and your runoff. If the runoff EC is much higher than your input, nutrients are probably building up in the medium. That’s a sign of nutrient burn or not enough flushing. Step three: check your environment, meaning temperature, humidity and light distance. Only make corrections once you’ve checked all three.
- Step 1: Visual inspection – which leaves, which symptoms, which patterns?
- Step 2: Measure pH and EC – compare feed water and runoff
- Step 3: Check your environment – temperature, humidity, light distance
- Step 4: Narrow down the cause and make targeted fixes
- Step 5: Watch for 5–7 days and fine-tune if needed
Watering Right as Prevention: How to Avoid Yellow Leaf Tips From Day One
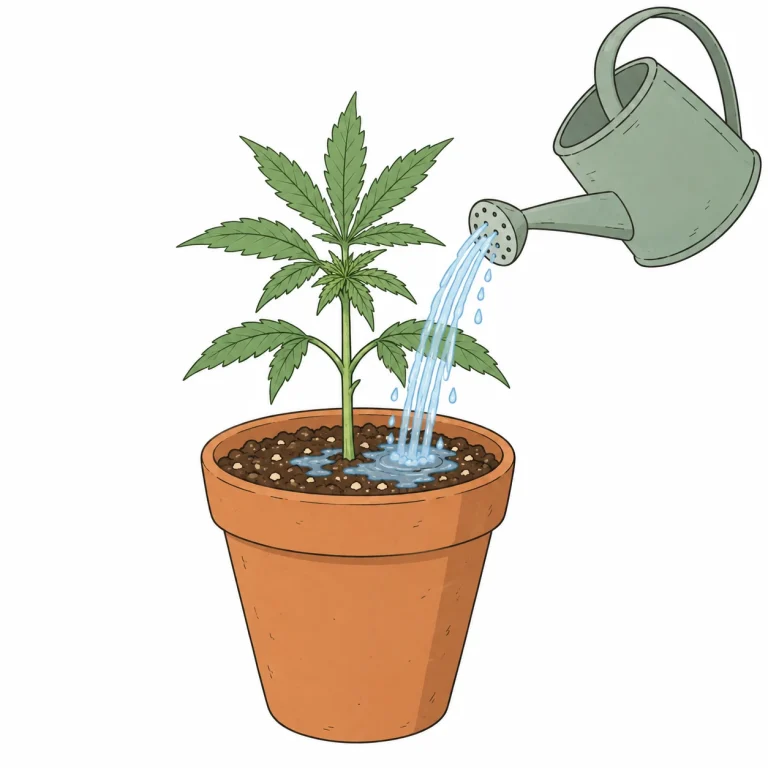
Lots of yellow leaf tip cases can be prevented simply by watering correctly. Water too much and you risk overwatering, which starves the roots of oxygen. That blocks nutrient uptake and can lead to deficiencies that show up at the leaf tips, among other places. Water too little and you cause drought stress, which can also trigger leaf tip problems. How to water cannabis the right way shows you how to hit the sweet spot.
The “lift method” is a proven trick: pick up your pot before and after watering. If it feels light, your plant needs water. If it’s heavy, there’s still enough moisture in there. As a rule of thumb, wait until the top 1 in (2–3 cm) of the medium has dried out before you water again. This simple rule is a reliable way to prevent waterlogged roots.
Also make sure your water isn’t too cold. Tap water should be at least room temperature, 68–72 °F (20–22 °C), before it goes to your plant. Water that’s too cold can briefly block nutrient uptake, and the sensitive leaf tips may show it. And always adjust your water’s pH before you add nutrients.
- Lift method: compare pot weight before and after watering
- Only water once the top 1 in (2–3 cm) of the medium is dry
- Bring your water to room temperature, 68–72 °F (20–22 °C)
- Always adjust pH before adding nutrients
- Avoid waterlogged roots: pots need enough drainage holes
If whole leaves are affected rather than just the tips, check out our article on light green leaves. If the problem shows up specifically during flowering, you’ll find more on yellow leaves during the flowering stage.
Frequently Asked Questions
Are yellow leaf tips on cannabis always a problem?
A few yellow tips on very old, lower leaves can be normal when the plant is breaking those leaves down. But if several leaves are affected, the symptoms are spreading, or new growth is affected too, you’ll want to narrow down the cause and fix it.
Can a leaf with yellow tips still recover?
Once a leaf has turned yellow, it usually won’t fully recover. The dead tissue stays discolored. What you can do is stop the symptoms from spreading. Once you’ve fixed the cause, new leaves should come in healthy and clean.
How fast do I need to act on yellow leaf tips?
Yellow leaf tips aren’t an emergency, but you should make a diagnosis and start correcting things within 24 to 48 hours of spotting them. The longer the underlying problem sticks around, the more leaves can be affected.
Can I just cut off leaves with yellow tips?
Basically, yes. You can remove badly damaged leaves so your plant can focus its energy on healthy growth. But fixing the cause matters more. Pulling leaves without solving the problem won’t help you in the long run.
What’s the difference between yellow leaf tips and brown leaf edges?
Yellow leaf tips usually point to early nutrient problems or mild stress. Brown, dry edges are often a sign of advanced nutrient burn, potassium deficiency or heat stress. If the tips start out yellow and then turn brown and crispy, the problem is escalating, so act fast.
Yellow Leaf Tips During Flowering: What Should You Do?
In the flowering stage, cannabis needs more phosphorus and potassium and less nitrogen. If you keep feeding lots of nitrogen during flowering, this can throw your nutrients out of balance and cause yellow leaf tips. Switch your feeding schedule over to bloom nutrients and check your pH and EC regularly.
Can Pests Cause Yellow Leaf Tips Too?
Yes. Spider mites and thrips suck sap out of the leaf tissue and leave tiny pale to yellow spots behind. These often show up first along the leaf edges and tips, so they’re easy to mistake for nutrient stress. If the symptoms aren’t clear, always check the undersides of the leaves with a magnifying glass for fine webbing, bite marks or tiny insects. If you find pests, targeted pest control matters more than adjusting your nutrients or pH.
The Bottom Line
In most cases, yellow leaf tips on cannabis have a clear, fixable cause, whether it’s nutrient burn, the wrong pH, heat stress or a specific nutrient deficiency. With a systematic diagnosis that checks pH and EC first and then looks at your grow environment, you’ll quickly get on the right track. Act within 24 to 48 hours of noticing the symptoms, and keep a close eye on your plant after you’ve made the fix. With the right know-how and a little experience, you’ll learn to spot these problems at the very first sign and correct course in time, for healthy plants and a top-notch harvest.
