

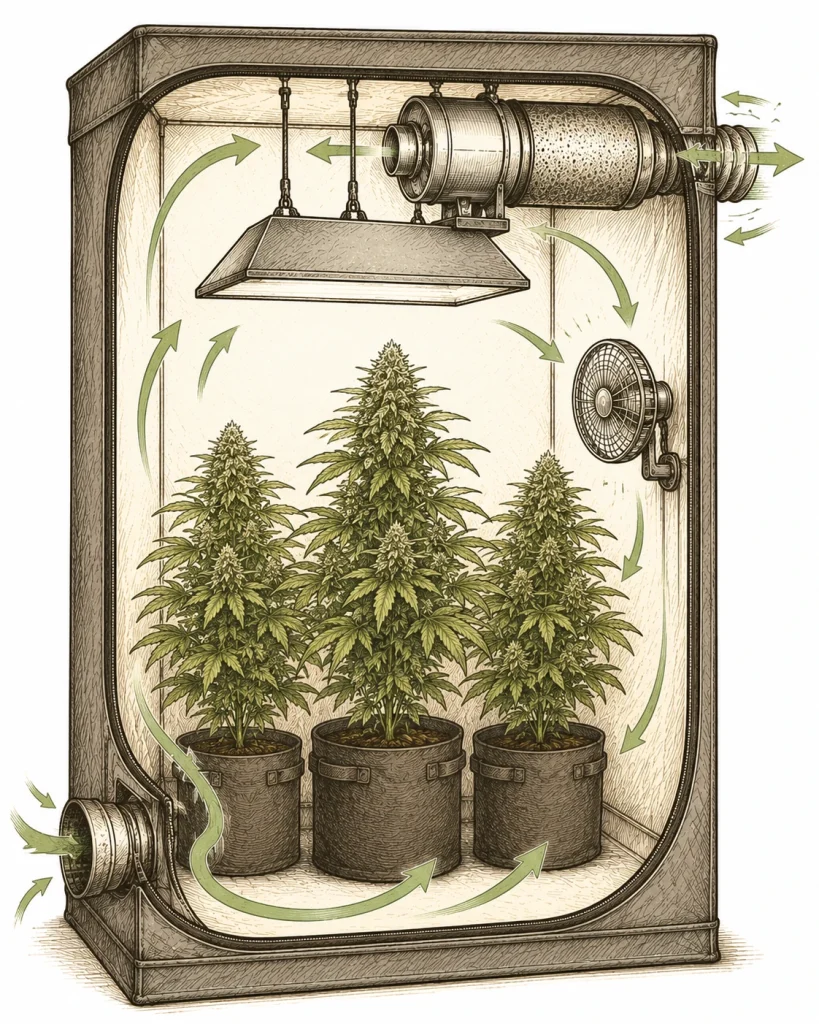
Good cannabis ventilation in your grow tent is one of the biggest factors behind healthy plants and a solid harvest. Without enough fresh air, controlled temperature and steady air movement, heat, high humidity and mold can build up fast. Any of these can wreck your whole grow. Many beginners underestimate how closely ventilation, feeding and watering are linked. If you plan your grow right from day one, you lay the foundation for everything else. In this article, you’ll learn step by step how to ventilate your grow tent properly, which components you need and which mistakes to avoid. Just getting started? Our grow tent setup guide gives you the full rundown of all the basic components.
Why Ventilation Matters So Much in a Cannabis Grow Tent
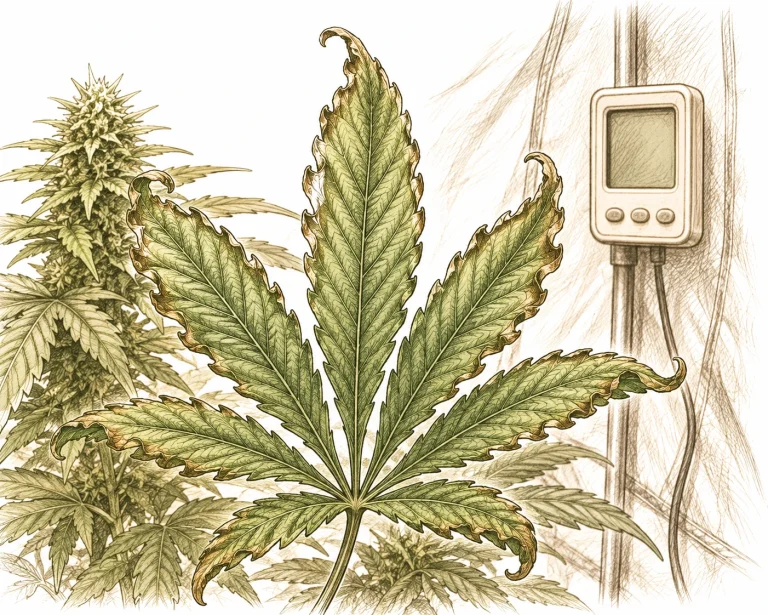
Your cannabis plant breathes. It takes in CO₂, releases oxygen and water vapor, and relies on a steady exchange of air to keep that process going. In a closed grow tent with no ventilation, CO₂ gets used up fast and the temperature rises. Humidity can also climb into a range where mold and pests thrive. The result: struggling plants, yellow leaves and, in the worst case, a lost harvest.
Then there’s the mechanical side of air movement. When air keeps flowing over leaves and stems, it trains them to grow sturdier. That helps the plant’s structure. It also prevents damp microclimates between the leaves, where bud rot (botrytis) and powdery mildew love to start. In short: good grow tent ventilation isn’t a nice-to-have upgrade. It’s an absolute must.
Nutrient uptake also depends on ventilation, at least indirectly. If it’s too hot or the humidity is off, your plant may struggle to take up certain nutrients, even when they’re right there in the growing medium. That can cause symptoms that look like a deficiency at first glance but actually come from a poor grow climate.
- CO₂ supply: Plants need fresh CO₂ for photosynthesis
- Temperature control: Grow lights produce heat that has to be actively removed
- Humidity control: Excess water vapor promotes mold and rot
- Stronger stems: Air movement trains the tissue and makes plants more resilient
- Odor control: Running your exhaust through a carbon filter keeps the smell in check
The Three Pillars of Grow Tent Ventilation: Exhaust, Intake and Circulation
A complete ventilation system always has three components that work as a team. Neglect one of them, and you’re likely to run into problems sooner or later. Once you understand the principle behind it, you can build your setup right from the start.
The first pillar is exhaust. An inline fan, often paired with a carbon filter, pulls stale, warm, humid air out of the tent and sends it outside. The carbon filter sits right at the fan’s intake side and scrubs odors before the air leaves the room. Mount the exhaust fan near the top of the tent: warm air rises, so that’s where you can remove it most efficiently.
The second pillar is intake. Fresh, CO₂-rich air has to get into the tent from outside. This can work passively through vents at the bottom of the tent. The negative pressure from the exhaust fan pulls fresh air in automatically. For bigger setups or really warm outside temperatures, though, an active intake fan is a smart move. It pushes cool, fresh air right where you need it.
The third pillar is circulation. One or more fans inside the tent keep the air moving at leaf level. They spread the incoming fresh air evenly and prevent dead zones. Small oscillating fans or clip fans (German) are fairly cheap but incredibly effective. One important tip: keep the airflow gentle and indirect. Never point a fan straight at your buds on full blast, because that can cause wind burn.
- Exhaust: inline fan + carbon filter mounted at the top of the tent
- Intake: passive through vents at the bottom, or active with a second fan
- Circulation: clip fans or floor fans for even airflow
- Negative pressure: your tent walls should bow slightly inward, a sign that your exhaust is pulling more air than your intake brings in
- Secure connections: attach the filter and fan with hose clamps or duct couplers
How to Size Your Exhaust Fan: Understanding CFM and m³/h
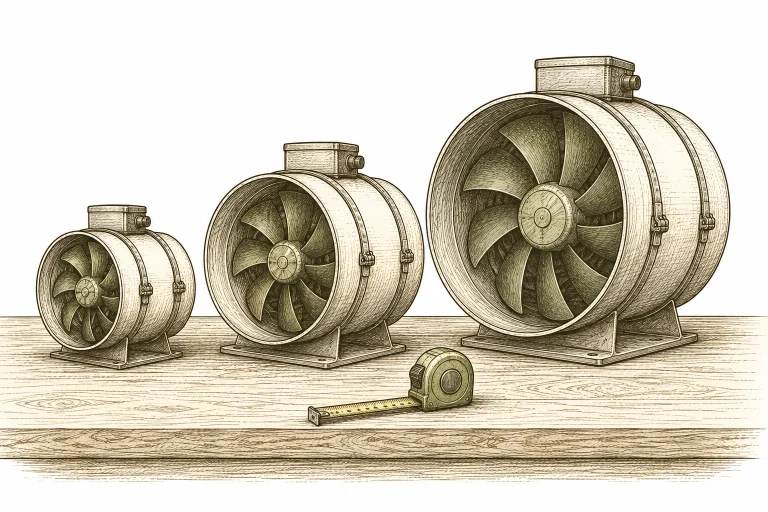
One of the most common grow tent ventilation mistakes is an exhaust setup that’s the wrong size. A fan that’s too weak can’t move enough air. A fan that’s too strong pulls air out too fast and makes your setup louder than it needs to be. The rule of thumb: you want to replace the entire air volume of your tent at least once a minute, ideally every 60 to 90 seconds.
Calculating your tent volume is easy: length × width × height in feet gives you the volume in cubic feet (cu ft). A typical 4 × 4 × 6.5 ft (1.2 × 1.2 × 2.0 m) tent holds roughly 100 cu ft (2.88 m³). Since you want to exchange that air at least once a minute, you need a fan rated for at least 100 CFM (cubic feet per minute), or about 173 m³/h. Round up generously and add a 20 to 30 percent buffer to make up for the pressure drop from your carbon filter and ducting. Recent research on greenhouse climate control backs up the core idea: well-controlled air exchange is your most powerful tool for keeping temperature, humidity and CO2 levels in check at the same time.
For most home growers, a 4 in (100 mm) or 5 in (125 mm) inline fan is plenty. For bigger tents (5 × 5 ft / 1.5 × 1.5 m or larger), a 6 in (150 mm) system is the better choice. Many modern fans work with a speed controller or come with built-in controls. That lets you run the fan quieter at night and crank it up during the day, when your lights put out more heat.
Pay attention to the quality of your carbon filter, too. Cheap filters often wear out sooner and can restrict airflow more than the specs claim. Make sure the filter’s CFM rating matches your fan. As a rule, pick your filter and fan from the same manufacturer, or at least with matching specs. We compare four ready-to-go kits by tent size in our grow tent exhaust kit comparison.
- Formula: length × width × height = volume in cu ft (m³)
- Target: full air exchange every 60 to 90 seconds
- Buffer: plan for 20 to 30 percent extra capacity to cover filter and ducting losses
- 4 in (100 mm) for tents up to 3 × 3 ft (1.0 × 1.0 m)
- 5 in (125 mm) for tents up to 4 × 4 ft (1.2 × 1.2 m)
- 6 in (150 mm) for tents 5 × 5 ft (1.5 × 1.5 m) and larger
How to Make Your Grow Tent Ventilation Quieter
An oversized fan is the most common reason a grow tent gets too loud. This trade-off between airflow and noise comes up all the time in grow forums and manufacturer guides. Your best fix is a speed controller or a fan with an EC motor (electronically commutated): when the fan runs only as hard as it actually needs to instead of 100 percent around the clock, the noise drops noticeably without hurting your air exchange. At night, with the lights off and less heat to deal with, a much lower speed is usually enough.
The hardware matters too. A fan sitting directly on the tent frame or a hard surface passes vibrations along as an extra hum. Rubber dampers or hanging the fan with a ratchet strap isolate it from the frame and cut down on that vibration noise. Sharp bends in your ducting create extra airflow noise, so a short, straight duct run is good for both airflow and volume. Insulated aluminum flex ducting also muffles sound better than thin-walled ducting.
- Speed controller or EC fan: match the power to what you actually need instead of running full blast all the time
- Hang your fan with rubber dampers or a ratchet strap to isolate vibrations
- Keep your ducting as short and straight as possible, and avoid sharp bends
- Use insulated aluminum flex ducting instead of the thin-walled kind
- Go one size smaller and run it at the right speed rather than throttling an oversized fan
How to Dial In Temperature and Humidity in Your Grow Tent
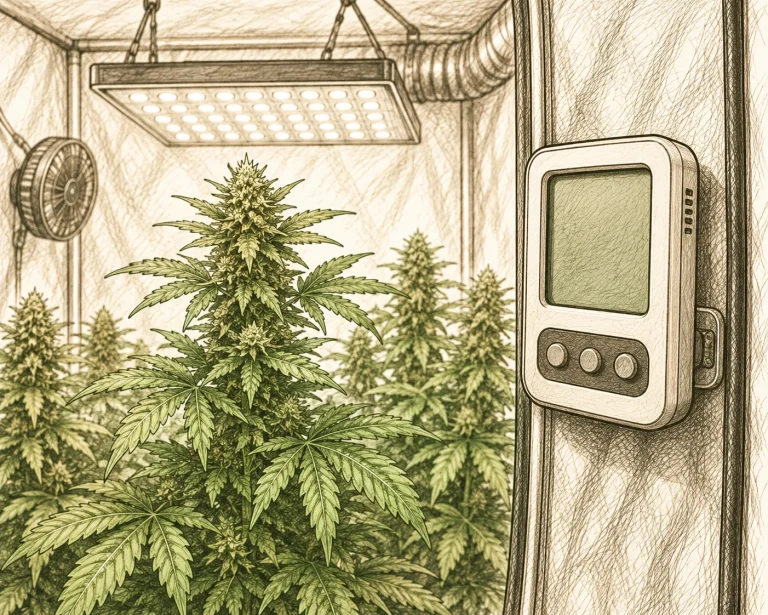
Temperature and humidity (relative humidity, RH) are the two readings you should always keep an eye on in your grow tent. Your ventilation setup has a big impact on both, and both directly affect how well your plants do. Definitely invest in a good digital thermo-hygrometer (German). Without measuring, you’re just guessing.
During the vegetative stage, temperatures between 68 and 82 °F (20 and 28 °C) are ideal. As for humidity (relative humidity, RH): in the seedling and vegetative stages, things can be a bit more humid (50 to 70 percent RH), because young plants take in a lot through their leaves. In the flowering stage, you should lower humidity step by step to 40 to 50 percent. In the last two weeks before harvest, many experienced growers even recommend 35 to 45 percent to help prevent bud rot (botrytis, gray mold).
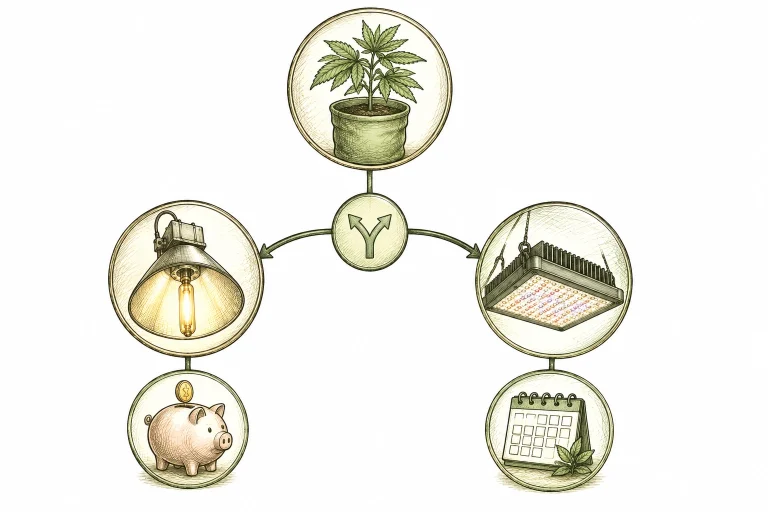
Is your grow tent running too hot? You have several options. Increase your exhaust power, bring in cooler intake air, run your light at night (when it’s cooler outside), or switch to more efficient LED grow lights that put out less heat. If the humidity stays too high, an external dehumidifier in the room around your tent can help. By the way, a pH that’s too low in your growing medium can cause symptoms that look a lot like heat stress. You can learn more in the article How to Dial In pH for Cannabis.
A practical tip: Place your thermo-hygrometer at canopy level, right at the height of the buds and leaves. Don’t put it directly under the light or on the tent floor. That’s the only way to get meaningful readings that match the climate your plants actually experience.
- Vegetative stage: 68 to 82 °F (20 to 28 °C), 50 to 70 % RH
- Flowering stage: 68 to 79 °F (20 to 26 °C), 40 to 50 % RH
- Last 2 weeks: 35 to 45 % RH to help prevent bud rot
- Night temperature: no more than 9 to 14 °F (5 to 8 °C) below the daytime temperature
- Use VPD (vapor pressure deficit) as an advanced way to control your climate
Common Ventilation Mistakes and How to Avoid Them
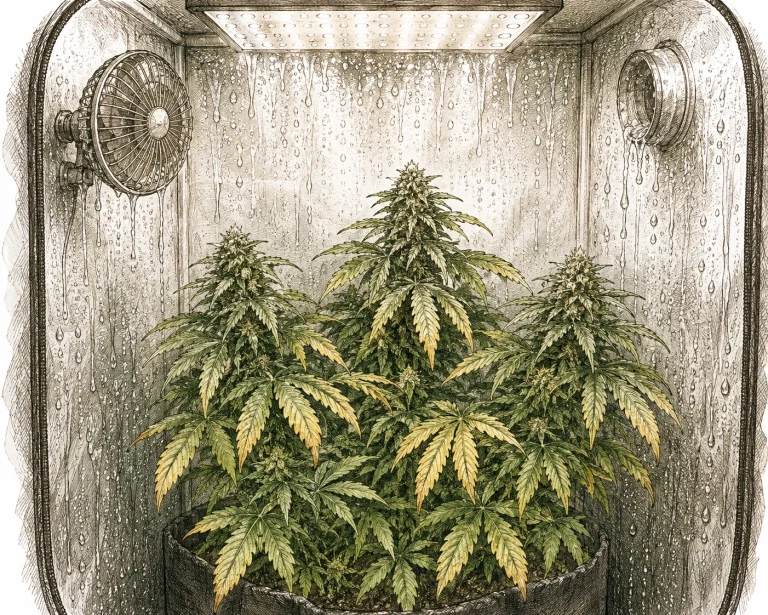
Many problems that growers blame on nutrient deficiencies or watering mistakes actually start with poor ventilation. If your plants develop yellow leaves, it’s sometimes not about the nutrients at all. Heat stress or trapped moisture can be what’s messing with leaf function. So it always pays to check your climate first before you start tweaking your feeding.
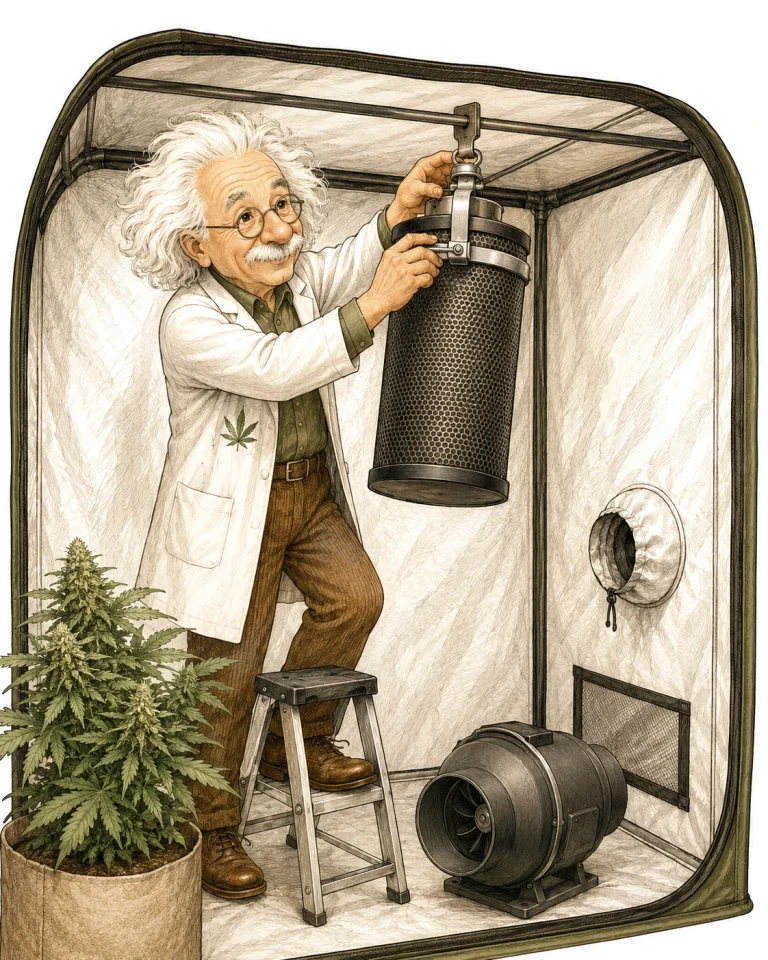
A classic beginner mistake is mounting the carbon filter outside the tent. Here’s the right way: the filter goes inside the tent. The fan pulls air through the filter and pushes it out through the ducting. If the filter sits outside, you lose all odor control, because the unfiltered air has already traveled through the duct. Remember: in your setup, air always moves from the filter to the fan to the outside.
Another common mistake is neglecting intake air. If you install a strong exhaust fan without enough intake openings, you do create negative pressure, but the air will find a way in. It can pull duct connections apart or suck air through gaps you don’t want. Always keep your intake openings open enough that the tent walls bow slightly inward, but don’t collapse.
Too much air movement is another problem that often gets underestimated. If your circulation fan blasts directly onto buds or leaves at full power, you can get wind burn: the leaves curl down, turn brittle and stop growing. Always aim your fans so they move the air in the tent without blowing straight at the plants. A gentle flutter of the leaves is ideal, not violent flapping.
- Always mount the filter INSIDE the tent, never outside
- Don’t forget your intake openings, and don’t tape them shut
- The tent walls should bow slightly inward – that shows proper negative pressure
- Never point your circulation fan directly at the buds
- Keep bends in your ducting to a minimum, since they cut airflow a lot
- Check the end of your duct for condensation regularly and drain it
Cannabis Grow Tent Ventilation: Step-by-Step Setup for Beginners
When you’re planning your first grow, all the ventilation gear can feel overwhelming fast. But you can put together a solid basic setup in just a few steps. The key is to understand each component before you buy, because cheap junk tends to lead to expensive headaches.
Step 1: Calculate your tent’s volume in cubic feet (length × width × height). That number is the CFM you need for one full air exchange per minute (in metric: multiply the volume in m³ by 60 to get m³/h). Add a 25 percent buffer. Then look for an inline fan with the right capacity and a matching carbon filter.
Step 2: Mount the carbon filter at the top of the tent on the ceiling poles or hooks. Connect the inline fan directly to the filter outlet with a hose clamp. Run flexible aluminum ducting from the fan outlet through a port to the outside. The shorter and straighter this duct, the better.
Step 3: Open the intake vents at the bottom of the tent. Most grow tents have several sock ports for exactly this purpose. Check out the grow tent comparison (German) to see which models come with handy, easy-to-use ports. Look at the tent walls: if they pull slightly inward, you’ve got proper negative pressure and a well-balanced exhaust-to-intake ratio.
Step 4: Place one or two circulation fans inside the tent. In a small tent, one clip fan mounted on a pole is enough. Angle it so the air moves diagonally through the space. In bigger setups, you can run two fans from opposite sides. Make sure no fan blows directly on your buds. Want to nail your watering, too? The article How to water cannabis the right way has solid tips that pair perfectly with good climate control.
Step 5: Hang a thermo-hygrometer at canopy height and check the readings every day. Adjust your fan speed with a controller as needed. Write the numbers down at first. That way, you can spot patterns and step in early, before problems start.
- Gear you need: inline fan, carbon filter, aluminum ducting, hose clamps, circulation fan, thermo-hygrometer
- Optional: fan speed controller for quiet nighttime operation
- Optional: climate controller that adjusts automatically based on temperature/humidity
- Filter placement: always at the top, close to the exhaust port
- Ducting: as short as possible, no tight bends
Advanced Tips: CO₂, VPD and Automated Climate Control
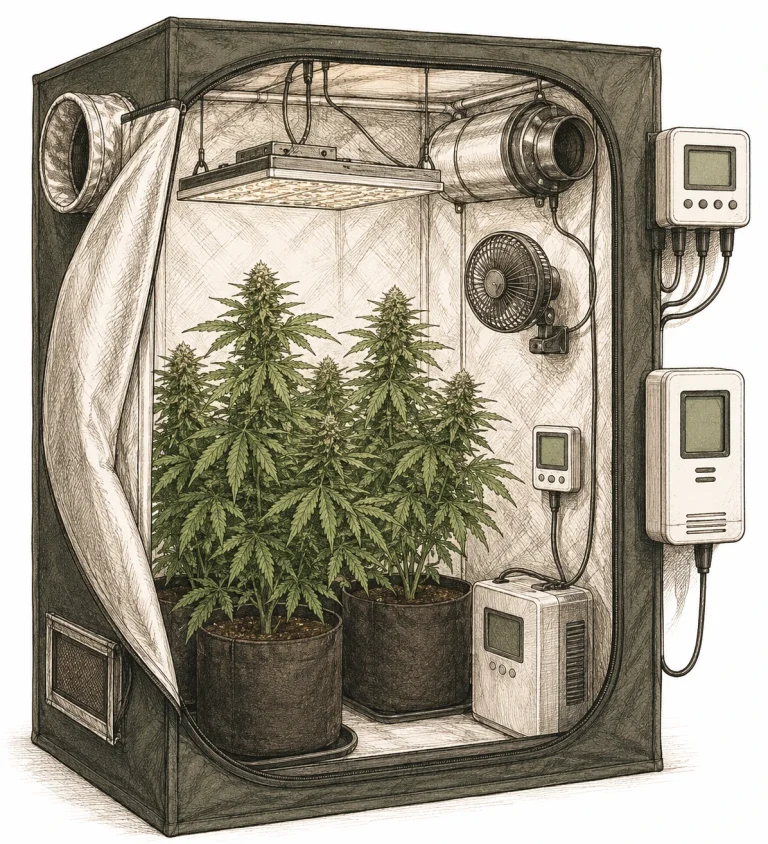
Once you’ve got the basics of grow tent ventilation down and you’re bringing in healthy harvests, you can dig into more advanced concepts. You don’t need them as a beginner. But for ambitious growers, they can make a noticeable difference.
CO₂ enrichment means pumping extra carbon dioxide into your tent. Normal room air contains about 400 ppm CO₂. Under strong lighting, though, cannabis plants can efficiently use up to 1,200 to 1,500 ppm CO₂. That can noticeably speed up growth and bud development. The catch: you have to time your exhaust so it doesn’t suck out the added CO₂ right away. That takes careful programming of both your fan and your CO₂ source.
VPD stands for vapor pressure deficit. It describes the gap between how much moisture the air currently holds and how much it could hold at a given temperature. When your VPD is dialed in, your plant transpires properly and takes up nutrients efficiently. VPD charts for cannabis are easy to find online. They show you the ideal target range for each growth stage.
Automated climate controllers like the Inkbird IBS-M2 or similar devices measure temperature and humidity and switch your fans, humidifier or dehumidifier on and off as needed. That saves you daily manual checks. It’s especially useful during seasons when outdoor temperatures swing a lot. Keep in mind: even with automated control, you should still check your plants regularly for nutrient deficiencies or other problems. Many symptoms that look like a calcium deficiency are actually caused by climate issues.
- CO₂ target with enrichment: 1,000 to 1,500 ppm
- Without CO₂ enrichment: 600 to 800 ppm is a good benchmark
- VPD in the vegetative stage: 0.8 to 1.2 kPa
- VPD in the flowering stage: 1.0 to 1.5 kPa
- Automated climate control: timer or hygrostat/thermostat
Your light cycle also affects ventilation indirectly, because your grow light puts out extra heat while it’s on. Learn more in our guide to light cycles.
Frequently Asked Questions
How often should the air in my grow tent be exchanged?
Rule of thumb: the entire air volume of your grow tent should be fully exchanged at least once per minute, ideally every 60 to 90 seconds. To figure that out, calculate the volume (length × width × height) and pick a fan with a matching CFM rating (m³/h). Then add a 20 to 30 percent buffer for losses from the filter and ducting.
Where do I mount the carbon filter – inside or outside?
The carbon filter always goes inside the tent. The fan pulls air through the filter and pushes it out through the ducting. If you mount the filter outside, the smelly air passes through the ducting first, and your odor control won’t work anymore.
My grow tent is too hot. What can I do?
First, crank up your exhaust with a fan speed controller. Then make sure you’re pulling in cooler intake air, for example by routing it from a cooler room next door. If you can, switch from HPS to LED grow lights, since LEDs put out much less heat. As a last resort, you can bring in a portable AC unit or, for hydro setups, a water chiller.
Do I need to run my fan at night, too?
Yes, keep your ventilation running during the dark period too. Without air movement, humidity can spike during the dark hours, and that invites mold and bud rot (botrytis, gray mold). Many growers turn the fan down to 50–70% at night with a speed controller to cut the noise. Just never shut it off completely.
How can I tell if my tent is well ventilated?
In a well-ventilated tent, the walls get pulled slightly inward. That tells you the exhaust fan is pulling out more air than the intake brings in (negative pressure). Your thermo-hygrometer should show steady readings that change slowly, not in sudden jumps. Your plants should sway gently in the breeze, not flap around.
Can I use a regular household fan for exhaust?
Regular household fans aren’t a good fit for grow tent exhaust. They aren’t built to connect to ducting and filters, they lack enough static pressure, and they’re often louder than a proper inline fan. For air circulation inside the tent, though, simple clip fans or pedestal fans work just fine.
Two related topics about the air in your tent: CO2 enrichment for bigger yields, and avoiding drafts so your ventilation doesn’t turn into a problem.
We’ve put together matching exhaust kits and fans on our Recommended Gear page.
How often do I need to replace the carbon filter?
Running around the clock, a carbon filter usually lasts 12 to 18 months before the carbon is saturated and odor control starts to fade. A reliable sign it’s time for a new one: smell is getting out again even though your fan is working fine. Cheap filters with a thin carbon bed often don’t last that long, so check them after 6 to 9 months. Over time, the carbon also noticeably slows down airflow. That’s why it pays to match your filter to your fan using the manufacturer’s CFM (m³/h) ratings, and to swap it out sooner if you see a clear drop in performance.
Bottom Line
A well-planned ventilation setup in your grow tent is the foundation of every successful indoor grow. Set up your exhaust, intake and air circulation correctly, size everything properly, and you create stable conditions that let your plants reach their full potential. Keeping temperature and humidity under control doesn’t just mean healthier plants. It also means less mold, fewer pests and, in the end, a better harvest. Start with a solid basic setup, measure regularly and adjust step by step. That gives you the base for every upgrade that comes next.
