

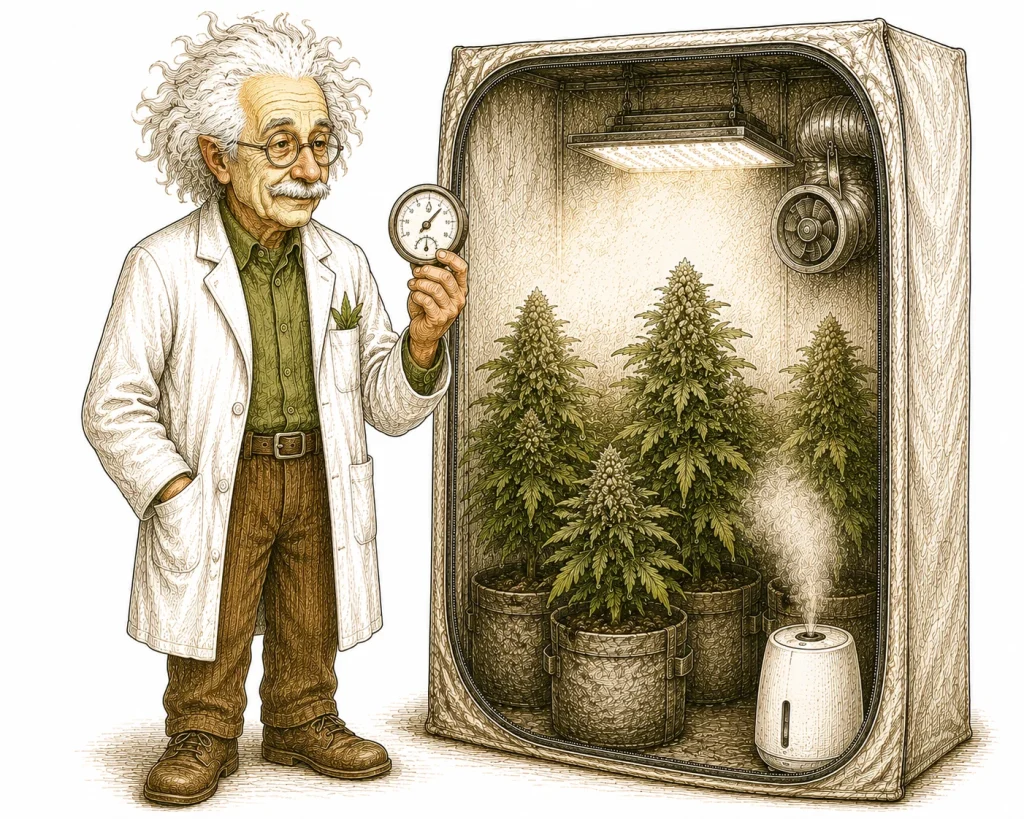
Humidity is one of the most underestimated climate factors in a cannabis grow room. Below you’ll find a cannabis humidity chart with target values for every growth stage. The LWG Bayern (Bavarian State Institute for Viticulture and Horticulture, German source) regularly points out in its research on bud rot (botrytis, gray mold) and mold prevention how important relative humidity is. Values that are too high promote mold and rot, values that are too low stress the plant and slow growth — both cost you yield and quality. If you know the ideal humidity for every growth stage and stick to it consistently, you lay the foundation for healthy, high-yielding plants. In this guide, you’ll learn everything you need to know about cannabis humidity levels, VPD (vapor pressure deficit) and proper climate control in your grow tent. If you notice nutrient problems or yellow leaves along the way, also take a look at our Plant Diagnosis hub.
Why humidity matters so much when growing cannabis
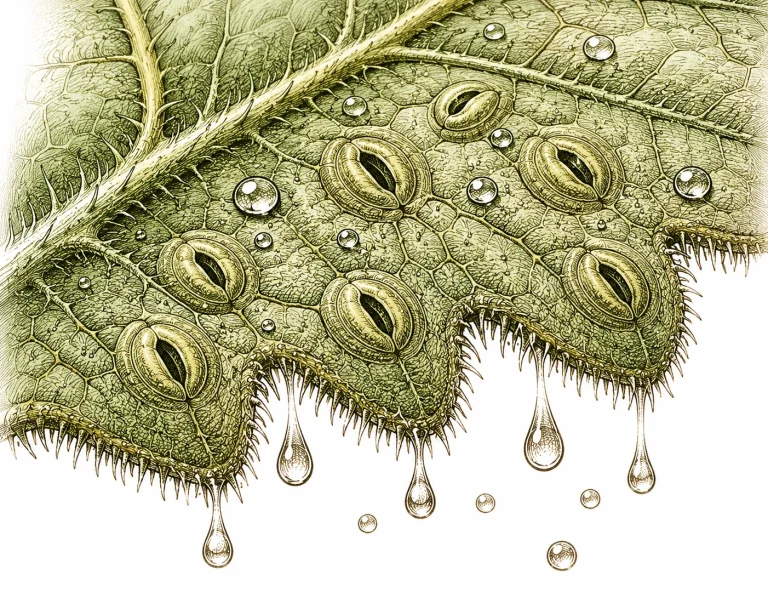
Cannabis regulates its water balance through its stomata — tiny pores on the underside of the leaves. Through these openings, the plant takes in CO2 and releases water vapor. How far the stomata open or close depends directly on the humidity around the plant. If the air is too dry, the plant closes its stomata as a protective mechanism, but this also throttles CO2 uptake and slows growth considerably.
When cannabis humidity is too high, on the other hand, water evaporates only very slowly. The plant transports nutrients less efficiently because the transpiration pull weakens. At the same time, a damp film forms on leaves and buds that practically invites bud rot and powdery mildew — a critical risk, especially in the flowering stage that can wipe out entire harvests.
So humidity always works together with temperature, air movement and the plant’s leaf resistance. This complex interplay is described by VPD, which we’ll cover in more detail later. If you just have a hygrometer in the tent and check it now and then, you’re doing climate control by guesswork — a structured approach gets you a lot more out of it.
- Air too dry: stomata close, growth slows noticeably
- Air too humid: higher mold risk, poorer nutrient transport
- The right cannabis humidity supports maximum transpiration and CO2 uptake
- Always look at humidity and temperature together
- VPD is the most precise indicator for optimal climate management
Cannabis humidity chart: ideal humidity levels for every growth stage
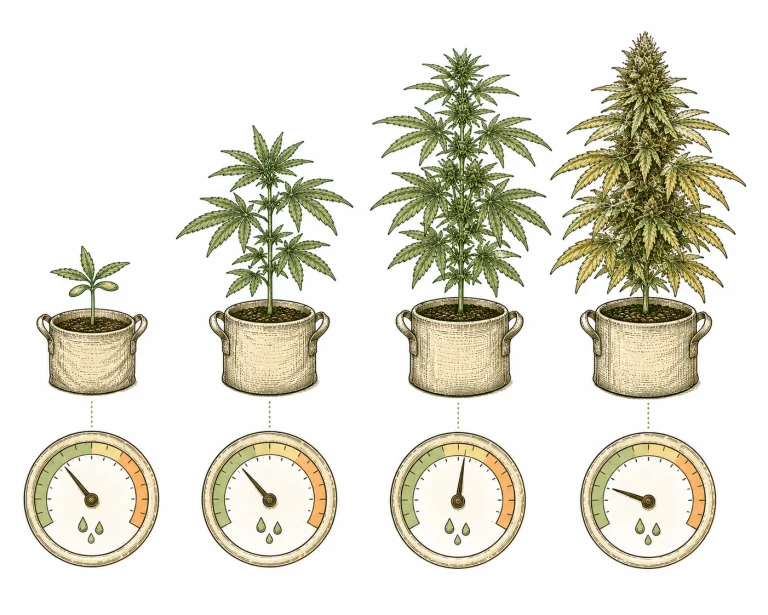
Every growth stage places different demands on the climate. Seedlings and freshly sprouted plants don’t have a fully developed root system yet and take up water mainly through their leaves. That’s why they need much higher humidity than mature plants in flower. At the seedling stage, values between 65 and 80 percent relative humidity (RH) are recommended. A humidity dome or propagator helps keep this microclimate stable and helps prevent seedlings from falling over.
In the vegetative stage, once the plant has developed a working root system and is growing actively, values between 50 and 70 percent are ideal. In this stage, the plant can handle fluctuations better than later in flower. Even so, you should avoid staying above 70 percent RH for long periods, as that’s when the first problems with powdery mildew can develop — especially if air circulation isn’t ideal.
The flowering stage is the most critical phase for humidity control. As the buds develop, they form denser and denser structures where moisture can get trapped. In weeks 1 to 4 of flowering, 40 to 50 percent RH is recommended. From week 5 until harvest, you should lower it to 35 to 45 percent. In the last two weeks before harvest, when many growers apply mild drought stress, values below 40 percent can also make sense.
The ripening phase just before harvest is especially prone to mold because the buds have reached their maximum size and air can barely circulate. If you want to play it safe, lower the humidity to 35 to 40 percent and make sure you have good air movement from oscillating fans and enough exhaust. This protects your harvest in the last and most important phase of the grow.
- Germination and seedlings: 65 to 80 percent RH
- Vegetative stage: 50 to 70 percent RH
- Early flowering (weeks 1–4): 40 to 50 percent RH
- Late flowering (week 5+): 35 to 45 percent RH
- Last 2 weeks before harvest: 35 to 40 percent RH for maximum mold prevention
Understanding and using VPD: controlling cannabis humidity precisely
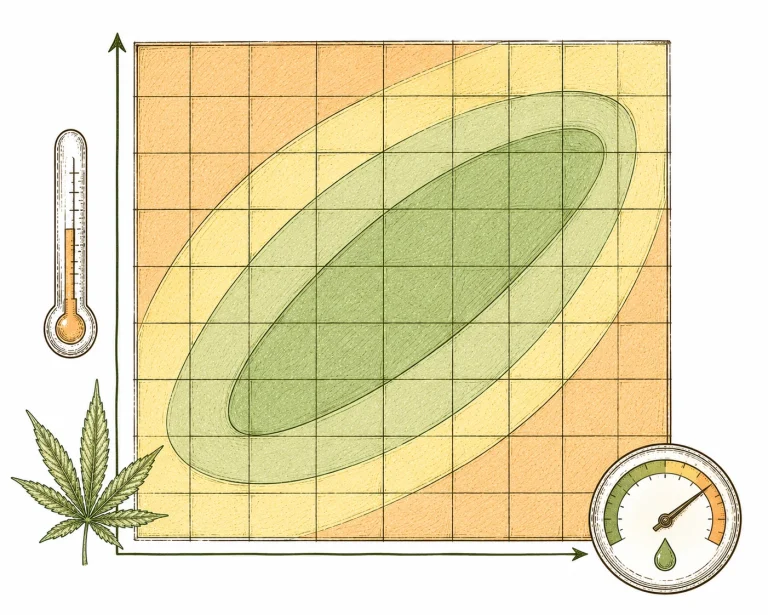
VPD stands for vapor pressure deficit and describes the difference between the actual water vapor pressure in the air and the maximum possible water vapor pressure at a given temperature. Simply put: VPD measures how “thirsty” the air is for moisture. The higher the VPD, the drier and thirstier the air — and the more water plants transpire. A low VPD means the air is already almost saturated and hardly any evaporation takes place.
These VPD guidelines apply to cannabis: 0.8 to 1.2 kPa is ideal in the vegetative stage. In the flowering stage, 1.0 to 1.5 kPa is recommended. These values promote active transpiration without stressing the plant. The advantage of VPD over measuring RH alone is that temperature and humidity are assessed together. A humidity of 50 percent at 68 °F (20 °C) results in a different VPD than 50 percent at 82 °F (28 °C).
In practice: if you’re fighting high temperatures in summer, you need to adjust the humidity accordingly to stay in the ideal VPD range. Our free VPD Calculator or a VPD chart helps you quickly find the right combination of temperature and RH. Many modern grow room controllers can even calculate VPD directly and control fans or humidifiers automatically.
Keep in mind: the air VPD and the so-called leaf VPD can differ, because leaf temperature is usually slightly below air temperature. That’s why advanced growers measure leaf temperature separately with an infrared thermometer and calculate the leaf VPD. For beginners, though, it’s perfectly fine to work with the air VPD and stick to the guidelines above.
- VPD = vapor pressure deficit, describes how “thirsty” the air is
- Ideal in the vegetative stage: 0.8 to 1.2 kPa
- Ideal in the flowering stage: 1.0 to 1.5 kPa
- Always look at temperature and RH together in the context of VPD
- Leaf VPD is more precise; air VPD is enough for most growers
VPD too low: effects and fixes
If the VPD stays below the target range for a long time (below about 0.8 kPa in the vegetative stage, below about 1.0 kPa in flowering), the air is almost saturated and the plant barely transpires. The flow of water the plant uses to transport nutrients like calcium then stalls, growth can slow down, and water droplets can form on the leaf edges. In flowering, the risk of mold like bud rot also increases.
Fixes: lower the humidity with a dehumidifier or stronger exhaust, make sure there’s air movement between the plants, and raise the temperature slightly if needed.
VPD too high: effects and fixes
If the VPD stays above the target range for a long time (above about 1.2 kPa in the vegetative stage, above about 1.5 kPa in flowering), the dry air pulls more water out of the leaves than the roots can replace. The plant then closes its stomata, leaf edges can curl upward, leaf tips dry out and growth stalls, often together with a much higher water demand.
Fixes: raise the humidity with a humidifier, lower the temperature and check the distance to the light, because a light that’s too close heats up the leaves even more.
How to raise humidity in a grow tent: methods and tips
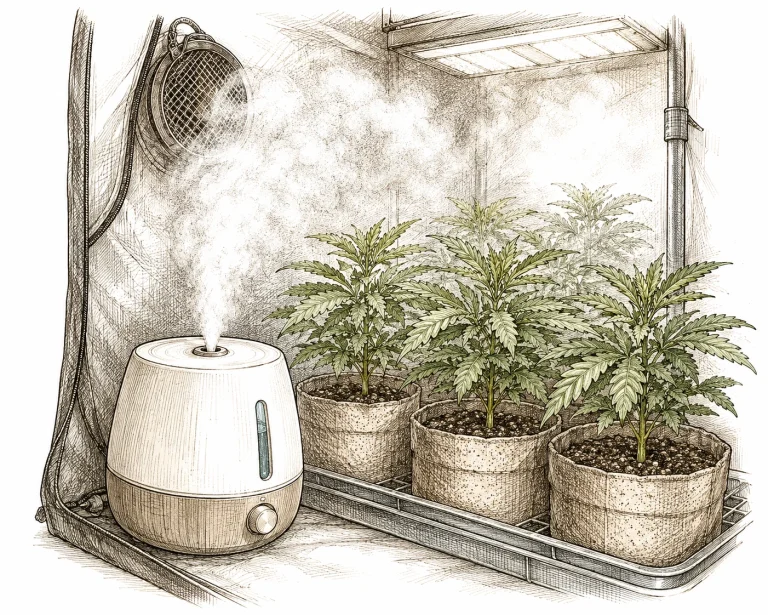
Humidity that’s too low is mainly a problem in the seedling and early vegetative stages, and often in the winter months when indoor heating makes the air very dry. The simplest solution is a humidifier — there are ultrasonic humidifiers and evaporative humidifiers. Ultrasonic humidifiers are inexpensive and effective, but they produce fine mineral dust (white dust) when you use hard tap water. So fill them with distilled or reverse osmosis (RO) water whenever possible.
Evaporative humidifiers don’t produce mineral dust, but they’re slower and less effective in large spaces. For small grow tents up to 10.8 sq ft (1 m²), simpler methods also work: an open tray of water, damp towels or misting the walls and floor of the tent can raise the humidity temporarily. In the long run, though, a humidifier with humidistat control is the most convenient and most precise solution.
Exhaust power also has a big impact on humidity. If you run a very powerful exhaust fan, it constantly pulls in dry outside air and lowers the humidity inside. In the vegetative stage, turn the exhaust down a little or use a fan speed controller to hold the RH you want. Just make sure CO2 supply and air exchange are still guaranteed.
- Ultrasonic humidifier: fast and effective, best with distilled water
- Evaporative humidifier: no mineral dust, but slower
- Reducing exhaust power can raise the humidity inside
- Humidistat control provides automatic regulation
- During germination: use a propagator or humidity dome
Lowering humidity in the flowering stage: preventing mold
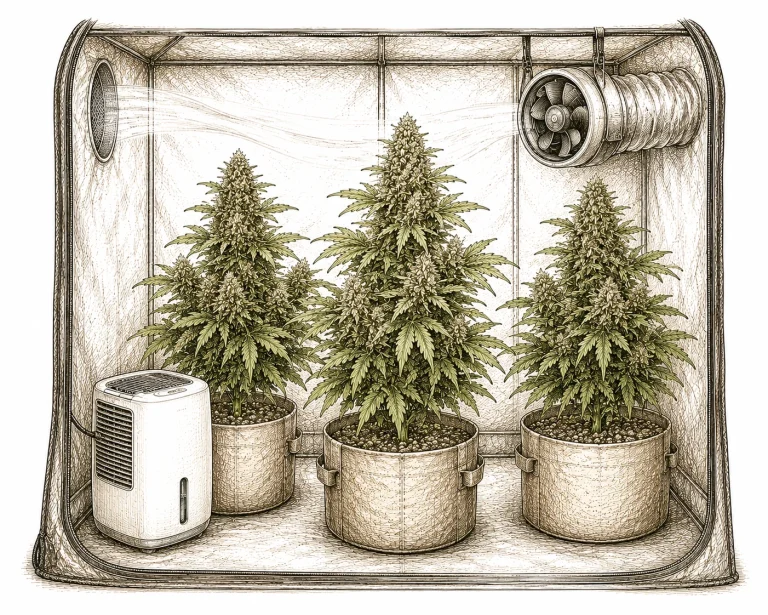
In the flowering stage, lowering humidity is the biggest challenge — especially in humid climates or in the fall, when the outside air already holds a lot of moisture. A dehumidifier is the tool of choice here. Units with a built-in humidistat can be set to a target value and switch on automatically when the RH goes above it. Pay attention to the capacity rating per day — for a grow tent of 11 to 22 sq ft (1 to 2 m²), 21 to 42 pints (10 to 20 L) per day is usually enough. We compared four models for tents up to 32×32 in (80×80 cm) in our grow tent dehumidifier comparison.
Besides a dehumidifier, better air circulation also helps eliminate stagnant, humid pockets. Place oscillating fans so they blow through every level of the tent — from bottom to top and from the sides toward the center. Avoid strong airflow aimed directly at the buds, though, as this can lead to wind stress and lower yields. Instead, aim for good overall air movement without direct hotspots.
If you grow strains with dense buds or have lots of plants in a small space, it’s worth using lollipopping and defoliation in the flowering stage as well. Removing lower growth and leaves that sit too close together improves air circulation considerably and noticeably reduces the risk of mold. Also make sure you don’t overwater — a damp surface on the growing medium also adds to the humidity inside. You’ll learn how to water properly in our article on how to water cannabis plants.
If mold has shown up despite all these measures, you need to act right away: remove infected plant parts, lower the humidity further and increase air movement. Also check whether there are “cold spots” in the tent where condensation forms — this often happens in areas far from the light. An even temperature distribution without cold spots is therefore also part of effective mold prevention.
- Dehumidifier with humidistat: the most precise solution in the flowering stage
- Recommended capacity: 21 to 42 pints (10 to 20 L) per day for standard sizes
- Oscillating fans improve air circulation without wind stress
- Lollipopping and defoliation improve air circulation between buds
- Don’t overwater: a damp surface on the growing medium raises the room humidity
- Identify and eliminate cold spots and condensation zones
The right equipment for controlling humidity when growing cannabis
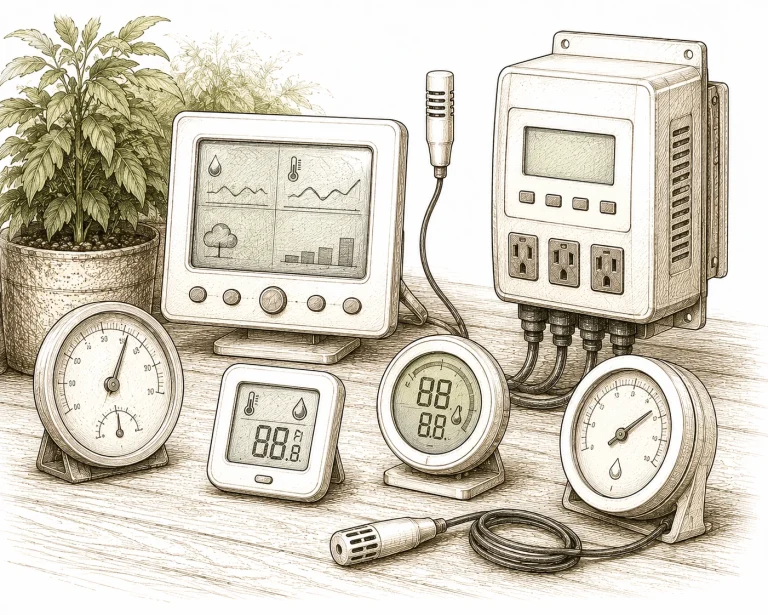
Without reliable measurement, there’s no reliable control. A simple digital hygrometer with a temperature display (German) is enough to get started — look for models that store min/max values so you can also see the nighttime lows and daytime highs. These values matter, because especially at night, when the lights are off and the temperature drops, the relative humidity often rises significantly and can slip into the critical range.
For more ambitious setups, climate stations with multiple sensors are a good choice. They let you measure humidity at the air intake, in the plant zone and at the exhaust at the same time — and spot gradients inside the tent. Smart sensors you can read via an app even let you log climate data over weeks, which makes diagnosing problems much easier.
A plug-in humidity controller or humidistat controller is the logical addition as soon as you run a humidifier or dehumidifier. You set a target value (for example, 45 percent RH), and the device switches the connected humidifier or dehumidifier on and off automatically. That way, you don’t have to readjust manually several times a day, and you avoid extreme highs or lows at the same time. For a complete overview of all climate factors in the grow tent, we also recommend our guide to growing cannabis indoors.
Summary of the recommended equipment: at least one digital hygrometer with min/max memory, ideally several sensors in different spots in the tent, a humidistat controller for automation, and either a humidifier or a dehumidifier depending on the stage. Investing in good climate equipment pays for itself quickly through avoided mold damage and better yields.
- Digital hygrometer with min/max memory: basic equipment for every grower
- Multiple sensors: spot climate gradients in the tent
- Smart sensors with an app: long-term logging possible
- Plug-in humidity controller/humidistat controller: automatic control of a humidifier or dehumidifier
- Combining good measurement with automation prevents costly mistakes
Common grow room humidity mistakes and how to avoid them
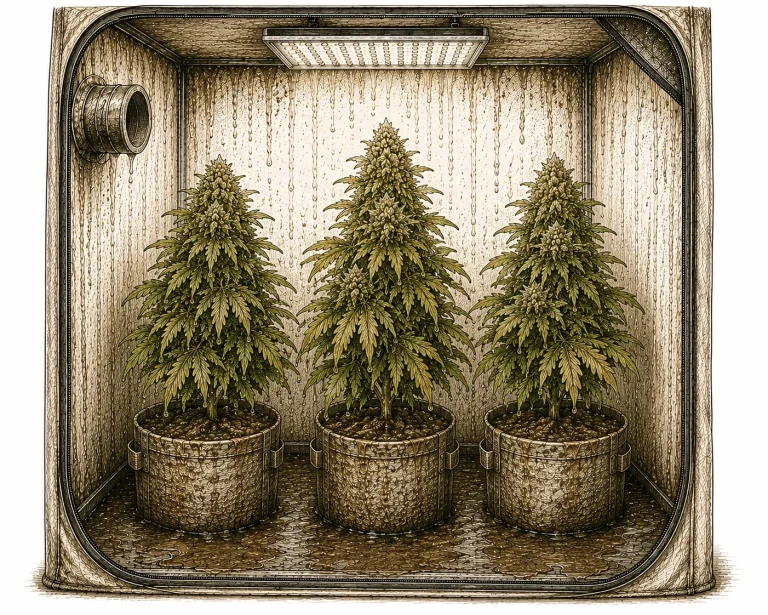
One of the most common mistakes is forgetting to measure at night. When the light switches off, the temperature in the tent often drops by 9 to 18 °F (5 to 10 °C). Since cooler air can hold less moisture, the relative humidity automatically rises — sometimes from a harmless 50 to a problematic 70 percent or more. So always check your hygrometer’s minimum value the next morning too and make sure the nighttime humidity stays in the safe range.
Another typical mistake is overwatering combined with planting too densely. A damp growing medium surface constantly releases moisture into the air, and if foliage blocks air movement at the same time, you get ideal conditions for mold. This connection is often only noticed once there’s already a problem — so take preventive action by leaving enough space between plants and letting the surface of the growing medium dry out between waterings. You’ll find tips on this in our article on how to water cannabis plants.
Many beginners run their exhaust fan on the highest setting and then wonder why the humidity won’t rise to the desired level in the vegetative stage. Too much exhaust constantly pulls in dry outside air and makes any humidifier useless. Use a fan speed controller and set the exhaust so there’s slight negative pressure in the tent without exchanging all the air every few seconds. A rough rule of thumb: the air in the tent should be replaced once every 1 to 3 minutes.
Finally, many growers underestimate how nutrient deficiencies affect the plant’s stress response. For example, a plant suffering from calcium deficiency has a weaker cell structure and is more susceptible to fungal infections — even if the humidity is actually in the normal range. Healthy plants with a balanced nutrient supply are much more resilient to climate swings.
- Forgetting nighttime readings: RH rises significantly as the temperature drops
- Overwatering plus dense planting: ideal conditions for mold
- Exhaust at maximum: makes humidifiers useless in the vegetative stage
- Mold is often only noticed once it’s already advanced
- Plants weakened by nutrient deficiencies are more susceptible to fungal problems
If the humidity stays too high, use a dehumidifier, which lets you lower it in a targeted way.
Frequently asked questions
What’s the ideal humidity during the flowering stage?
In the first four weeks of the flowering stage, 40 to 50 percent relative humidity is recommended. From week 5 until harvest, you should lower it to 35 to 45 percent to reliably prevent mold and bud rot. In the last two weeks before harvest, values below 40 percent are even beneficial.
What is VPD and why do I need it when growing cannabis?
VPD (vapor pressure deficit) describes the difference between the actual and the maximum possible water vapor pressure at a given temperature. It helps you assess temperature and humidity together instead of looking at them separately. For cannabis, a VPD of 0.8 to 1.2 kPa is considered ideal in the vegetative stage and 1.0 to 1.5 kPa in the flowering stage.
How can I lower the humidity in my grow tent quickly?
The most effective measures are: running a dehumidifier with a humidistat, increasing exhaust power, improving air circulation with fans, lollipopping and defoliating, and stretching the time between waterings so the surface of the growing medium stays drier. A combination of these measures gets fast results.
Why does humidity rise so much at night?
When the lights switch off, the temperature in the grow tent drops. Since cooler air can hold less water vapor, the relative humidity automatically rises even though the absolute amount of water in the air stays the same. That’s why you should always check your hygrometer’s min/max values and, if needed, plan to run a fan or dehumidifier during the dark period too.
How can I tell if the humidity is too low?
Typical signs of air that’s too dry are curled leaf tips, leaves that arch downward (clawing), slowed growth and a growing medium surface that dries out noticeably fast. Young plants in particular show drought stress by wilting or drooping. A VPD above 1.5 kPa is another warning sign.
Do I need both a humidifier and a dehumidifier?
That depends on your growing conditions. In many setups, you need a humidifier in the vegetative stage and a dehumidifier in the flowering stage. If you grow year-round and deal with seasonal climate swings, it makes sense to have both on hand. A plug-in humidity controller that switches automatically makes running both devices much easier.
How accurate are hygrometers, and do I need to calibrate them?
Simple digital hygrometers can be off by 2 to 5 percentage points, depending on the model. You can easily check this yourself with the salt test: put some table salt with a few drops of water in a small, airtight container, place the hygrometer inside and wait 6 to 8 hours. The saturated salt solution creates a relative humidity of exactly 75 percent — if your device reads noticeably higher or lower, you know the correction value for future readings. Repeat the test once or twice a year, especially with simple hygrometers (German) that aren’t factory calibrated.
Conclusion
Humidity isn’t a minor detail when growing cannabis — it’s a key factor for success, from germination to harvest. With the right target values for each stage, an understanding of VPD and the right equipment, you can reliably prevent mold, drought stress and yield losses. Invest in a good hygrometer, work with a humidistat controller and regularly check the nighttime lows too. If you fine-tune humidity, temperature and ventilation together, you create ideal growing conditions and end up harvesting denser, healthier buds.
