

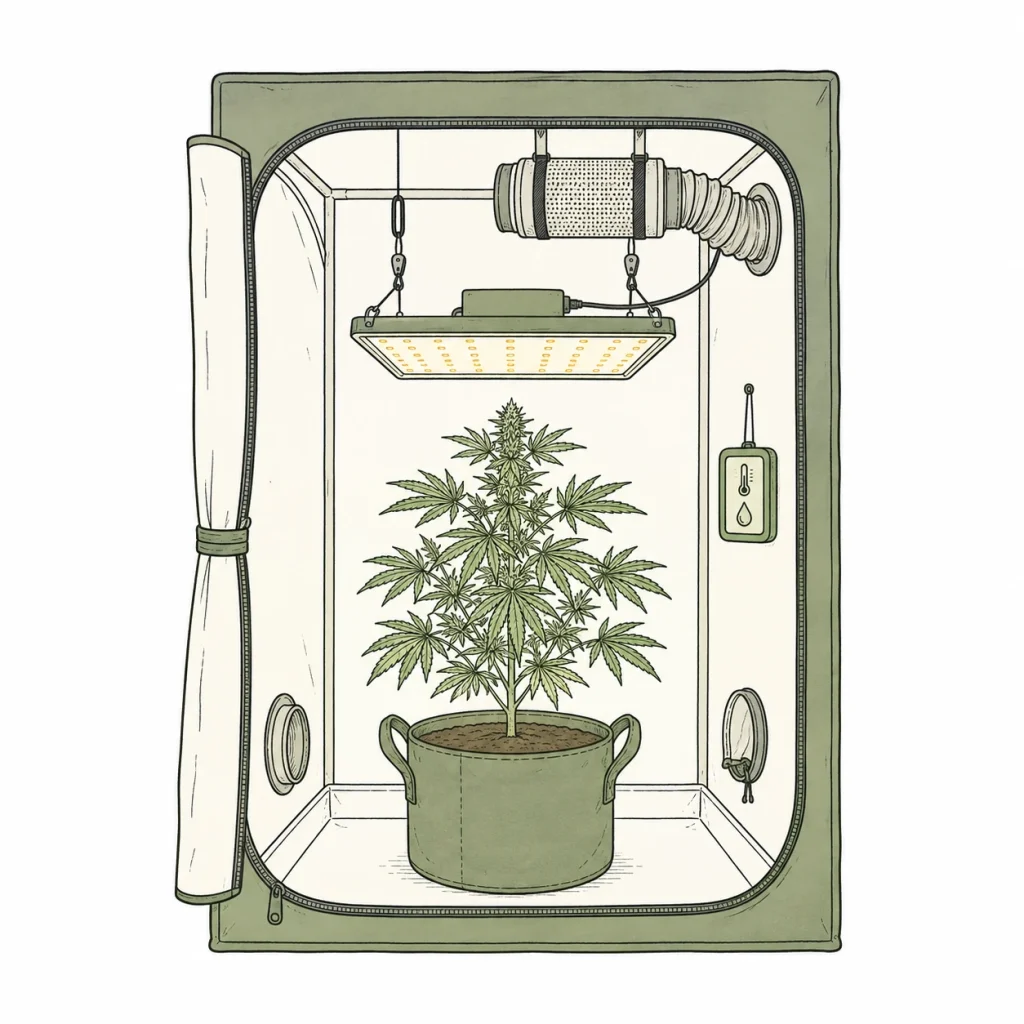
Setting up a grow tent for the first time can feel overwhelming fast: a mountain of jargon, product picks and advice that contradicts itself. But getting started with an indoor cannabis grow isn’t that complicated once you know what really matters. This guide walks you step by step through the gear you actually need as a beginner. You’ll also learn how to set up your grow tent the right way and how to dodge the classic rookie mistakes from day one. By the end of this article, you’ll have everything you need to kick off your first successful indoor grow. Check the cannabis laws where you live before growing.
Grow Tent Setup for Cannabis Beginners: What You Really Need
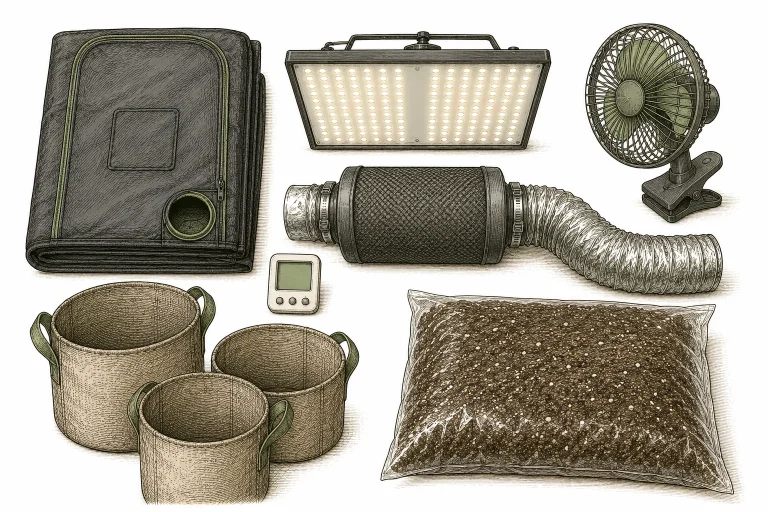
Before you start shopping, get clear on which components are truly essential for a working indoor grow. A lot of beginners buy too much at once and lose track. The good news: a lean starter kit can already deliver really solid results.
The bare minimum for a working grow tent comes down to six core components: the grow tent itself, a suitable grow light, ventilation with a carbon filter, a hygrometer for temperature and humidity, the right growing medium and suitable pots. Everything else is optional at the start and can be added step by step.
For beginners, grow tents between 24x24x55 in (60x60x140 cm) and 39x39x79 in (100x100x200 cm) are a great fit. The smaller size works for 1-2 plants and is easier to keep under control, while the bigger one gives your plants more room to grow. When you buy, make sure the tent has tight seams, sturdy poles and a truly lightproof lining inside – this is where cheap models often fall short. We compare five solid models in 24×24 in (60×60 cm) and 31×31 in (80×80 cm) in our grow tent comparison (German).
- Grow tent (recommended for beginners: 24x24x55 in (60x60x140 cm) or 31x31x63 in (80x80x160 cm))
- LED grow light with at least 200-400 W of actual power draw (not “equivalent” watts)
- Exhaust fan with a matching carbon filter to control odor
- Circulation fan (German) to keep the air moving inside the tent
- Digital hygrometer with temperature display
- High-quality seedling soil or a cannabis-ready growing medium
- Pots in the right size (to start: 0.25-0.8 gal (1-3 L), later: 3-5 gal (11-20 L))
Choosing the Right Grow Light for Your Grow Tent Setup
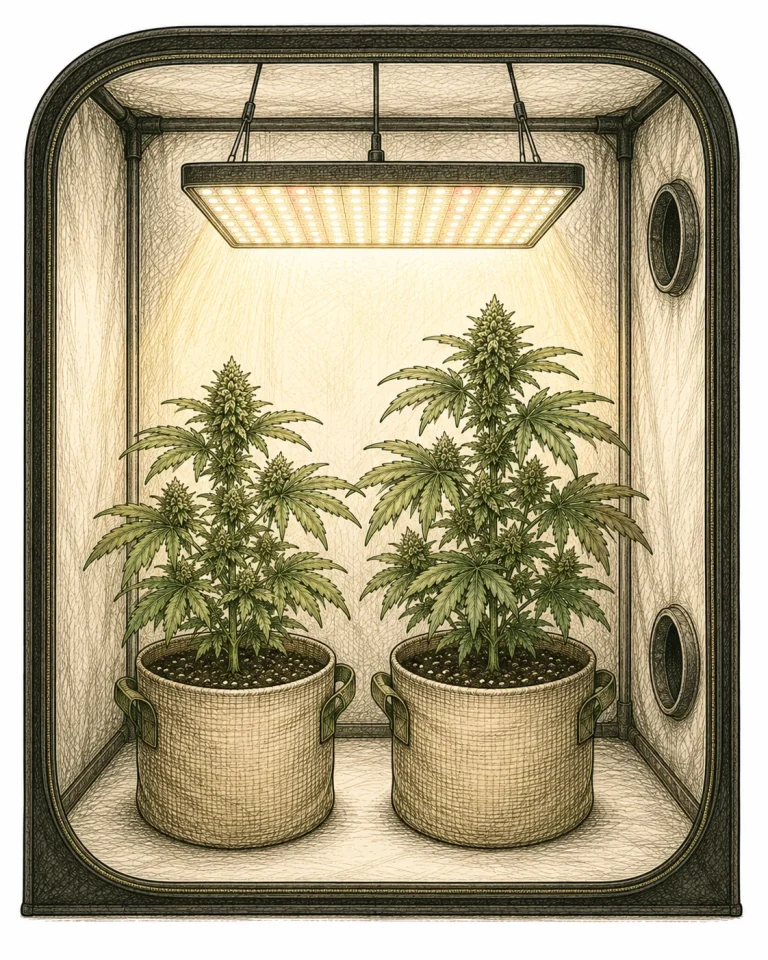
Light is the most important variable in your indoor grow – and also the most common place where beginners spend their money wrong. If you’re setting up your first grow tent, I clearly recommend modern LED grow lights over HPS or CMH. LEDs run cooler, use less electricity, and modern full-spectrum models can handle the plant’s entire life cycle.
A good rule of thumb: plan for about 23-28 actual watts per square foot of grow space (250-300 W per m²). For a 24×24 in tent (60×60 cm, about 3.9 sq ft), that means a light drawing roughly 90-110 actual watts. Always check the real power draw – not the “equivalent” rating, which is often misleadingly high.
The distance between the light and the top of your plants is critical. Too close can cause light burn, too far can cut your yield noticeably. For LED grow lights, the sweet spot is usually 12-24 in (30-60 cm), depending on the model and growth stage. Be sure to check the manufacturer’s specs for your specific light. If your leaf tips start curling or turning whitish, you may be dealing with LED light burn on cannabis.
- Vegetative stage: 18 hours light / 6 hours dark (18/6)
- Flowering stage: 12 hours light / 12 hours dark (12/12)
- Autoflowering strains: a steady 20 hours light / 4 hours dark works too
- Use a timer (German) – switching lights by hand leads to mistakes
- Always check that your tent stays lightproof during the dark period
Setting Up Grow Tent Ventilation: Airflow, Temperature and Odor
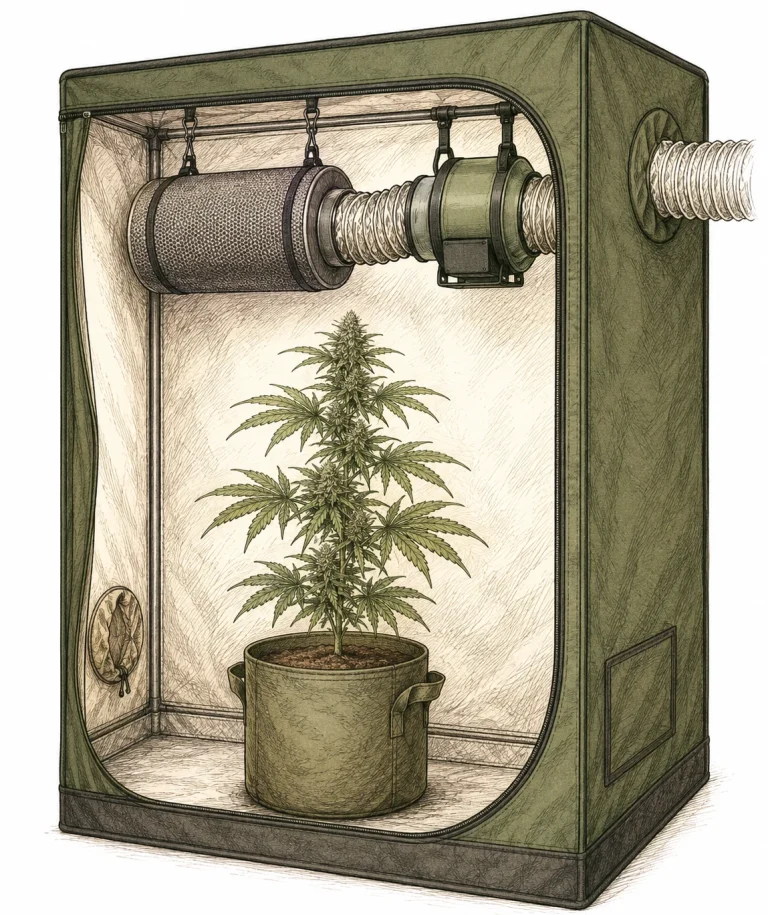
For a lot of beginners, ventilation is the trickiest part of setting up a grow tent. But it follows one simple principle: warm, stale, and possibly smelly air gets pulled out at the top of the tent, and fresh air flows in passively down low. The carbon filter hangs inside the tent near the top and connects through flexible ducting to the exhaust fan, which pushes the air outside.
Here’s how to size your fan: plan to swap out the tent’s entire air volume about every 1–3 minutes. A 32 x 32 x 63 in (80 x 80 x 160 cm) tent holds about 36 cu ft (1,000 L) of air, so a fan rated at roughly 60–90 CFM (100–150 m³/h) gets the job done. Go a bit bigger, because a carbon filter can cut airflow by up to 30%. You’ll find matched ventilation kits for 2 x 2 ft to 4 x 4 ft tents in our grow tent exhaust comparison.
On top of your exhaust setup, you need a small circulation fan inside the tent. It keeps air moving between the plants, toughens up the stems through gentle mechanical stress, stops damp air from sitting on the leaves, and can cut your mold risk a lot. Aim it so it moves the air in the tent instead of blasting the leaves directly. Even in commercial greenhouses, ventilation counts as more important than heating for removing moisture and preventing mold (Bavarian State Institute for Viticulture and Horticulture).
During the day (lights on), aim for 72–82 °F (22–28 °C); at night, 64–72 °F (18–22 °C). If the temperature stays above 86 °F (30 °C) for long, your plant can slip into heat stress. To keep mold away, hold humidity (relative humidity, RH) at 50–70% in the vegetative stage and 40–50% in the flowering stage. The easiest way to track both is a thermo-hygrometer (German) that stays in the tent full time.
- Hang the carbon filter inside the tent, up top
- Mount the exhaust fan outside or in the upper part of the tent
- Use a circulation fan to keep air moving evenly in the tent
- Target temps: 72–82 °F (22–28 °C) by day, 64–72 °F (18–22 °C) at night
- Humidity in veg: 50–70%, in flower: 40–50%
- Keep a digital hygrometer in the tent and check it every day
Growing Medium, Pots, and Water: The Basics for Your First Grow
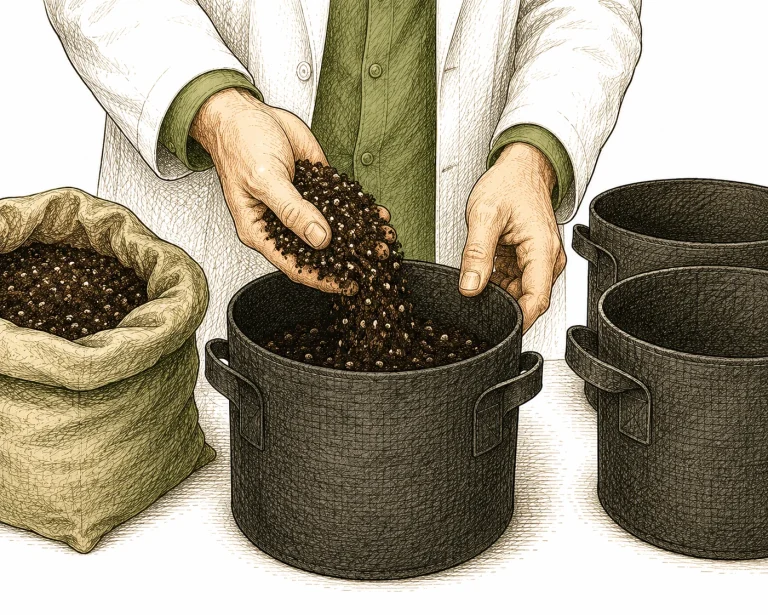
The growing medium is where your plant lives, takes up nutrients, and builds its roots. If you’re just starting out, I recommend a quality cannabis-specific starter soil, or a good potting soil mixed with about 20–30% perlite. Perlite improves drainage, helps prevent waterlogged soil, and gets more oxygen to the roots. Pick a medium that’s light, airy, and drains well – heavier soils tend to stay waterlogged.
Pot size goes hand in hand with plant size. A common beginner mistake is planting straight into big pots. Stepping up gradually works better. Start with a 0.25 gal (1 L) pot for seedlings, move up to a 0.8 gal (3 L) pot after 1–2 weeks, and then into the final pot: 3–5 gal (11–20 L) for photoperiod strains, 2–3 gal (7–11 L) for autoflowers. That way you avoid soggy soil in pots that are too big. If you’d rather not water every day later on, check out automatic watering with Autopot, Blumat, or a drip system.
Proper watering is one of the most underrated factors in an indoor cannabis grow. Overwatering – watering too often – is the number one beginner mistake. Only water once the top layer of soil (about 1 in / 2–3 cm) is dry and the pot feels light. Then water evenly until it runs out of the drainage holes at the bottom. For more details, check out our guide on how to water cannabis the right way.
Lots of beginners ignore the pH of their water – and that can be a costly mistake. Cannabis can only take up nutrients within a certain pH range. In soil, the sweet spot is 6.2 to 6.8, with 6.0 to 7.0 still tolerable. Outside that range, deficiencies can show up even though the nutrients are actually there. Read our in-depth article on how to adjust pH for cannabis.
- Quality soil with 20–30% perlite for good drainage
- Step up gradually: 0.25 gal (1 L) → 0.8 gal (3 L) → final pot 3–5 gal (11–20 L)
- Only water once the top layer of soil is dry
- Check the pH of your water: 6.2–6.8 for soil
- Drainage holes are a must – never use pots without drainage
- Use saucers, but dump standing water regularly
Feeding in a Grow Tent: When, How Much, and With What
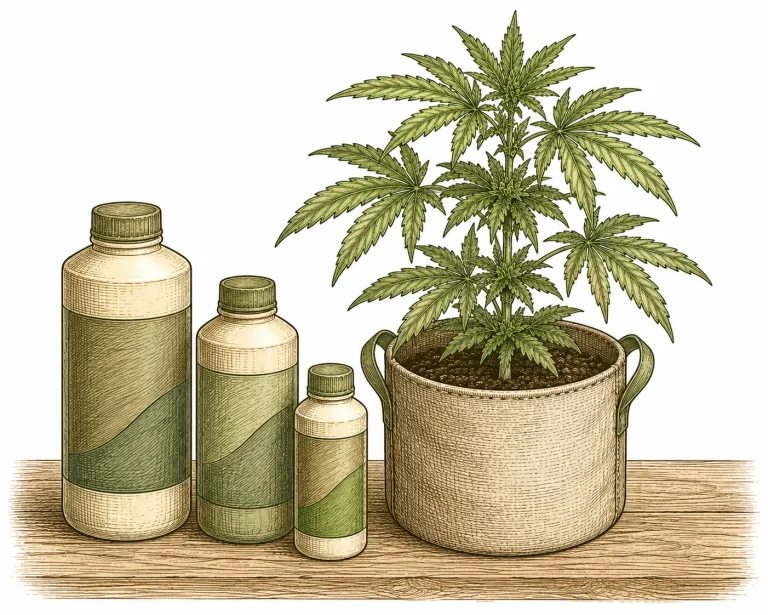
If you buy a high-quality cannabis soil mix, you won’t need any nutrients for the first 2–4 weeks. The soil already contains everything your plants need in the early vegetative stage. Only once that starter charge runs out (you’ll notice the first signs of a deficiency or fading lower leaves) is it time to start feeding.
For beginners, I recommend a simple 3-part base nutrient system (Grow, Bloom, Micro) with separate formulas for the vegetative and flowering stages. Always start at half the recommended dose and work your way up slowly. Overfeeding is a common problem and can cause nutrient burn on the leaf tips. If you already see brown leaf tips or curling leaves, you might be dealing with cannabis nutrient burn.
In the vegetative stage, cannabis needs more nitrogen (N). In the flowering stage, it needs more phosphorus (P) and potassium (K). Most nutrient systems already build this shift into their feeding schedule. Important: stop feeding completely during the last 1–2 weeks before harvest. This is called flushing, and it can give you a cleaner taste.
- First 2–4 weeks in quality soil: no nutrients needed
- Always start at half the recommended dose
- Veg: nitrogen-heavy (NPK around 3-1-2)
- Flowering: rich in phosphorus and potassium (NPK around 1-3-2)
- Flushing 1–2 weeks before harvest: plain, pH-adjusted water only
- Measure the EC (electrical conductivity) of your water: 500–800 ppm (1.0–1.6 mS/cm) in veg, 800–1,100 ppm (1.6–2.2 mS/cm) in flowering
Setting Up a Grow Tent for Beginners: Avoid the Most Common Mistakes
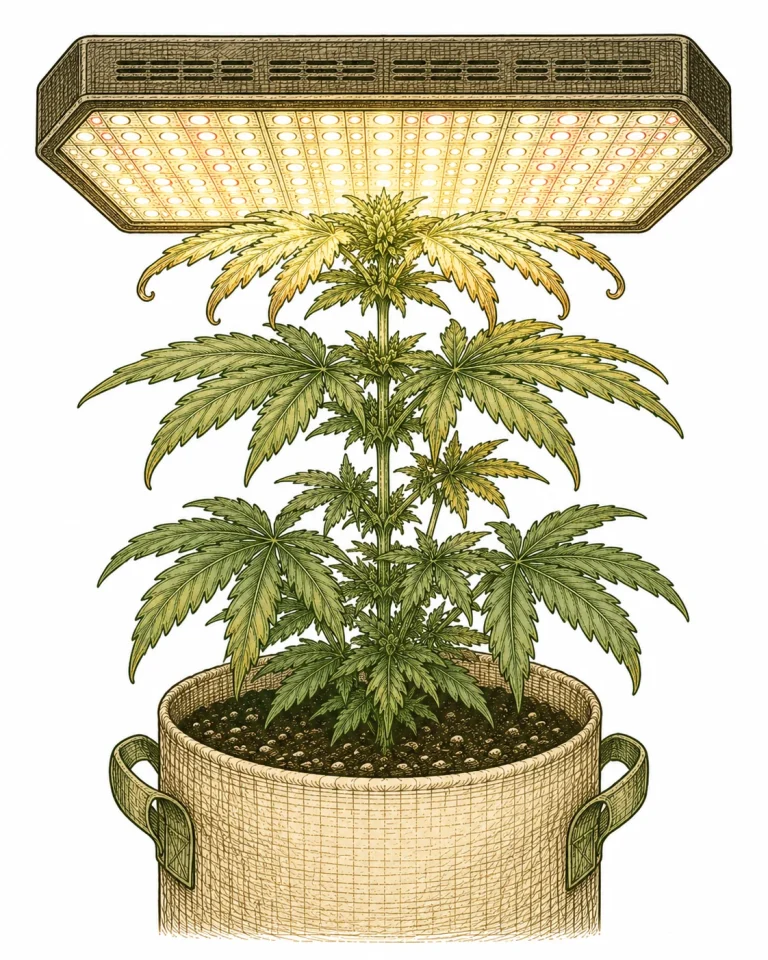
After thousands of diagnoses on PlantClue, one thing is clear: most first-grow problems don’t come from a lack of knowledge. They come from doing too much. Watering too often, feeding too early, hanging the light too close: overdoing it is the most common beginner mistake. Cannabis is a tough plant, and it often handles a bit of neglect better than daily tinkering.
Mold is another common problem, caused by high humidity and poor ventilation. Especially in flowering, when the buds get dense, bud rot (botrytis, gray mold) is a serious threat. From week 4 of flowering on, make sure your relative humidity (RH) stays below 50% and you have good air circulation. Regularly remove yellow and dead leaves from the tent.
Many growers underestimate how light-tight the tent needs to be during the dark period in flowering. Even small light leaks can mess with the plant’s hormones and cause re-veg, where the plant slips back into the vegetative stage. Check your tent from the inside with the lights off. It should be pitch black.
Patience is the most underrated skill when you set up a grow tent. Many beginners harvest too early because they don’t check the trichomes. A cheap jeweler’s loupe (60–100x) or a digital microscope shows you whether the trichomes are milky white (ideal harvest window) or already amber (past peak, more sedating effect). All trichomes still clear? Then give it another 1–3 weeks.
- Don’t water too often: overwatering is mistake #1
- Check your light distance daily, because plants grow fast
- Seal every light leak in your grow tent
- Always measure the pH of your water, don’t guess
- Keep humidity below 50% in flowering
- Check trichomes with a loupe instead of harvesting by the calendar
- Keep a grow journal: date, watering amount, pH, EC, temperature, observations
Setting Up a Grow Tent for Beginners: Step-by-Step Setup
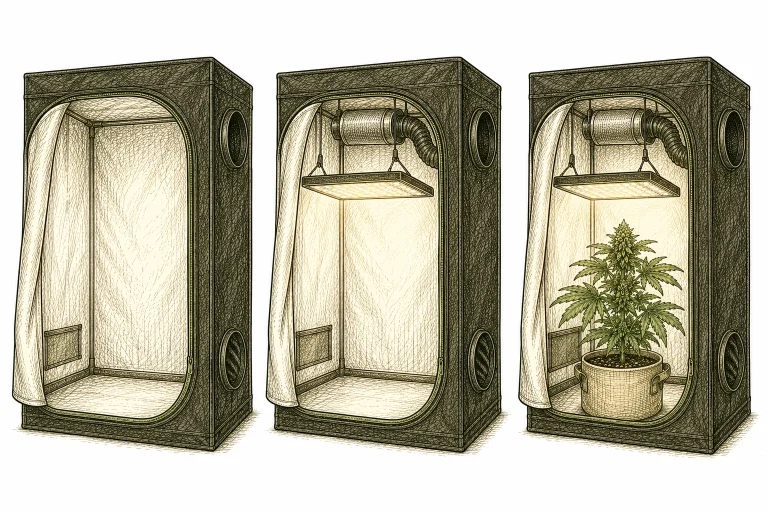
Now that you know the basics, let’s walk through the actual setup step by step. Setting up a grow tent usually takes 2–3 hours. Finish it completely before you move your first plant into the tent.
Step 1: Pick the right spot. The tent needs enough room for ducting and outlets nearby. A room with a stable temperature is ideal. A basement or storage room often works better than a bedroom. Set up the tent before you bring any gear inside.
Step 2: Install the ventilation first. Hang the carbon filter near the top of the tent. Connect it to flexible ducting and run that to the exhaust fan, which pushes the air outside or into the room. Test the fan: the tent walls should pull in slightly (light negative pressure).
Step 3: Hang the LED grow light at the right height. Use adjustable rope ratchets so you can change the height as your plants grow. Connect the light to a timer and set your schedule. Step 4: Place the hygrometer in the tent where you can read it through the viewing window. Step 5: Set up the circulation fan so it doesn’t blow directly on where your plants will go. Step 6: Fill your pots with growing medium and place them in the tent. Now your setup is ready for its first plants!
- 1. Pick your spot: stable, easy to ventilate, with an outlet nearby
- 2. Set up the grow tent and check it for light leaks
- 3. Install the carbon filter and exhaust fan (at the top of the tent)
- 4. Hang the LED grow light on adjustable rope ratchets
- 5. Set the timer for your light cycle and test it
- 6. Place the hygrometer and circulation fan
- 7. Fill your pots and let the whole setup run for 24 h before the first plants go in
- 8. Calibrate your pH meter and EC meter
Frequently Asked Questions
How big should my first grow tent be?
For beginners, a grow tent around 24 x 24 x 55 in (60 x 60 x 140 cm) for 1-2 plants or 32 x 32 x 63 in (80 x 80 x 160 cm) for 2-4 plants works great. These sizes are easy to manage and keep under control. They also need a smaller investment in lighting and ventilation than bigger tents.
How much does it cost to set up a grow tent?
A solid starter setup for a 32 x 32 in (80 x 80 cm) tent usually runs about $350 to $700 for everything you need (tent, LED, ventilation, hygrometer, pots, soil). Budget setups from around $250 are possible if you cut corners on quality, while high-end setups can easily go past $900.
Do I need a carbon filter for my grow tent?
For an indoor grow, a carbon filter is highly recommended if you want to stay discreet. Once your plants hit the flowering stage, they can get really smelly. A carbon filter paired with an exhaust fan neutralizes that smell very effectively.
How many plants fit in a 24 x 24 in (60 x 60 cm) grow tent?
Realistically, a 24 x 24 in (60 x 60 cm) tent fits 1-2 plants if you let them grow naturally. With training techniques like LST (low stress training) or SCROG (screen of green), you can use the space much more efficiently. Check the cannabis laws where you live before you plan your plant count.
What’s the ideal temperature in a grow tent?
With the lights on, the sweet spot is 72-82 °F (22-28 °C). During the dark period, it can drop to 64-72 °F (18-22 °C). Running above 86 °F (30 °C) for long stretches can cause heat stress and seriously cut into growth and yield. That’s why a hygrometer with a temperature display is a must-have.
How long does a complete indoor grow take?
A typical indoor grow with feminized photoperiod strains takes 12-16 weeks: 4-6 weeks of veg plus 8-10 weeks of flowering. Autoflowering strains are often ready to harvest just 8-10 weeks after germination. Add another 2-3 weeks for drying and curing after the harvest.
Can I run a grow tent in a rental apartment?
Check the cannabis laws where you live before growing. Whether you can run a grow tent in a rental mostly comes down to your lease and building rules. Let your landlord know before you make any changes to the unit. A tent that needs no drilling or modifications is less likely to cause trouble, but if you’re unsure, get advice from a local legal professional.
You’ll find a complete starter gear list in our Recommended Gear. To see which complete kit suits you best, check out our grow tent kit comparison.
Bottom Line
Setting up a grow tent as a beginner is easier than it looks. Focus on the essentials: good light, stable temperature and humidity, the right pH, and watering only when your plants need it. With a budget of about $350–$700 and this guide, you have all the basics to start your first successful indoor grow. Keep a grow journal, check on your plants every day, and only step in when it’s really necessary. If you’re ever unsure what your plant is telling you, the Plant Diagnosis Tool on PlantClue gets you answers fast – and for yellowing leaves, you’ll find every cause and fix in our article on why cannabis leaves turn yellow.
