

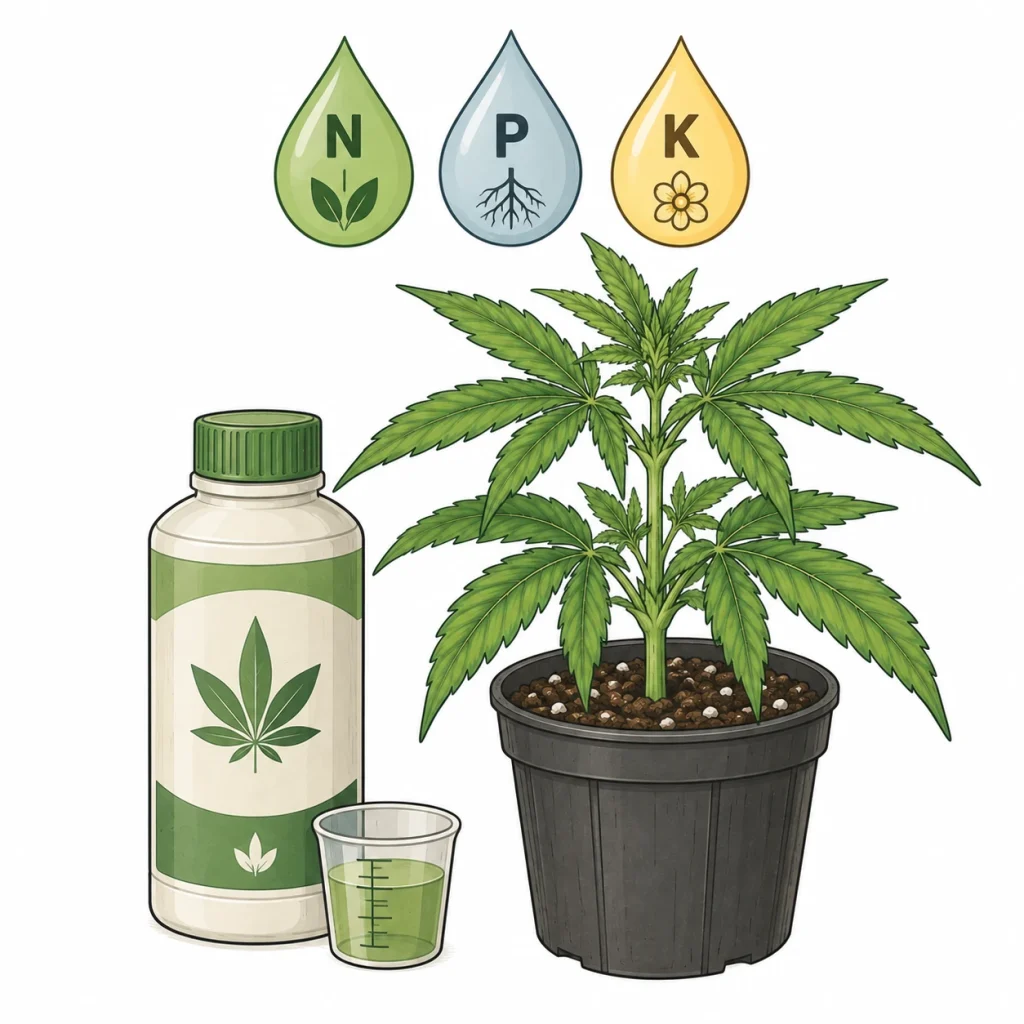
Reading a cannabis NPK chart is one of the most important basics for any successful grower, whether you’re just starting out or already have a few harvests under your belt. Without the right nutrients, your plant can fall short of its potential, develop deficiencies or suffer from nutrient burn. In this guide, you’ll learn what the letters N, P and K actually stand for. You’ll also find out which micronutrients your plants can’t do without and how to build your feeding schedule step by step. With this knowledge, you can spot problems early and fix them before your harvest takes a hit. Already know the basics? Our article Cannabis Nutrients: 7 Dosing Mistakes and How to Avoid Them covers specific dosing errors in detail.
What Does NPK Mean for Cannabis Nutrients?
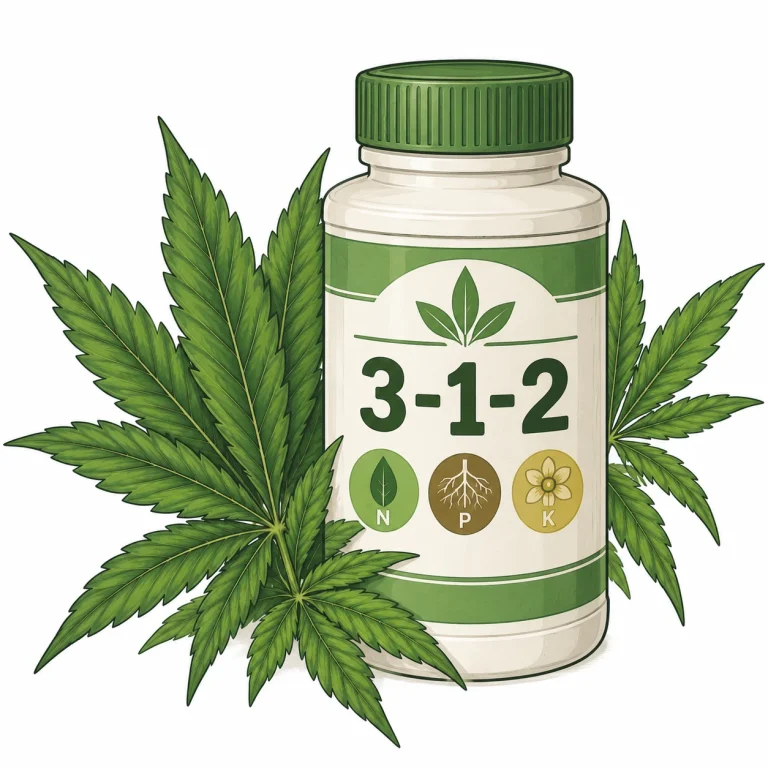
NPK stands for the three key macronutrients every plant needs to survive: nitrogen (N), phosphorus (P) and potassium (K). You’ll find these three numbers on every nutrient label, always in this order, for example “3-1-2” or “10-5-7”. For science-based nutrient supply and feeding strategies, check out the Julius Kühn-Institut, a German federal research institute for cultivated plants. The numbers show the percentage of each nutrient in the product. The higher the number, the more concentrated it is. Cannabis can’t live without these three elements, but the ideal ratio between them shifts a lot from one growth stage to the next.
Nitrogen (N) is the main driver of lush, green leaf growth and strong plant mass during the vegetative stage. Phosphorus (P) supports root development, encourages bud formation and is key for energy transfer inside the plant. Potassium (K) strengthens cell walls, improves water uptake, boosts stress resistance and helps produce dense, resinous buds. Together, these three elements are the foundation of plant nutrition. No cannabis grow runs well for long without a clear understanding of how they interact.
- N = nitrogen: leaf growth, chlorophyll production, protein building
- P = phosphorus: root growth, bud development, energy transport
- K = potassium: cell strength, water balance, resin production
- The NPK ratio on nutrient labels always follows the order N-P-K
- Higher numbers mean higher concentration, not automatically better quality
Cannabis NPK Chart: Nutrient Needs by Growth Stage
| Growth stage | NPK ratio (guideline) | Focus |
|---|---|---|
| Seedling (0–2 weeks) | little to no nutrients | use the reserves in the growing medium |
| Vegetative stage | 3-1-2 to 4-2-3 | leaf and stem growth |
| Early flowering | 1-3-2 | bud set, root development |
| Late flowering | 0-3-3 | resin and bud ripening |
| Flush (last 1–2 weeks) | no nutrients | wash out leftover nutrients |
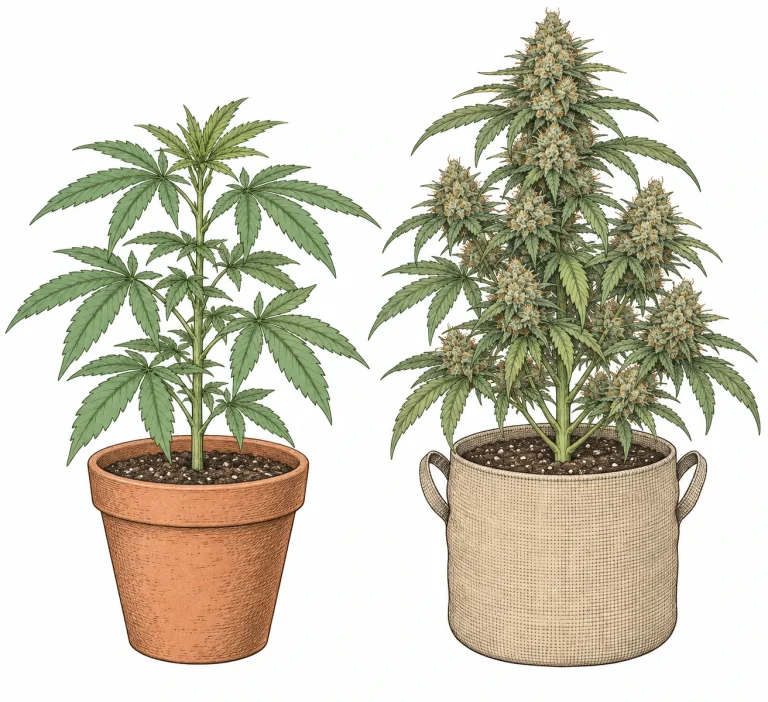
Your cannabis plant’s nutrient needs aren’t fixed. They change dramatically over its entire life cycle. During the seedling stage and early veg, your plant needs hardly any extra feeding. A good seedling mix holds enough reserves to carry it through the first few weeks. But once the plant really takes off and starts pushing out leaves and stems, its nitrogen demand rises sharply. A typical NPK ratio for the vegetative stage is around 3-1-2 or 4-2-3.
When you switch to the flowering stage, the ratio almost flips. You cut back on nitrogen while phosphorus and potassium take center stage. A classic bloom ratio is around 1-3-2 or 1-4-3. For the last two to three weeks before harvest, many experienced growers recommend a “flush“. This means you either flush the growing medium completely or at least stop using nitrogen-heavy nutrients. Flushing washes out leftover nutrients, which can improve the final quality and flavor of your dried buds. A solid understanding of pH matters just as much, because pH largely decides whether the roots can take up the nutrients at all.
- Seedling (0–2 weeks): little or no extra nutrients needed
- Vegetative stage: high N, moderate P and K, e.g. NPK 3-1-2
- Early flowering: lower N, raise P and K, e.g. NPK 1-3-2
- Late flowering: low N, high P and K, e.g. NPK 0-3-3
- Flush (last 1–2 weeks): no nutrients, plain water only
- Always check your pH: soil ideally 6.2–6.8 (tolerable 6.0–7.0), coco 5.9–6.1 (tolerable 5.8–6.3), hydro 5.7–6.0 (tolerable 5.5–6.1)
Micronutrients: The Underrated Helpers in Your Cannabis Grow

Besides the big three macronutrients, cannabis needs a whole range of other elements in much smaller amounts. These are often called micronutrients or trace elements. The most important ones include calcium (Ca), magnesium (Mg), sulfur (S), iron (Fe), manganese (Mn), zinc (Zn), boron (B), copper (Cu) and molybdenum (Mo). Strictly speaking, Ca, Mg and S are secondary macronutrients, but growers often lump them in here. Even though your plants only need tiny amounts, a shortage of a single one can cause clearly visible deficiency symptoms and seriously slow down growth.
Calcium and magnesium cause the most trouble, especially if you use reverse osmosis (RO) water or very soft tap water. A calcium-magnesium supplement (Cal-Mag for short) usually fixes this quickly and reliably. A calcium deficiency in cannabis typically shows up as brown spots on older leaves and dying growth tips. Learn these symptoms so you can react fast. Magnesium, on the other hand, is essential for chlorophyll production. A deficiency shows the classic interveinal yellowing: the leaf veins stay green while the tissue around them turns yellow.
- Calcium (Ca): cell walls, root health, prevents brown spots
- Magnesium (Mg): core of chlorophyll, enzyme activation, green leaves
- Sulfur (S): protein building, terpene synthesis, enzyme functions
- Iron (Fe): chlorophyll synthesis, often locked out at high pH
- Manganese (Mn): photosynthesis, nitrogen metabolism
- Zinc (Zn): auxin production, enzyme activity, growth at the shoot tips
- Boron (B): nutrient transport, cell development in growth tips
Cannabis Deficiencies: How to Diagnose NPK and Micronutrient Problems

Spotting deficiencies is one of the most important skills a grower can have. The good news: almost every nutrient deficiency leaves telltale signs, and with a little practice you can identify them with confidence. Nitrogen deficiency shows up first on the lower, older leaves. They turn more and more yellow and eventually die off, because the plant pulls nitrogen out of old leaves to fuel new growth. Phosphorus deficiency often shows as purple stems and leaf undersides, sometimes with dark green, slightly glossy leaves. Potassium deficiency classically shows up as brown leaf tips and leaf edges that start to die off.
Here’s the key point: many deficiency symptoms aren’t caused by a real lack of the nutrient in your growing medium. Often the pH is off and blocks uptake. This is called nutrient lockout. So before you start pouring in more nutrients, always check the pH of your water and your runoff first. Also pay attention to whether the problem appears first on old leaves (mobile nutrients) or on new growth (immobile nutrients). That gives you important clues about the cause. For more help, check out the plant diagnosis overview on PlantClue.
Overfeeding is just as common and can be just as harmful as a deficiency. Too much nitrogen can lead to very dark green leaves that claw downward, and it can hold back bud development. Too much phosphorus can, ironically, block the uptake of zinc and iron. Too much potassium can interfere with magnesium and calcium uptake. Beginners in particular tend to overfeed because they want fast results. When it comes to feeding, less is often more. Start with 50–75% of the recommended dose.
- Nitrogen deficiency: yellowing starts at the bottom, old leaves affected (mobile)
- Phosphorus deficiency: purple stems, dark leaves, stunted flowering
- Potassium deficiency: brown leaf edges and tips, dead (necrotic) spots
- Magnesium deficiency: interveinal chlorosis, veins stay green
- Calcium deficiency: brown spots, dead growth tips, weak roots
- Iron deficiency: yellowing of new leaves (immobile), usually pH-related
- Nutrient lockout: check pH BEFORE you feed more
Organic vs. Synthetic Nutrients: Which Fits Your Cannabis Grow?
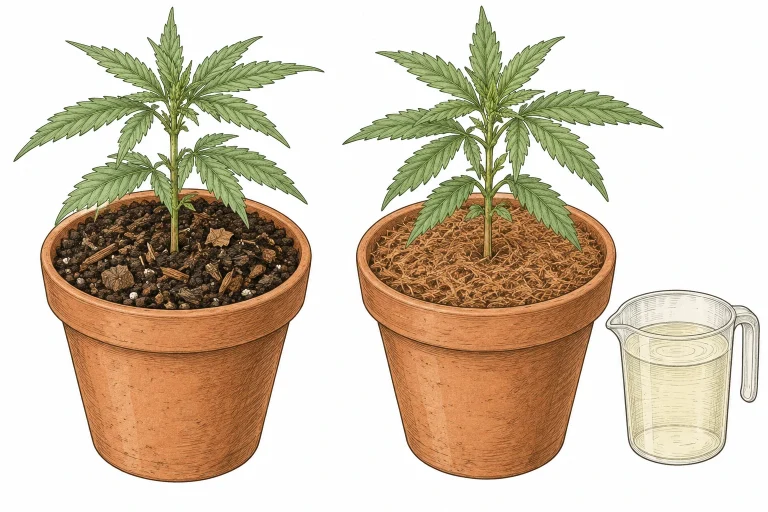
When it comes to picking nutrients, you basically have two routes: organic nutrients made from natural ingredients, or mineral (synthetic) liquid nutrients. Both have their place, and each one suits different grow setups and experience levels. Organic options like worm castings, guano, bone meal or neem cake release nutrients slowly and steadily, because soil microbes have to break them down first. They’re more forgiving if you get the dose wrong, and they build a living soil that improves nutrient uptake over time. The downside: they work more slowly, so it’s harder to fix an acute deficiency fast.
Mineral liquid nutrients, on the other hand, are taken up by the roots right away and give you precise control over the NPK ratio at every point of the grow. They’re ideal for growing media with little or no buffering, like coco coir, and for hydroponic systems. The downside is a higher risk of nutrient burn and salt buildup in the medium, which means you’ll need to flush regularly. If you’re new to growing, build your feeding schedule step by step. Your best bet is a complete starter kit from an established brand that’s made specifically for cannabis. We’ve compared suitable cannabis nutrient kits (German) and single nutrients for veg and flowering. For tips on getting off to a good start, check out our beginner’s guide to growing cannabis indoors.
- Organic: slow release, forgiving, builds soil life
- Mineral: available right away, easy to dose precisely, higher risk of nutrient burn
- Coco/hydro: always mineral or fully water-soluble organics
- Soil: organic is ideal, mineral works too
- Starter kits from big brands are a safe bet for beginners
- Measuring conductivity (EC) helps you spot salt buildup
How to Use Cannabis NPK Nutrients: A Practical Feeding Schedule
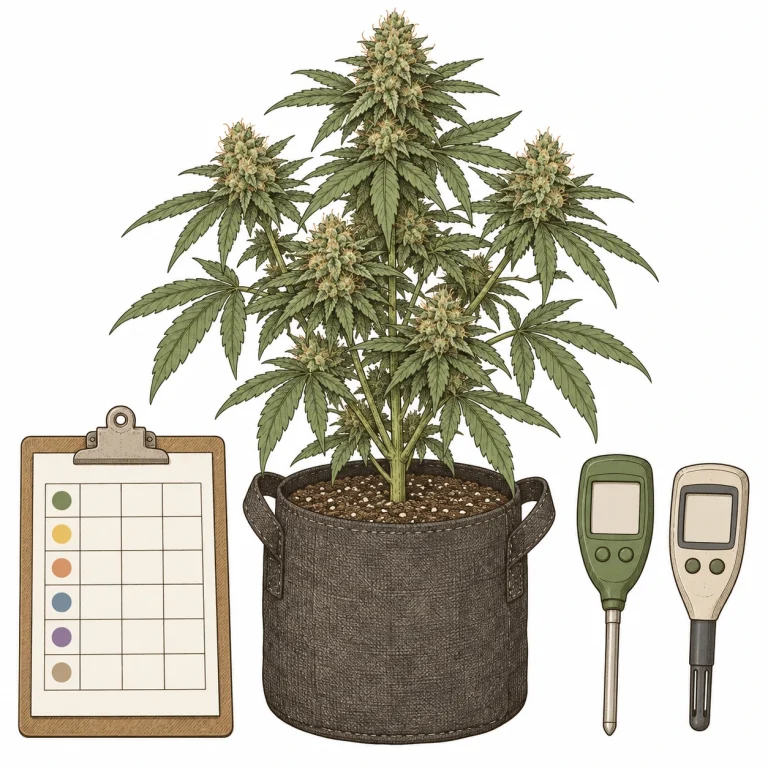
A structured feeding schedule is the key to a trouble-free grow. In the vegetative stage, start with 25–50 % of the manufacturer’s recommended dose and work your way up if your plant shows no negative reactions. Check the pH of your finished nutrient solution every time you feed and adjust it if needed. For soil, a pH of 6.2 to 6.8 is considered ideal (tolerable 6.0 to 7.0), for coco 5.9 to 6.1 (tolerable 5.8 to 6.3) and for hydro 5.7 to 6.0 (tolerable 5.5 to 6.1). If you want to track EC (electrical conductivity): we mean the total EC of the finished nutrient solution, so the reading on your meter (your tap water is included in it). Healthy values in veg are ideally 500–800 ppm (1.0–1.6 mS/cm), tolerable 350–950 ppm (0.7–1.9 mS/cm), and in flowering ideally 800–1,100 ppm (1.6–2.2 mS/cm), tolerable 650–1,250 ppm (1.3–2.5 mS/cm). For the most common dosing mistakes and how to avoid them day to day, read our article on dosing cannabis nutrients the right way.
Keep a simple grow journal where you log the date, nutrient amount, pH and how your plants look. That way you can spot patterns, and if problems pop up, you can trace exactly what you changed and when. A light flush every two to three weeks with twice the pot volume of pH-adjusted water helps dissolve salt buildup before it becomes a problem. Always feed after watering, never into bone-dry medium – that needlessly spikes the salt concentration around the roots and can cause nutrient burn. Once you learn how to water cannabis properly, you’re also protecting your plants’ nutrient supply for the long run.
Another point people often underestimate: switch between different nutrient products now and then, or use supplements, to cover a broad range of micronutrients. Some products focus on certain macronutrients and skimp on trace elements. For example, combine a nitrogen-rich veg nutrient with a Cal-Mag supplement and a root booster for the first few weeks. In flowering, you can add PK boosters, enzyme products and, in late flower, maybe a sugar supplement to support resin production.
- Start at 50 % of the manufacturer’s dose and increase slowly
- Check and adjust pH every time you feed
- Measure EC: veg 500–800 ppm (1.0–1.6 mS/cm), flowering 800–1,100 ppm (1.6–2.2 mS/cm)
- Keep a grow journal: date, dose, pH, plant condition
- Flush every 2–3 weeks to keep salts in check
- Never feed into dry medium
- A Cal-Mag supplement is recommended as a basic add-on
- Combine different products for a broad nutrient spectrum
To put your feeding schedule into practice, take a look at our article on dosing cannabis nutrients the right way – and if you overdo it with the values from the chart, our article on nitrogen toxicity helps you catch the warning signs early.
Frequently Asked Questions
What do the NPK numbers on nutrients mean?
The three numbers on a nutrient bottle show the percentage of nitrogen (N), phosphorus (P) and potassium (K) in the product – always in that order. So a product labeled 5-2-4 contains 5% nitrogen, 2% phosphorus and 4% potassium. Cannabis needs a different ratio in each stage: in veg, N leads the way; in the flowering stage, P and K become more important.
How often should I feed cannabis?
In the vegetative stage, most growers feed every second or third watering. In the flowering stage, you can feed with every watering – just adjust the dose. Rule of thumb: water first, then feed. Never feed into a bone-dry growing medium. Flush every two to three weeks to keep salts from building up.
Which nutrients does cannabis need most during flowering?
During the flowering stage, cannabis needs much less nitrogen but more phosphorus and potassium. Phosphorus supports bud formation and energy transport, while potassium strengthens cell walls and boosts resin production. A typical NPK ratio for flowering is 1-3-2, or 0-3-3 in late flower. Calcium and magnesium also play a key role as secondary nutrients for healthy buds.
What is nutrient lockout and how do I fix it?
Nutrient lockout happens when nutrients are present in the growing medium, but the roots can’t take them up because the pH is off. It looks like a classic deficiency, even though you’ve fed enough. The fix: check and correct the pH of your water and growing medium. For soil, pH 6.2–6.8 is ideal (6.0–7.0 is tolerable). Flushing with pH-adjusted water can also help dissolve salt buildup and get uptake back on track.
Can I use regular plant fertilizer for cannabis?
Technically, yes – but cannabis nutrients are tailored to what the plant needs in each stage. All-purpose fertilizers from the hardware store often have the wrong NPK ratio and can lack important nutrients like calcium and magnesium. If you want serious results, go with dedicated cannabis nutrients and match your feeding schedule to each stage.
What happens if you give cannabis too many nutrients?
Overfeeding shows up on cannabis as extremely dark green leaves that curl downward (nitrogen toxicity), brown leaf tips from nutrient burn, or a confusing mix of deficiency symptoms because nutrients lock each other out. In the worst case, the roots can get burned. The fix: a thorough flush with three times your pot volume of pH-adjusted water, then cut your nutrient dose to 50 % of what you were feeding before.
Looking for the right nutrients for veg and flower? Check out our recommended gear.
Bottom Line
Understanding cannabis nutrients and NPK isn’t rocket science, but it does take some attention and a good eye. If you give your plants the three macronutrients – nitrogen, phosphorus and potassium – in the right ratios for each growth stage, you’ve laid the most important foundation for a successful grow. Secondary nutrients and micronutrients like calcium, magnesium and iron are just as essential, and beginners often underestimate them. With a solid feeding schedule, regular pH checks and a watchful eye on your plants, you’re well set up to catch deficiencies early and grow healthy, high-yielding plants.
