

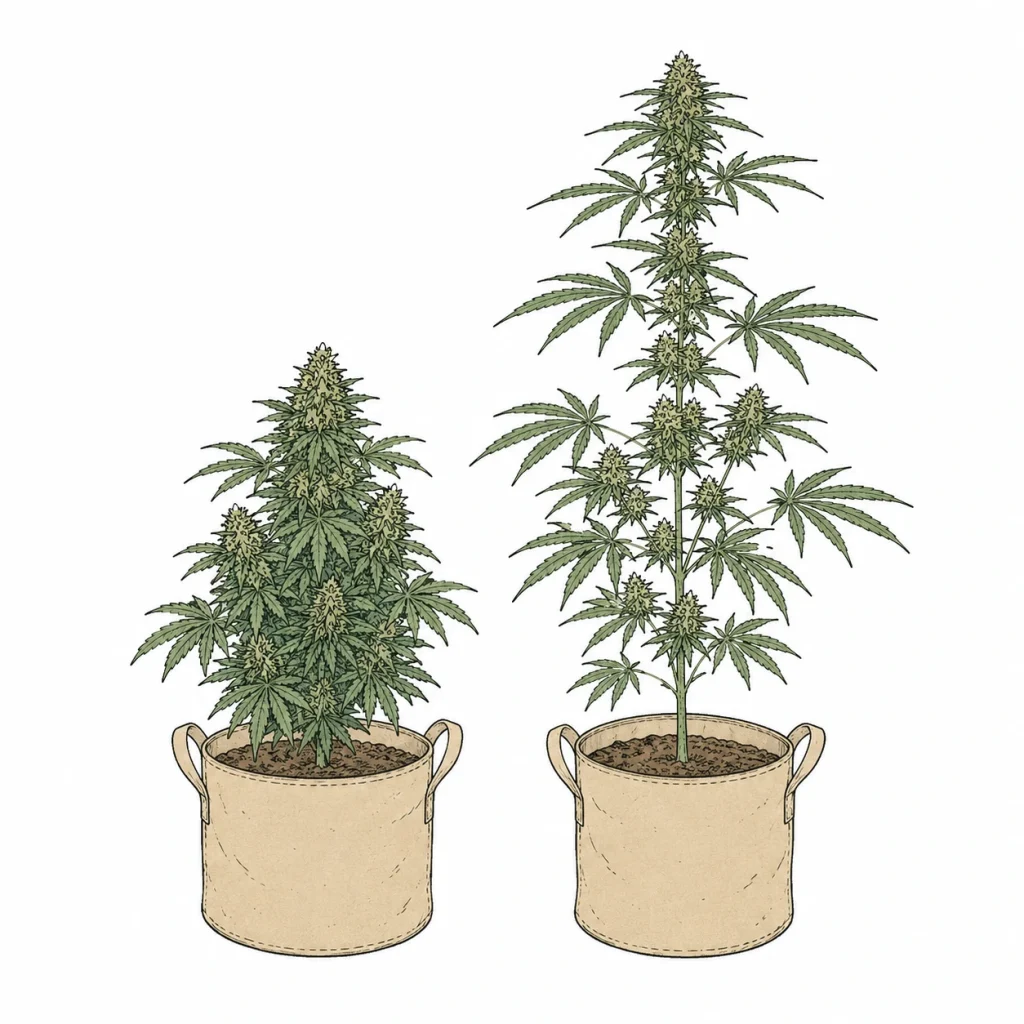
For many growers, growing autoflower cannabis is the easiest way to get started with growing your own. Unlike photoperiod strains, autoflowers start flowering regardless of the light cycle. They simply switch after a certain number of weeks. That makes them easy, fast and a great fit for small grow spaces. In this guide you’ll learn everything that matters, from the right growing medium and lighting to the most common mistakes you’ll want to avoid. Their compact size also makes autoflower strains a great choice for growing cannabis on a windowsill without a grow tent.
What Are Autoflowers and Why Are They Great for Growing Autoflower Cannabis?
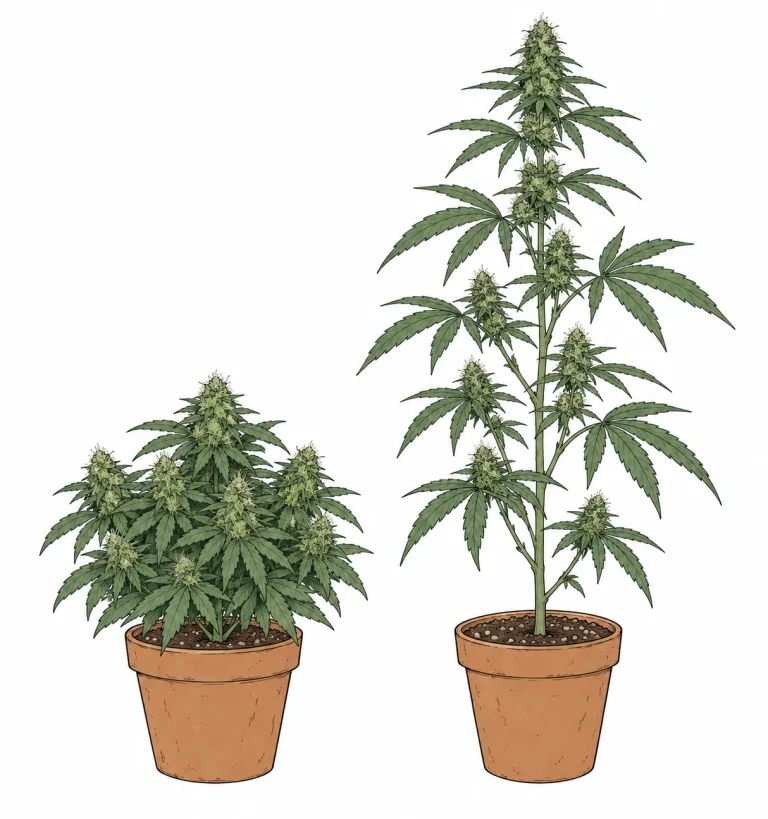
Autoflowering cannabis strains are crosses between Cannabis ruderalis and either Cannabis indica or Cannabis sativa. Cannabis ruderalis originally comes from Siberia and Central Asia. Short summers there made fast flowering, regardless of day length, an evolutionary must. Breeders deliberately crossed this trait into modern high-performance strains to get the best of both worlds: high THC levels plus lightning-fast, easy growth.
The key difference from photoperiod strains is what triggers flowering. Regular feminized strains follow classic photoperiodism and need a switch to a 12/12 light cycle before they flower. Autoflowers, on the other hand, start forming buds on their own after about 3 to 5 weeks of growth, no matter how much light they get each day. From germination to harvest, it takes only 60 to 90 days depending on the strain. That means you can pull several harvests a year under grow lights. For beginners, that’s a huge advantage, because you never have to switch the light cycle yourself.
Autoflowers usually stay compact and rarely grow taller than 31 to 39 in (80 to 100 cm). That makes them ideal for small grow tents, closets or discreet indoor setups. If you want to learn more about the basics of an indoor grow setup, our complete indoor growing guide for beginners sums up all the essentials. To see exactly how autoflower genetics differ from feminized strains and which type fits your grow better, check out Autoflower vs. Feminized: The Difference.
- Flowering starts on its own after 3–5 weeks, no light cycle switch needed
- Total grow time: 60–90 days from germination to harvest
- Compact height of 16–39 in (40–100 cm), ideal for small spaces
- Handles temperature swings better than many photoperiod strains
- Several harvests a year are easy to pull off
- Lower energy use thanks to a shorter total run time
The Right Growing Medium and Pot Size for Autoflower Cannabis
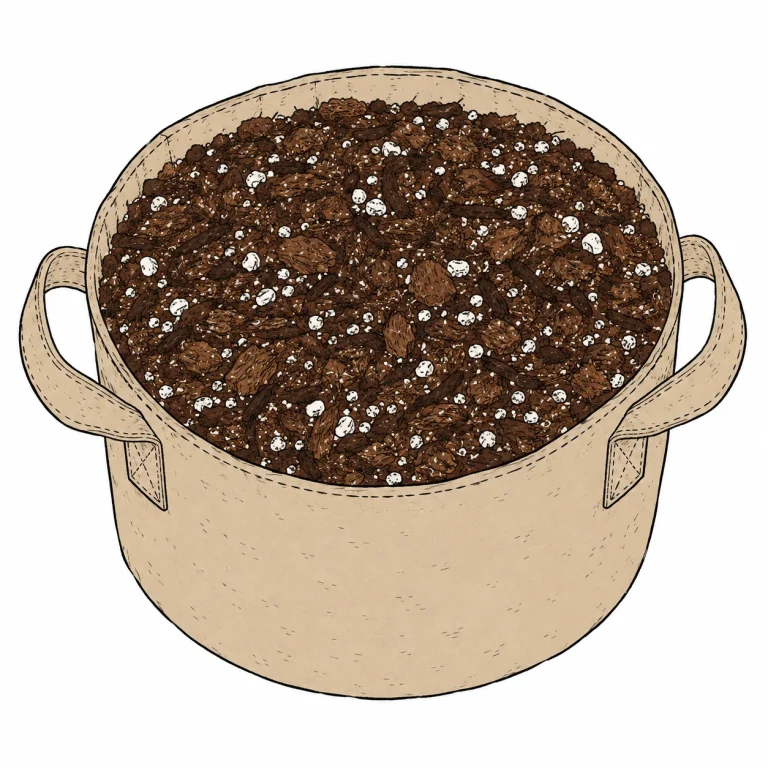
When you’re growing autoflower cannabis, your choice of growing medium matters a lot. Autoflowers can react more sensitively to a nutrient-rich mix than their photoperiod cousins. Their whole life cycle is shorter, so they have little time to recover from stress. Go for a light, well-draining mix with plenty of perlite, about 20 to 30 percent. This gives the roots more air and helps prevent overwatering, one of the most common mistakes with autoflowers.
Get the pot size right from the start, because autoflowers don’t handle transplanting well. With photoperiod strains, you can make up for transplant stress quickly by extending the vegetative stage. With autoflowers, though, the internal clock keeps ticking, and time lost to stress can mean a smaller yield. So plant your autoflower straight into its final container: For most strains, 3 to 4 gal (11 to 15 L) is ideal. Very compact strains can be grown in 2 gal (7 L) pots, while bigger strains benefit from up to 5 gal (20 L).
Fabric pots are a particularly good choice for autoflowers. They naturally air-prune the roots, encourage a healthy root structure, and their breathable material keeps excess moisture from building up. The result is a more active root zone and usually noticeably better growth. We compare matching sets in our fabric pot comparison (German).
- Light growing medium with 20–30% perlite for good drainage
- Plant straight into the final container, no transplanting with autoflowers!
- Recommended pot size: 3–4 gal (11–15 L) for most strains
- Fabric pots promote healthy roots through air pruning
- Avoid heavily pre-fertilized soil, since autoflowers can react sensitively
- Keep the pH of your growing medium between 6.0 and 6.5
Best Lighting: The Light Cycle for Growing Autoflower Cannabis
One of the biggest perks of growing autoflowers is that you’re free to pick your light cycle. Flowering is triggered by age, not by light, so autoflowering plants can spend their whole life under one steady light cycle. The most common recommendation, and a proven choice in practice, is 18 hours of light and 6 hours of darkness (18/6), or even 20/4. Some growers run their autos under 24/0, meaning lights on around the clock. Still, most plants do better with a short rest period.
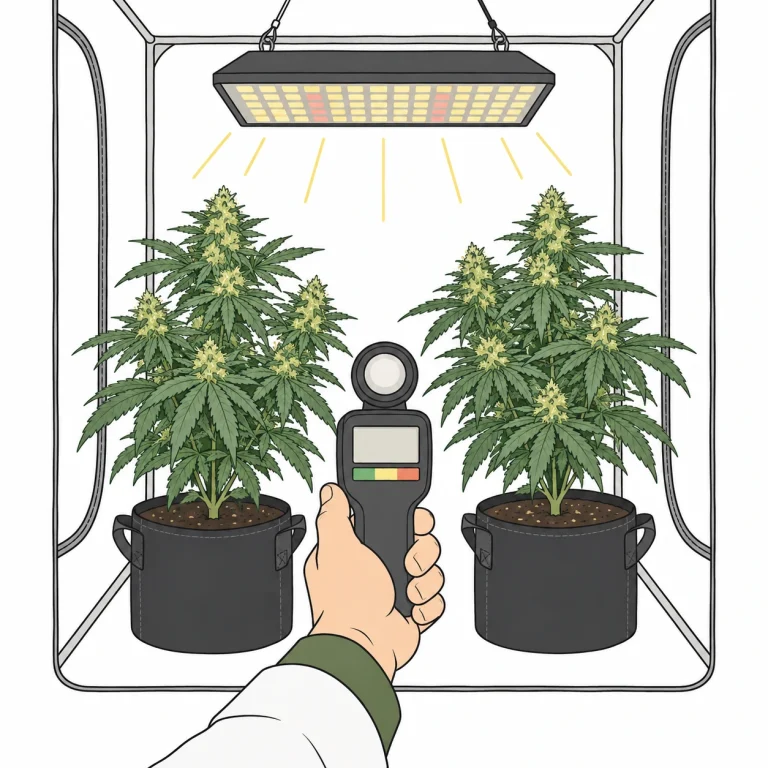
When it comes to the type of light, modern full-spectrum LEDs have become the go-to choice for autoflower grows. They run cooler than HPS lights, which matters with small pots and compact tents. They also deliver a broad spectrum that supports both the vegetative stage and flowering. For a 2×2 ft (60×60 cm) tent with one or two autoflowers, 100 to 200 watts of actual LED power is usually plenty. Set your light height carefully. If the light hangs too close, you can quickly get light burn, especially with high-output quantum board LEDs.
Your PPFD (photosynthetic photon flux density), meaning the light intensity, should sit at 400 to 600 µmol/m²/s in veg and climb to 600 to 900 µmol/m²/s in flower. Compared to some photoperiod strains, autoflowers can use slightly lower light intensities efficiently, which helps keep your power bill in check. Temperature and light go hand in hand: keep your canopy temperature between 72 and 82 °F (22–28 °C).
- Recommended light cycle: 18/6 or 20/4 – from seed to harvest, no switch needed
- Full-spectrum LEDs are ideal: low heat, broad spectrum
- PPFD in veg: 400–600 µmol/m²/s; in flower: 600–900 µmol/m²/s
- Keep your light 12–24 in (30–60 cm) above the canopy, depending on the model
- Aim for a canopy temperature of 72–82 °F (22–28 °C)
- 24/0 is possible, but a short rest period (18/6) is recommended
How to Manage Watering and pH
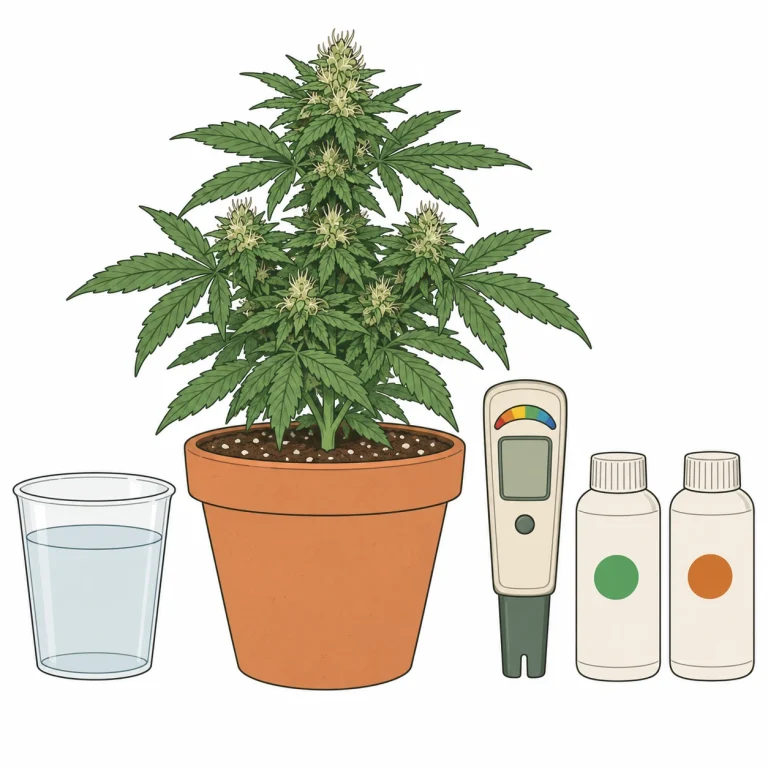
Getting your watering right is especially important with autoflowers, because overwatering is one of the most common mistakes. Autos in small pots with an airy growing medium do dry out fast. Even so, the key is a balance between enough moisture and letting the root zone dry out. Only water once the top inch (2–3 cm) of the medium feels dry. Also lift the pot: a light pot tells you the plant is thirsty. Aim for about 10 to 20 percent runoff from the drainage holes each time you water to keep salts from building up in the medium.
The pH of your water matters just as much with autoflowers as with any other cannabis strain. The wrong pH can block nutrient uptake and cause deficiencies, and with an auto’s short life cycle, you may barely have time to fix them. For soil grows, a pH between 6.0 and 6.5 is considered ideal. Also check the EC (electrical conductivity) of your feed water regularly so you can catch nutrient burn early. You’ll find a full guide to dialing in pH in our article on the optimal pH for cannabis.
When you water with nutrients, keep your EC moderate. Autoflowers need a lot less food than photoperiod strains – start at half the manufacturer’s recommended dose and slowly work your way up as needed. Keep an eye on the leaves: pale green or yellowish leaves can point to a feeding problem, while dark, deep green leaves with clawing tips can mean your EC is too high. Learn more in our article on signs of nutrient burn in cannabis.
- Only water once the top inch (2–3 cm) of the medium is dry
- Use the pot-lift method to check moisture
- Plan for 10–20% runoff to flush out salts
- pH of your water: 6.0–6.5 for soil grows
- Keep EC lower than for photoperiod strains
- Start at half-strength nutrients and increase slowly
Feeding and Nutrients for Autoflower Cannabis
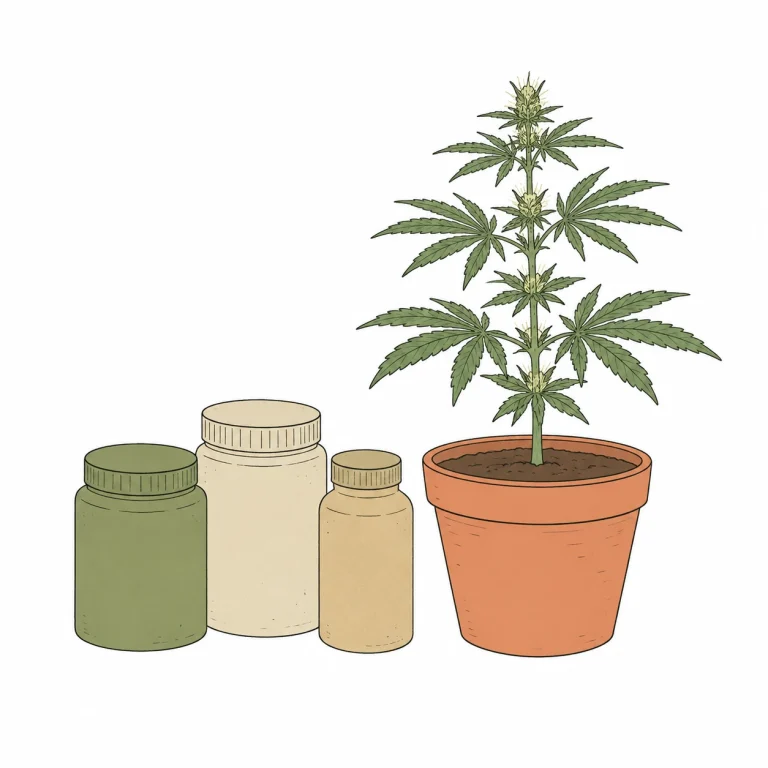
Autoflowers are known for needing a light hand with nutrients. Their smaller root system and faster life cycle mean that too much food can do more harm than good. In the first two weeks after germination, autos usually need no extra nutrients at all, as long as you use a decent seedling mix. From week 3 on, you can start with a very low nitrogen dose – about 25 to 50 percent of the manufacturer’s recommended amount.
Once your autos move into the flowering stage, usually around week 4 to 5, it’s time to adjust your feeding plan. Cut back on nitrogen and raise phosphorus and potassium to support bud development. Many nutrient brands offer lines made specifically for autoflowers that make these transitions easier. Classic bloom nutrients work just as well, though, as long as you keep the dose low.
Magnesium and calcium deficiencies are common problems with autoflowers, especially if you water with soft reverse osmosis (RO) water or filtered water. A Cal-Mag supplement can help prevent this. If you notice brown spots on the leaves or leaves curling up, check out the article on how to spot and fix calcium deficiency in cannabis to pin down the cause.
- First two weeks: no extra nutrients needed
- From week 3: start at 25–50% of the recommended nutrient dose
- From week 4–5, switch to bloom nutrients: more PK, less N
- Cal-Mag supplement recommended if you use soft water
- Flushing in the last 1–2 weeks before harvest can improve quality
- Watch for symptoms: leaf color tells you a lot about nutrient status
Training Techniques: What Works When Growing Autoflowers?
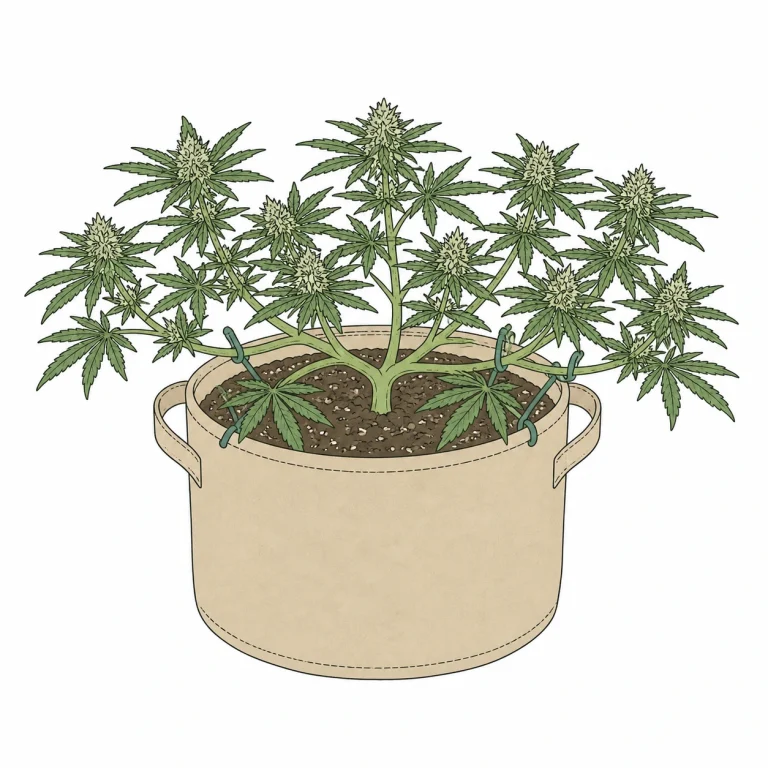
Used the right way, training can boost your autoflower yield a lot. But there are key differences from photoperiod strains. Autoflowers don’t have an extended vegetative stage to recover from stress. That makes aggressive methods like topping or FIM risky. They can stress the plant so much that you end up with a smaller harvest than without any training. Some experienced growers still top with success, but if you’re a beginner, skip high stress methods.
Gentle low stress techniques (LST – low stress training) are the better choice for autoflowers. You carefully bend the main shoots sideways and hold them in place with wire or clips to create a flat, wide canopy. That way more bud sites get direct light, which means more and bigger buds. You can start LST around week 2 to 3, while the plant is still young and flexible. Stop once flowering is clearly underway, because stems get woodier and more brittle in the flowering stage.
SCROG (screen of green) is another technique that works for autoflower grows with just one or two plants. You stretch a trellis net over the plant and weave the shoots through the openings as they grow, so the light spreads evenly. Defoliation – removing leaves on purpose – should be done very sparingly on autoflowers, and only in the middle of the vegetative stage.
- LST (low stress training): ideal for autoflowers – gentle and effective
- Topping and FIM: risky, only recommended for experienced growers
- Start LST in week 2–3 and finish before flowering kicks in
- SCROG works well for single-plant grows to maximize yield
- Defoliation only very sparingly and early in the grow cycle
- Main goal: even light on every bud site
Common Mistakes When Growing Autoflowers and How to Avoid Them
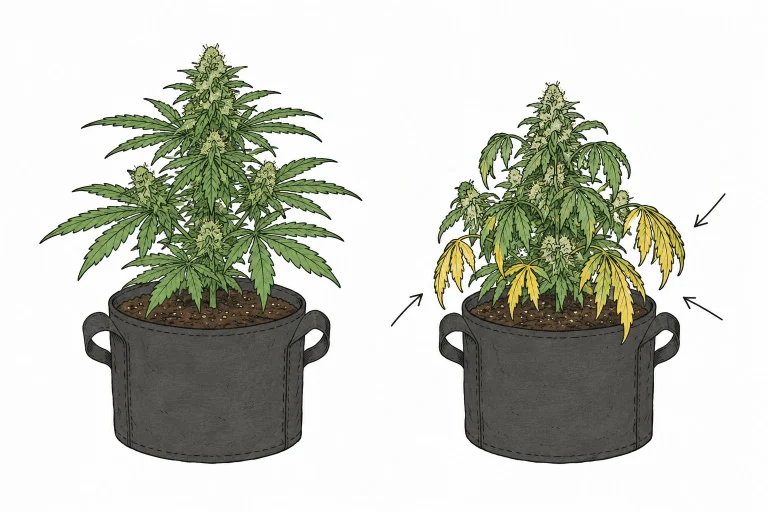
The most common mistake when growing autoflowers is overwatering – watering too often or too much. Beginners in particular tend to love their plants to death with water. Droopy, limp leaves together with a heavy, wet pot are classic signs. Roots need air, not just water. Only water once the top of the growing medium has clearly dried out. For more tips, check out the article on how to water cannabis the right way.
Another common mistake is transplanting mid-grow. As mentioned before, an autoflower’s internal clock never stops ticking. Every bit of transplant stress means days of stalled growth, which cuts directly into flowering time. So plant straight into the final pot from day one. Also, never neglect the pH of your water – even a pH of 7.0 instead of the ideal 6.2 to 6.5 can cause deficiencies within a few days, and with the short life of an autoflower, those are hard to fix.
Feeding too heavily in the early stages is another typical beginner mistake. Autoflowers often show nutrient burn with leaf tips turning brown or leaves curling upward in an unnatural way. If that happens, cut back on nutrients right away and flush with plain pH-adjusted water to wash salts out of the medium. If you suddenly see yellow leaves on your plant, it could also be a mix of a pH issue and a nutrient problem – the plant diagnosis overview on PlantClue helps you narrow down the cause step by step.
- Overwatering: the most common mistake – only water when the top of the medium is dry
- Avoid transplanting: plant straight into the final container
- Always check pH and keep it between 6.0–6.5
- Too much nutrients leads to nutrient burn
- High temperatures above 86 °F (30 °C) put a lot of stress on autoflowers
- Don’t use high stress techniques like topping without experience
Harvest: When and How to Harvest Your Autoflower the Right Way
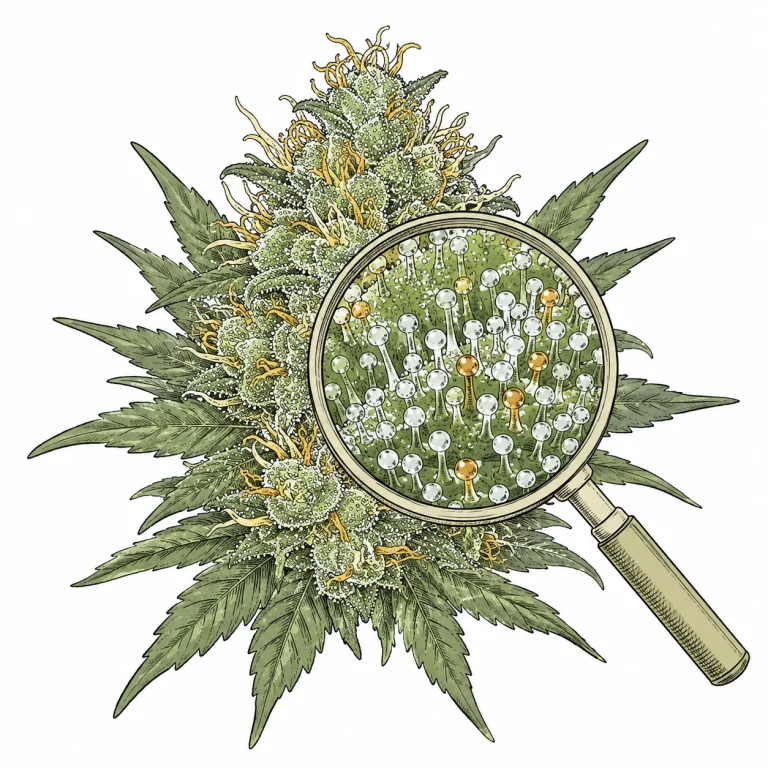
Nailing the harvest window matters just as much with autoflowers as with any other cannabis strain. The harvest time listed by the seed bank is only a rough guide. The trichomes are what really tell you how ripe your plant is. Use a loupe with at least 60x magnification, or even better a jeweler’s microscope, to check the trichomes on the buds. Clear, glassy trichomes mean the plant isn’t ready yet. Milky white trichomes signal peak THC. Amber trichomes show that more THC is breaking down into CBN, which tends to give a more sedating, heavy body effect.
Here’s a handy rule of thumb: harvest when about 70 to 90 percent of the trichomes are milky white and 10 to 30 percent are amber. That usually gives you a balanced, energetic effect. If you prefer a stronger, more relaxing effect, wait until about 50 to 60 percent of the trichomes have turned amber. Besides the trichomes, keep in mind that yellowing lower leaves toward the end of the life cycle are normal and not a sign of trouble. That’s just the plant’s natural senescence process.
At harvest, you cut the branches off one by one, strip off the larger sugar leaves (a rough trim) and hang them up for drying. Thanks to their compact size, autoflowers usually yield between 20 and 80 grams of dry weight per plant, depending on strain, pot size, light output and care. With dialed-in conditions and high-yielding strains, you can get even more.
- Check trichomes with a 60x loupe or microscope to pin down harvest ripeness
- Milky white trichomes: peak THC content
- Amber trichomes: more sedating effect, THC starts breaking down
- Recommendation: 70–90% milky, 10–30% amber for a balanced effect
- Yellowing lower leaves at the end of the life cycle: normal, not a mistake
- Typical yield per plant: 20–80 g dry weight, depending on conditions
We explain how autoflowers differ from feminized photoperiod strains in Autoflower vs. Feminized. To learn how to get your seeds to sprout, check out Germinating Cannabis Seeds. By the way, clones aren’t an option with autoflowering strains. More on that in our article on taking and rooting clones.
Frequently Asked Questions
How long does it take to grow autoflower cannabis?
Most autoflower strains take between 60 and 90 days from germination to harvest. That’s a lot faster than photoperiod strains, which often need 4 to 8 weeks in the vegetative stage alone before you switch the lights over to flowering.
What light cycle do autoflowers need?
Autoflowers don’t need a specific light cycle to start flowering. The most common and efficient setup is an 18/6 cycle (18 hours of light, 6 hours of darkness) or 20/4. Some growers run them under 24/0 (lights on around the clock), but that isn’t ideal for every strain.
Can you top autoflowers?
You can top autoflowers, but it’s risky and best left to experienced growers. Since autoflowers have no vegetative stage you can extend, the stress from topping can noticeably cut your harvest. For beginners, LST (low stress training) is the much better choice.
Why do my autoflowers have yellow leaves?
Yellow leaves can have lots of causes. A pH that’s off can block nutrient uptake. Nitrogen deficiency typically shows up as yellowing on older, lower leaves. Overwatering or nutrient burn can cause similar symptoms. A step-by-step diagnosis helps you pin down the real cause.
How much does an autoflower plant yield?
Under average indoor conditions, an autoflower yields 20 to 80 grams of dry weight. With a powerful LED, a 4 gal (15 L) fabric pot and dialed-in care, high-yielding strains can even top 100 grams per plant.
What pot size is best for autoflowers?
For most autoflower strains, 3 to 4 gal (11 to 15 L) pots work best. Smaller, compact strains do fine in 2 gal (7 L) pots, while bigger strains can benefit from up to 5 gal (20 L). Important: plant straight into the final container, because autoflowers shouldn’t be transplanted.
Can you grow autoflowers on a 12/12 light cycle?
Yes. Autoflowers flower no matter what the light cycle is, and they keep growing reliably under 12 hours of light and 12 hours of dark. The shorter light window does slow down vegetative growth, though, so your plants usually stay smaller and yield less than under 18/6 or 20/4. 12/12 mainly makes sense when you grow autoflowers and photoperiod plants in the same grow tent and have to run the light cycle the more sensitive strain needs.
Bottom Line
Thanks to their short grow time, automatic flowering and compact size, autoflowers are the perfect way for new growers to get started – and a great option for experienced growers who want several harvests a year. The keys to success: plant straight into the final container, water with care, keep your pH dialed in and feed gently at low doses. Skip high stress techniques and give your plant good light – and you’ll be rewarded with a fast, easy and satisfying harvest. With what you’ve learned in this guide, you’re well prepared to bring in your first successful autoflower harvest.
