

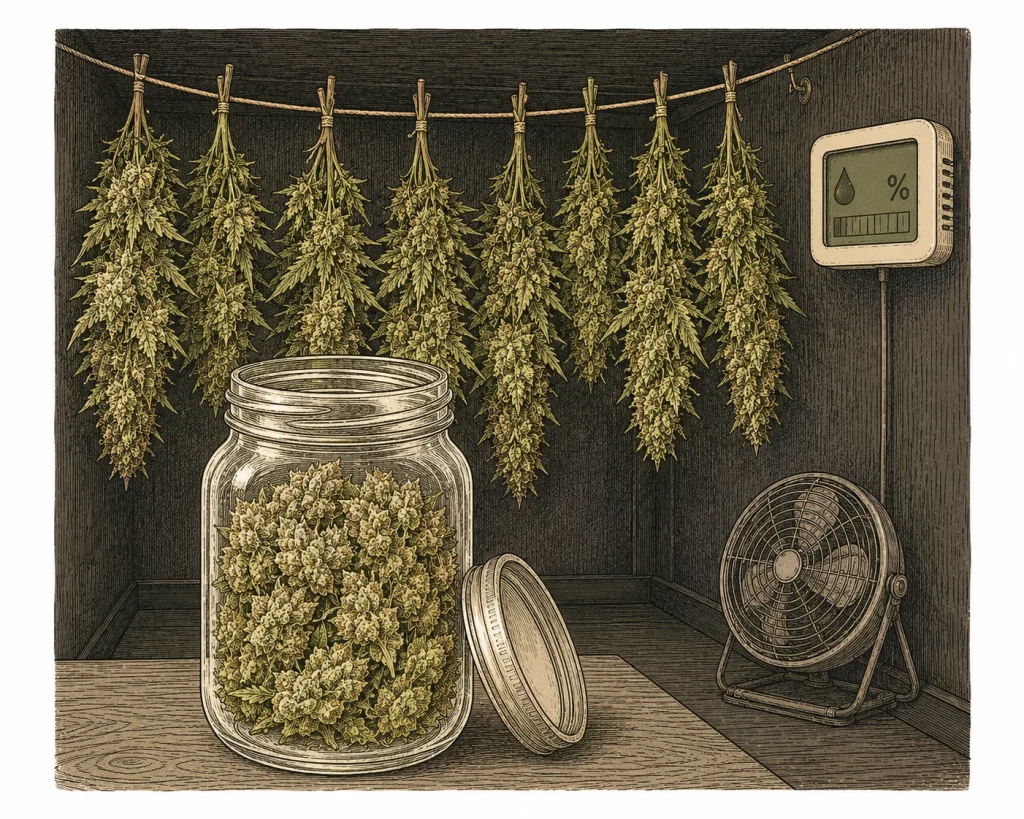
Once you’ve pulled off a successful harvest, avoiding cannabis drying mistakes is your most important job. Even the best plant can lose potency, aroma and safety if drying and curing go wrong. Drying too fast destroys terpenes. Too much humidity invites mold. And a rushed cure can turn premium buds into something that smells like hay. In this guide, you’ll learn which mistakes happen most often, how to spot them and how to prevent them every time. It’s part of our Harvest & Drying Hub. If you want to set up your whole grow right from day one, our indoor cannabis grow guide is the perfect place to start.
Why the Drying Stage Makes or Breaks Final Quality
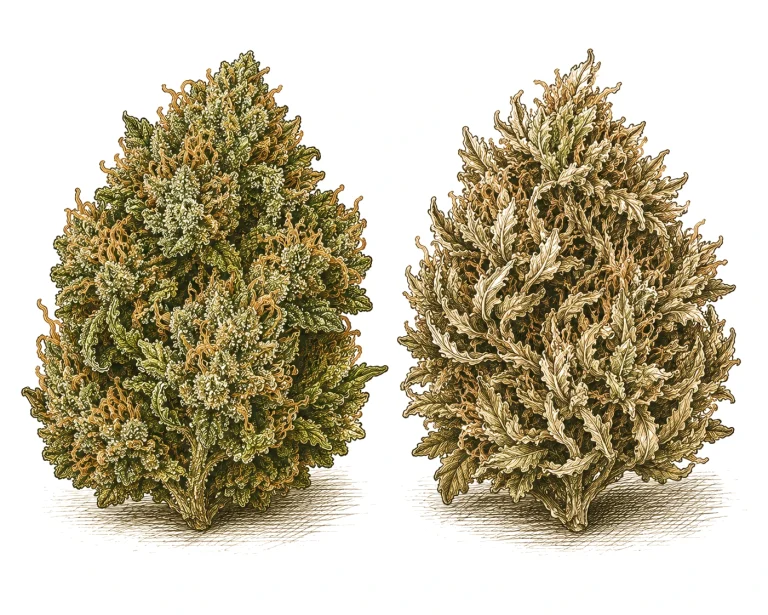
The harvest is done, but the real quality check starts now. During drying, roughly 75 % of the plant’s water content evaporates. Under ideal conditions, this takes 10 to 14 days. During exactly this window, temperature, humidity (relative humidity, RH), airflow and light exposure decide whether the cannabinoids and terpenes survive or get damaged for good.
Chlorophyll breaks down through enzymes during a slow, controlled dry. That’s why properly dried cannabis smokes smooth and pleasant, while buds dried too fast taste harsh, green and grassy. If you want to avoid cannabis drying mistakes, keep one thing in mind: rushing always costs you quality. Curing in sealed jars afterward continues this refining process for another 2 to 8 weeks.
- Ideal drying time: 10 to 14 days
- Target temperature in the drying room: 64 to 70 °F (18 to 21 °C)
- Target humidity: 45 to 55 % RH
- No direct light on the buds – UV light degrades THC
- Gentle air circulation, with no airflow aimed directly at the branches
How to Avoid Cannabis Drying Mistakes: The 7 Most Common Errors at a Glance
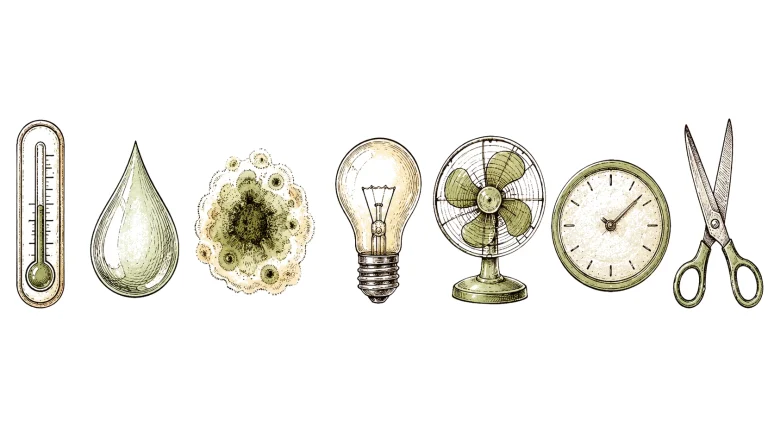
Most post-harvest problems come down to a handful of mistakes that keep popping up. Below, we walk through the seven most critical ones in detail, so you know exactly what to watch for.
Cannabis drying mistake #1 – Temperature too high: Anything above 77 °F (25 °C) speeds up evaporation dramatically. The buds dry fast on the outside while moisture stays trapped inside. The result: a crumbly exterior, a damp core and a higher mold risk once you jar them. On top of that, terpenes – responsible for aroma and the entourage effect – can start to evaporate noticeably at just 70 °F (21 °C). Want to know how the entourage effect of cannabis terpenes works? Check out our terpene guide. Keep your room temperature steady between 64 and 70 °F (18 and 21 °C).
Cannabis drying mistake #2 – Humidity too low or too high: If relative humidity drops below 40 %, the buds dry too fast and turn brittle. Above 60 %, you create the perfect environment for mold – especially in dense buds. The target range of 45 to 55 % RH allows an even dry that works from the inside out.
Cannabis drying mistake #3 – Airflow aimed directly at the buds: A fan blowing straight onto hanging branches dries out the bud surface before the core can catch up. Use fans only to circulate air in the room – pointed at walls or the ceiling – not to speed up drying.
Cannabis drying mistake #4 – Light during drying: UV light and direct sunlight degrade THC into CBN and destroy volatile terpenes. Your drying room should stay dark, or at least very dim, the whole time. Even dimmed artificial light over many hours can noticeably hurt quality.
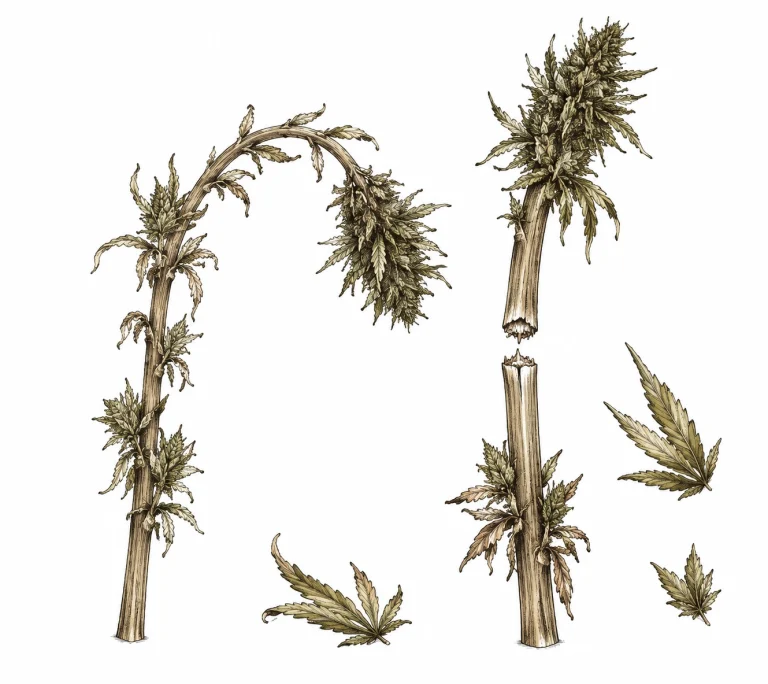
Cannabis drying mistake #5 – Jarring too early: Lots of beginners put their buds into mason jars too soon. The moisture test is simple: bend a small stem. If it snaps cleanly, the outer dry is done. If it bends without breaking, the buds need more time in the drying room. Damp buds in a sealed jar are the fastest ticket to mold.
Cannabis drying mistake #6: skipping burping or doing it wrong. During curing, you need to open your jars every day for 15 to 30 minutes for the first two weeks. This is called burping. It lets leftover moisture escape and gives the microorganisms that finish breaking down chlorophyll a fresh supply of oxygen. Skip it, and you risk anaerobic spoilage and a musty taste.
Cannabis drying mistake #7: using the wrong containers for curing. Plastic bags, Tupperware and thin plastic tubs don’t cut it. Plastic can leach plasticizers and isn’t vapor-tight enough. Classic glass Mason jars with a rubber seal are the gold standard. Boveda or Integra Boost packs at 58% or 62% help keep the humidity inside the jar right where you want it.
- Keep the temperature below 77 °F (25 °C), ideally 64 to 70 °F (18 to 21 °C)
- Monitor humidity between 45 and 55% RH
- Point fans indirectly, never straight at your buds
- Keep the drying room completely dark
- Do the stem snap test before jarring
- Burp daily for the first two weeks
- Only use glass jars with a rubber seal
Mold During Drying and Curing: Causes, Detection and What to Do Right Away
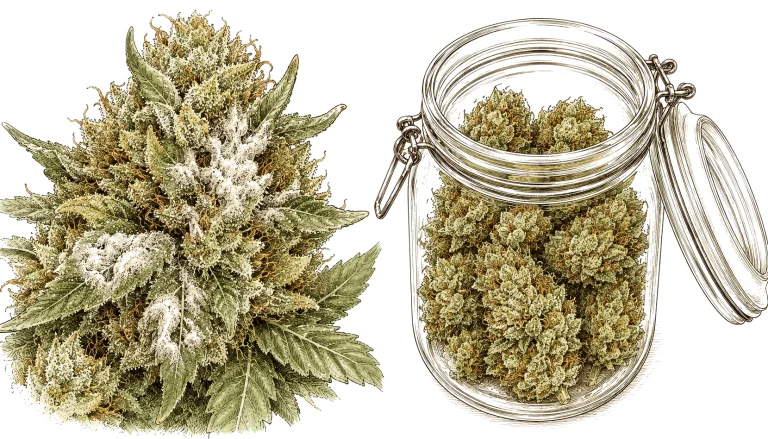
Mold is the worst cannabis drying mistake, and it can ruin an entire harvest. Bud rot (botrytis, gray mold) and white powdery mildew are the most common culprits. Bud rot shows up as a gray-brown, powdery, cotton-like web deep inside dense buds. From the outside, you often won’t see it until the plant is already badly infected. A classic warning sign is a brown or purple-tinged core in a bud that otherwise looks normal.
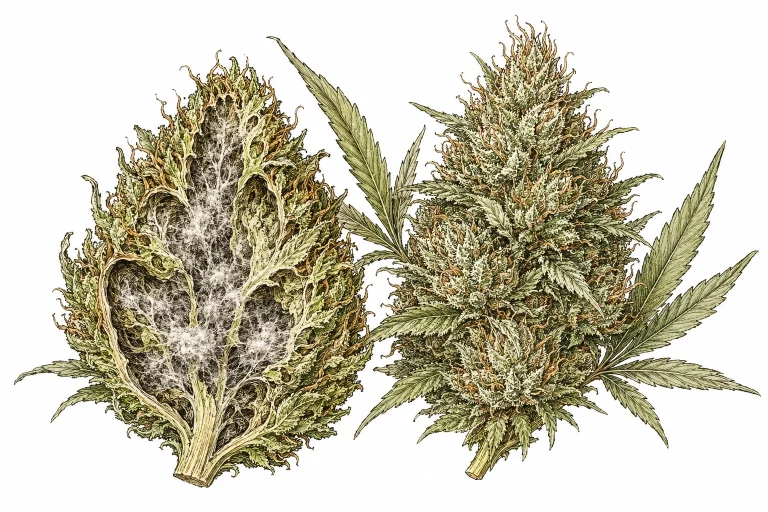
Mold almost always comes from a combination of high humidity (above 60% RH) and poor air circulation. Dense, chunky buds are especially at risk because air can’t reach their core. During curing, mold problems usually come from jarring too early or skipping your burping routine.
As soon as you spot mold in your drying room or in a jar, act fast (for a detailed guide on spotting it, check out How to Identify Bud Rot (Botrytis) on Cannabis). Remove infected buds immediately and completely, and never use them. Bring the humidity in your drying room below 50% RH right away with a dehumidifier and improve air circulation. If it happens during curing: open the jar, pull out every affected bud, air everything out well and re-jar the rest once it’s clean and dry.
Prevention is your best defense: break big colas into smaller pieces before drying so air can move through them. The Bavarian State Research Center for Viticulture and Horticulture (LWG, German) offers solid background on preventing mold through humidity control. Hang your branches with plenty of space between them. Use a digital hygrometer with a min/max function so you don’t miss humidity spikes while you sleep. If you already struggled with high humidity during flowering, keep an especially close eye on Humidity for Growing Cannabis.
Molds like botrytis produce mycotoxins, toxic byproducts that can cause serious health problems if consumed. So wear a respirator (N95/FFP2 or better) and disposable gloves when removing infected buds, and throw the material in the regular trash. Never put it in the compost, because the spores can keep spreading there. Afterward, clean the drying room with diluted hydrogen peroxide (3%) or a 10% bleach solution, since mold spores can survive on surfaces for months.
- Keep humidity below 60% at all times, ideally 45 to 55%
- Hang buds with space between them, with no contact points
- Use a digital hygrometer with an alarm function
- Remove and dispose of infected buds immediately and completely
- Split large, dense colas before drying
- Never consume moldy material, it’s a health risk
Avoiding Cannabis Drying Mistakes During Curing: Step by Step to Perfect Results
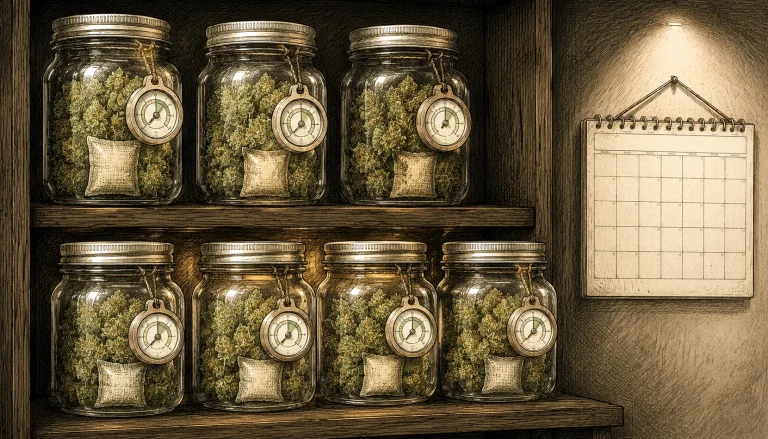
Curing starts as soon as your buds pass the snap test (you’ll find a detailed cannabis curing guide in our in-depth article). Fill your jars no more than three-quarters full. Don’t pack them; just place the buds in loosely. Add a 62% Boveda pack or an Integra Boost 62. It helps keep the humidity balanced. Seal the jar and store it somewhere dark and cool at 64 to 68 °F (18 to 20 °C).
Days 1 to 14: active burping. Open every jar daily for 15 to 30 minutes. Gently move the buds around so every side gets some air. If you notice an ammonia-like or damp smell when you open a jar, take the buds out right away and let them dry for a few more hours before they go back in.
Days 15 to 30: less burping. From week three on, opening the jars every two to three days is enough. The buds keep stabilizing, chlorophyll keeps breaking down and the aroma fully develops. Many strains smell noticeably better after two to three weeks of curing than right after drying.
Weeks 5 to 8: the final cure for top-shelf quality. If you can stand the wait, open the jars only once a week from now on. The result is a rounded, full flavor that burns evenly and gives you a smoother smoke. A long cure beyond 8 weeks can make sense for certain strains, but for most strains it won’t add much more value.
One mistake growers often overlook: mixing different strains in the same jar. Different strains have different moisture levels and drying times. In a shared jar, the wetter strain can drag down the drier one. Always store each strain on its own.
Picking the right moment to harvest also has a big impact on drying quality. Buds harvested too early hold more water and have a less mature terpene profile, and even a perfect cure can’t fully make up for that. Not sure when your harvest window is? Check the trichomes with a loupe or a microscope. Clear trichomes mean it’s too early, milky/cloudy ones are ripe, and amber ones signal the plant is getting overripe.
- Fill jars no more than three-quarters full, never pack them
- Add 62% Boveda or Integra Boost packs
- Burp daily in weeks 1 and 2
- Ammonia smell when you open a jar? Dry the buds some more right away
- Always store different strains in separate jars
- Store dark and cool, with no light and no temperature swings
- Minimum cure: 4 weeks. Top-shelf cure: 6 to 8 weeks
Avoiding Cannabis Drying Mistakes: Gear and Room Setup
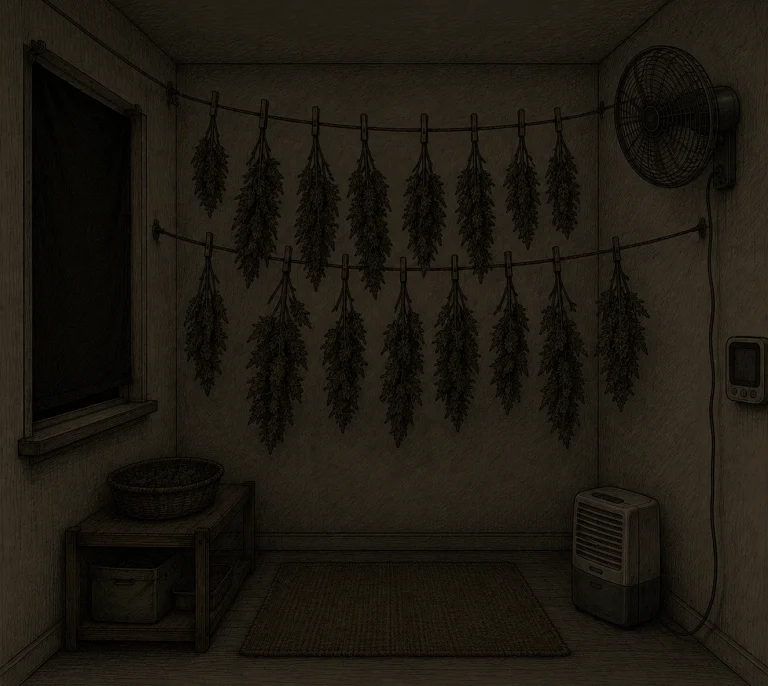
If you want to avoid cannabis drying mistakes, invest in the right gear. The bare minimum: a digital hygrometer with a built-in thermometer (about $10 to $20), plenty of hanging space (clotheslines, drying racks (German)) and a small fan for indirect air circulation. This basic kit alone can prevent most mistakes.
For bigger harvests, or if you live in a humid climate, a mini dehumidifier is worth it. Units rated at 1,000 to 1,500 W for rooms up to 215 sq ft (20 m²) are plenty. In very dry conditions (heating season in winter), a small humidifier can make sense instead, to keep humidity above 40%.
The drying room itself should be fully light-tight. A storage room, a grow tent or a dedicated cabinet all work great. Grow tents have the advantage of built-in vents and hanging bars, so you can use them as a drying room right away. Learn more in our article on setting up a cannabis drying room.
For curing, pint to quart mason jars (500 ml to 1 L) are the most practical. Our cannabis storage comparison (German) shows which jars, humidity packs and bags are up to the job. Bigger jars (half-gallon, 2 L, and up) are less suited to burping because moisture exchange is less efficient. Label every jar with the strain name, harvest date and jarring date. That way you keep track and can document your progress.
Odor control is a factor many growers underestimate. Cannabis smells strong while it dries. If you want to stay discreet, use a carbon filter together with a small inline fan that pulls the air from the drying room through the filter and out. This isn’t just about discretion: good air exchange also helps prevent mold caused by stale, humid air.
- A digital combo hygrometer/thermometer is must-have gear
- A dehumidifier if your room humidity sits above 60%
- Your grow tent pulls double duty: growing and drying
- Pint to quart mason jars (500 ml to 1 L) for the best curing results
- A carbon filter for odor control and air exchange
- Label your jars: strain, harvest date and jarring date
Common Quality Problems After Drying and What Causes Them
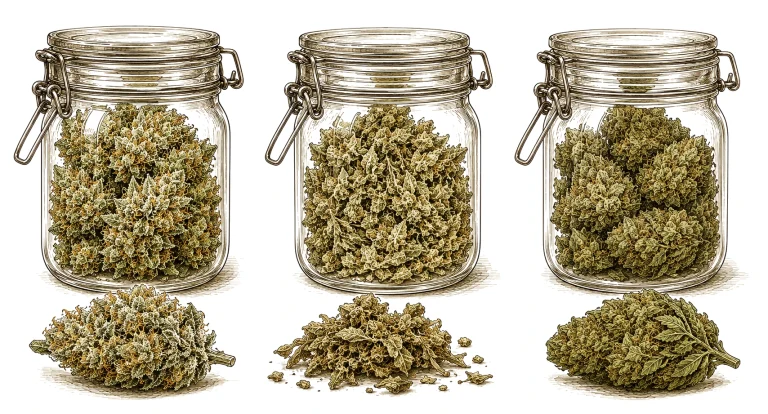
A hay-like taste and grassy note are a classic cannabis drying mistake. They come from chlorophyll that hasn’t broken down enough, usually because the buds dried too fast at too high a temperature or didn’t cure long enough. The fix: dry your next harvest more slowly and cure for at least 4 weeks. Buds that already dried poorly can often be partly saved with a longer cure.
Overdry, brittle buds are another typical cannabis drying mistake. They happen when humidity is too low (below 40% RH) or the buds hang in the drying room too long. Can you add moisture back in the jar? Yes. A 62% Boveda pack can return some moisture within 24 to 48 hours. Another option is to drop a fresh, clean bay leaf into the jar for a short time. It’s an old-school trick, and it can actually work.
A weak smell after drying doesn’t have to be permanent. Many strains only develop their full aroma after 4 to 6 weeks of curing. If you barely smell anything after two weeks in the jar, be patient and keep burping. The exception: if the smell isn’t just weak but harsh and chemical or musty, the cause is often a pH problem during the grow. Our article on pH for cannabis (German) is worth a look here.
Uneven drying is a common cannabis drying mistake. It happens when buds hang too close together or don’t get moved enough. The outer layers dry fast while the core stays wet. The fix: cut big colas into medium-sized pieces before you hang them, and turn the buds daily while burping.
You can spot leftover nutrients in dried buds by a sharp, chemical aftertaste and black ash when you burn them. The cause is feeding that stopped too late or incomplete flushing before harvest. Drying and curing can’t fully fix this. You need to prevent it on your next grow by flushing on time. Learn more in our article on cannabis nutrient burn (German).
- Hay taste: dried too fast, not cured long enough
- Brittle buds: too dry, a Boveda pack helps
- Weak smell: often just needs patience, full aroma after 4 to 6 weeks
- Uneven drying: split colas first, turn them daily
- Chemical aftertaste: leftover nutrients, flush on your next grow
Does your dried harvest smell more like hay than cannabis? You’ll find the most common causes in our article Cannabis smells like hay (German).
Frequently Asked Questions
How long should drying cannabis take?
To avoid this common cannabis drying mistake: under ideal conditions (64 to 70 °F (18 to 21 °C), 45 to 55% RH, no air blowing directly on the buds), drying takes 10 to 14 days. Drying faster than 7 days almost always costs you quality and aroma.
How do I know when my cannabis is done drying?
The easiest test: bend a small stem. If it snaps cleanly, the outer drying is done. If it only bends, it needs more time. Smaller stems should snap clearly, while thicker ones can still bend a little.
Can I avoid cannabis drying mistakes if I dry in my grow tent?
Yes, a grow tent makes an excellent drying room. Hang the branches from the support poles, close every light leak, keep the fan pointed away from the buds and track temperature and humidity with a hygrometer. Set the exhaust fan to low for gentle air circulation.
What should I do if mold shows up in a curing jar?
Remove and toss any affected buds right away, they’re not safe to consume. Take out the rest, check it for signs of mold, let it dry in the open for another 2 to 4 hours and put it into a clean jar. Bump up burping to twice a day.
How full should a mason jar be when curing?
Three-quarters full at most. Overpacked jars don’t allow enough air exchange when you burp them and raise the risk of mold. Better to use one more jar than to cram in too much.
Does a long cure make cannabis stronger?
A long cure mainly improves the aroma, flavor and smoothness of the smoke by breaking down chlorophyll. The THC level itself barely changes during curing. That is set by genetics, growing conditions and harvest time. Curing can’t turn weak buds into strong ones, but a good cure can make strong buds noticeably more enjoyable.
Why does my weed smell like hay after drying?
That hay smell comes from leftover chlorophyll. If buds dry too fast, enzymes don’t have time to break it down. Slow drying at 64 to 70 °F (18 to 21 °C), followed by a cure of at least 4 weeks, keeps this problem to a minimum. Buds that already smell like hay can still improve somewhat with a consistent cure.
You can find a reliable thermo-hygrometer for the drying stage in our recommended gear.
How much weight does cannabis lose when drying?
Cannabis typically loses 70 to 80 % of its fresh weight during drying, because buds are mostly water. From 100 g of freshly harvested buds, you’ll usually end up with only 20 to 25 g of dried material after 10 to 14 days of drying and trimming. The exact loss depends on the strain, bud density and drying conditions. If you keep temperature and humidity within the target ranges in this guide, you can expect to land safely in that range.
Bottom Line
Avoiding cannabis drying mistakes mostly comes down to three things: be patient, control your environment and use the right gear. The most common mistakes are too much heat, the wrong humidity, fans blowing directly on your buds and jarring too early. All of them are easy to avoid once you understand the basics. Take drying and curing seriously and you’ll get the most out of every harvest, while protecting your health with consistent mold prevention. A good hygrometer and enough mason jars pay for themselves many times over, harvest after harvest.
