

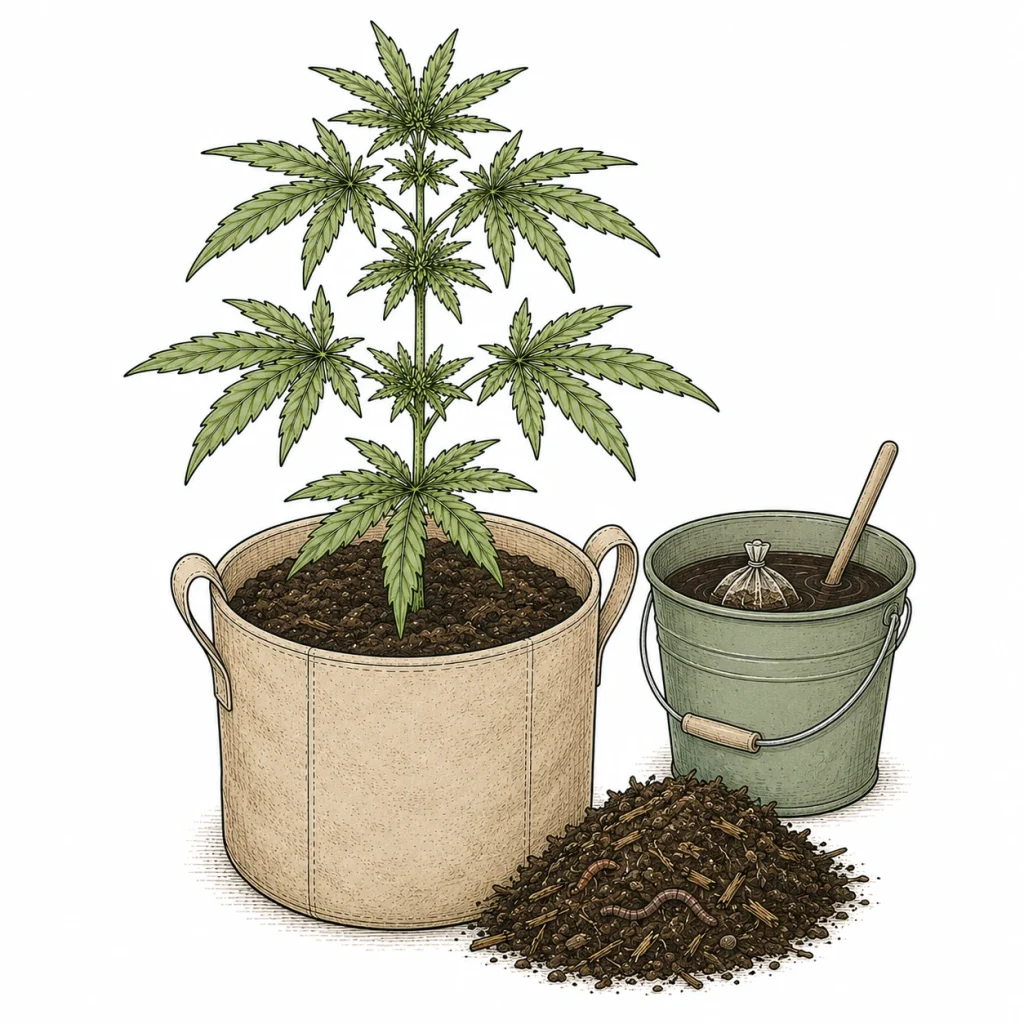
Organic cannabis growing is on the rise, and for good reason. When you feed your plants with natural materials like compost, worm castings and certified organic nutrients, you harvest cleaner buds and work with nature instead of against it. In this guide, you’ll learn how to make the switch to organic methods, which growing media and nutrient sources really work, and which rookie mistakes to avoid. Indoors or outdoors, the organic approach works in every growth stage.
What Exactly Is Organic Cannabis Growing?
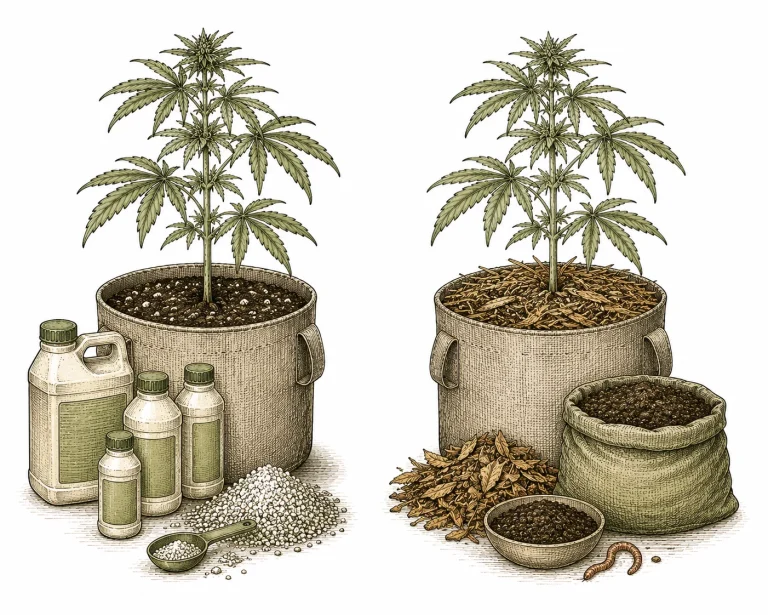
With organic cannabis growing, you skip synthetic mineral fertilizers and chemical pesticides. Instead, you rely on inputs from natural sources: animal and plant by-products, rock dust, compost or living microorganisms in the soil. The core idea is the classic “feed the soil, not the plant” principle. You mainly feed the soil life, and the soil life in turn supplies your plant with everything it needs.
Conventional mineral nutrients deliver food in an easily soluble, instantly available form. Sounds handy, but there are downsides: the plant can barely regulate how much it takes up, overfeeding happens fast, and the soil life can get depleted over time. With the organic approach, bacteria, fungi and worms in the growing medium break down nutrients and release them as needed. The result is a living, well-buffered medium that’s much more forgiving of mistakes.
For home growers, organic growing is especially attractive: it’s fairly easy to manage, forgives small mistakes and produces a final product without synthetic residues. Check the cannabis laws where you live before growing. Once you’ve tasted the difference in flavor and aroma between organically grown and conventionally fed cannabis, you’ll probably never want to go back.
- Natural nutrient sources instead of chemicals: compost, worm castings, blood meal, hoof and horn meal, guano
- Living medium: mycorrhizal fungi and bacteria help the roots take up nutrients
- Better buffering: pH swings hit less hard than in a mineral-fed medium
- No synthetic residue in the final product, for a purer aroma and cleaner buds
- Sustainable: composting and recycling your soil saves resources
The Right Growing Medium for Organic Cannabis
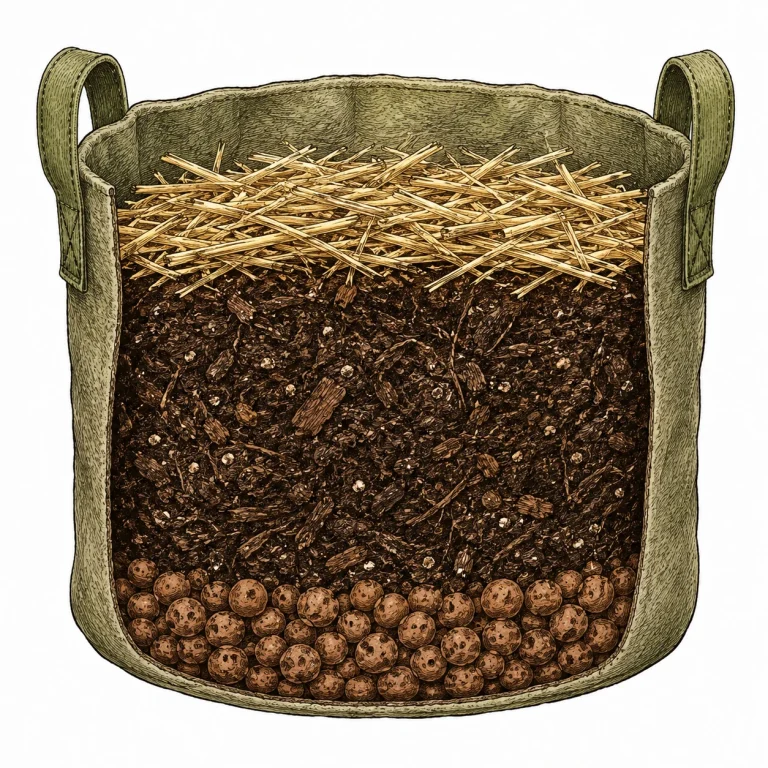
Organic cannabis growing lives or dies by the growing medium. Pre-mixed organic soils from a grow shop are a good place to start, but experienced growers often mix their own. A proven base mix is high-quality coco coir (our growing medium comparison explains which medium suits your setup best) or low-peat compost soil (about 50 %), perlite for drainage (about 20 %) and worm castings (about 20 %). Fill up the rest with amendments like biochar, rock dust and oyster shell flour. Mycorrhizal fungi are another smart addition for a strong root network.
In an organic medium, pH matters a lot. Organic soils naturally buffer pH swings better than mineral systems. Still, you should check your pH regularly. For organic media, the sweet spot is pH 6.0 to 7.0, a bit wider than for hydro or conventional soil. Soil that’s too acidic can lock out calcium and magnesium, while soil that’s too alkaline can block the uptake of manganese and iron.
An underrated factor: pot size. In organic cannabis growing, the medium needs a certain volume so a stable microbiome can develop. Pots that are too small dry out too fast and give the soil life barely any room to thrive. For the vegetative stage, go with at least 1.3 gal (5 L) containers; for flowering, 4 to 5 gal (15–20 L) and up, and even bigger for larger strains. Fabric pots are ideal because they give the roots more air and help prevent waterlogged roots.
- Base: peat-reduced compost soil or coco coir as the main component
- Drainage: 20–25 % perlite or pumice helps prevent waterlogged roots
- Worm castings: 15–20 % for living microorganisms and slow-release nutrients
- Rock dusts (basalt, bentonite): supply trace elements and improve soil structure
- Oyster shell lime or dolomite lime: stabilizes pH and supplies calcium and magnesium
- Biochar: holds water and gives microbes a place to live
- Mulch layer of straw or grass clippings: reduces evaporation and protects soil life
Organic Nutrients for Cannabis: What Really Works
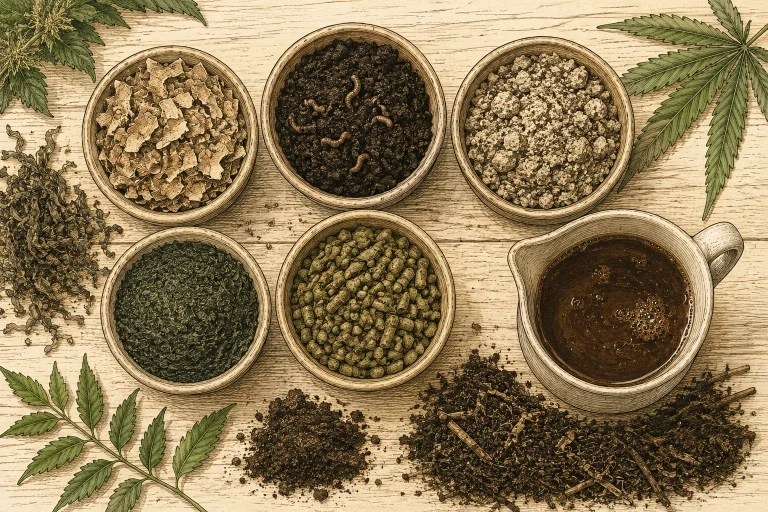
The biggest difference between organic cannabis growing and a conventional grow is how you feed. Organic nutrients work more slowly, but they are more stable and don’t carry the risk of sudden nutrient burn. For nitrogen (N), you can use hoof and horn meal, blood meal or coffee grounds. Phosphorus (P) comes from bone meal, guano or rock phosphate. Potassium (K) is found in wood ash, compost or naturally sourced potassium sulfate. The best part: you can mix these amendments right into the growing medium before you plant. Soil organisms then break them down over the following weeks.
Compost tea is another tool many organic growers swear by. You steep worm castings or compost in water, aerate the mix for 24–48 hours and then water it in undiluted. The tea is packed with billions of beneficial bacteria and fungal spores that give your soil life a direct boost. Use clean equipment and fresh compost — rancid or contaminated starting material can do more harm than good. If you’d rather ferment your kitchen scraps than compost them, bokashi is a low-odor alternative.
Liquid organic nutrients — like fish hydrolysate, seaweed extracts or neem cake extracts — are great when you need to react faster. They still work more slowly than synthetic nutrients, but noticeably faster than dry organic amendments. Especially in the flowering stage, many growers reach for high-phosphorus guano (bat guano or seabird guano) to push bud development. Keep in mind: organic nutrients can also cause damage if you overdo it — use the manufacturer’s recommendation as a starting point and watch your plants closely. For healthy roots in organic soil, many growers also add mycorrhizal fungi at transplant.
- Nitrogen sources: hoof and horn meal (slow), blood meal (medium-fast), neem pellets, coffee grounds
- Phosphorus sources: bone meal, bat guano, rock phosphate
- Potassium sources: wood ash, potassium sulfate (sulfate of potash), compost
- Trace elements: rock dusts, kelp meal, Epsom salt for magnesium
- Soil activation: apply mycorrhizal inoculant directly to the roots at transplant
- Compost tea: aerated for 24 h from worm castings — cheap, effective and easy to make yourself
- Liquid nutrients: fish hydrolysate and seaweed extract for a faster response when needed
DIY Nutrients From Your Kitchen: 3 Easy Recipes
You don’t have to buy all your organic nutrients — some of the most effective ingredients already end up in your kitchen trash. Proper prep is key, though. Otherwise they can work too slowly or not at all.
- Banana peels for potassium: Dry the peels in the oven at low heat, blend them into a powder and work a thin layer into the growing medium, or steep them in water as an extract. Fresh peels rot in the pot and attract fruit flies — so always dry them first.
- Eggshells for calcium: Rinse the shells thoroughly, grind them fine (the finer, the faster they become available) and mix them into the growing medium. Coarsely crushed shells can take months to break down.
- Coffee grounds for nitrogen: Work dried, cooled coffee grounds into the top layer of the growing medium — no more than a thin layer per watering cycle. Too many grounds can noticeably lower the pH of your medium and may encourage mold.
These DIY options complement the organic nutrients you can buy at grow shops (German), but they won’t fully replace them during heavy-feeding stages like flowering. If you want to build your own mix with compost, worm castings and other amendments, check out our guide on mixing your own growing medium.
Organic Cannabis Indoor Growing: What’s Different and Pro Tips
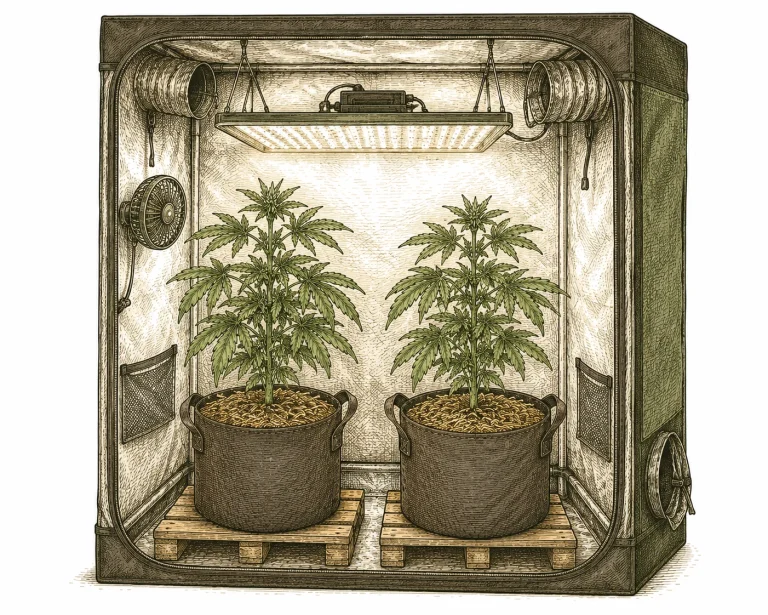
Growing cannabis organically indoors is more demanding than outdoors, because you’re building a closed ecosystem in a pot — without the natural help of earthworms, rain and fresh air from the ground. In return, you get full control over every parameter. Prep your growing medium well before planting: mix all dry organic amendments into the soil at least two weeks before use and keep it moist but not wet. That gives the microbes time to pre-digest the nutrients, so your seedling or young plant starts out in well-prepared soil.
Watering is especially important in an organic indoor grow. Too much water can kill the aerobic soil life, and too little slows it down. Follow one simple rule: “only water once the medium has dried out a little” — not a fixed schedule. Lift the pot: if it feels light, it’s time to water. I go into more detail, including how to avoid common mistakes, in the article How to Water Cannabis.
Airflow and temperature matter too: the soil microbiome works best between 64 °F and 79 °F (18–26 °C). A root zone that’s too cool slows down the breakdown (mineralization) of organic matter a lot — your plant can starve even in a well-stocked pot. Make sure the air in your grow tent circulates well so the surface of the medium doesn’t get moldy. A thin layer of mulch made of straw or coco chips protects the soil life and keeps the surface from drying out.
- Mix your medium 2 weeks before use and let it “cook”
- Finger test or pot-weight test instead of a fixed watering schedule — soil life needs a cycle of moist and slightly dry
- Keep the medium at 64–79 °F (18–26 °C) for an active microbiome
- No standing water — use fabric pots or containers with good drainage
- A mulch layer protects the surface and keeps moisture in the medium
- Mycorrhizal fungi go directly on the roots at planting — don’t add them to the water later
- Give compost tea every 2–3 weeks to wake up the soil life
Organic Outdoor Growing: Working With Nature
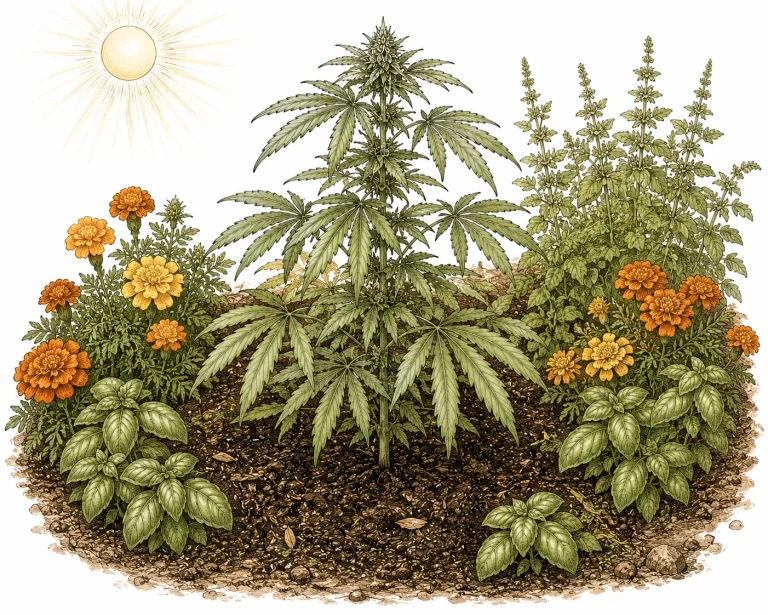
Growing cannabis organically outdoors is the easiest option, because you can let the soil’s natural ecosystem do the work for you. Prep the bed or spot several weeks before planting: loosen the soil deeply, work in compost, worm castings and organic amendments, and let the soil ecosystem do its thing. A cover crop of phacelia or clover the year before improves the soil structure even more. For more on soil improvement and organic methods, check out the horticulture center of the Bavarian State Research Institute LWG (German).
Companion planting is one of the strongest tools in organic outdoor growing. Calendula helps keep aphids away, basil is said to deter spider mites, and plants like nasturtium help loosen the subsoil. Beneficial insects like ladybugs and parasitic wasps fight pests naturally — if you skip pesticides, they’ll often move in on their own.
Rain, sun and natural temperature swings support the soil life outdoors automatically. That cuts your workload a lot. One thing you should still keep an eye on: soil pH. Acidic soils (below pH 6.0) can cause deficiencies even with good nutrients. A simple soil test kit from a garden center is enough to give you a clear picture. If your plant still shows symptoms despite good feeding, take a look at our Plant Diagnosis overview to narrow down the cause quickly.
- Prep the bed 4–8 weeks before planting with compost and organic amendments
- A cover crop the year before improves soil structure and nitrogen content
- Companion planting: calendula, basil and nasturtium as natural protection
- Encourage beneficial insects: no pesticides, so ladybugs and parasitic wasps can settle in
- Use the rain: rainwater has a pH of around 6.5 and contains natural trace elements
- Soil test before the season: check pH, nitrogen and phosphorus
- Mulch: grass clippings or straw hold moisture and boost earthworm activity
Spotting and Fixing Common Problems in Organic Growing
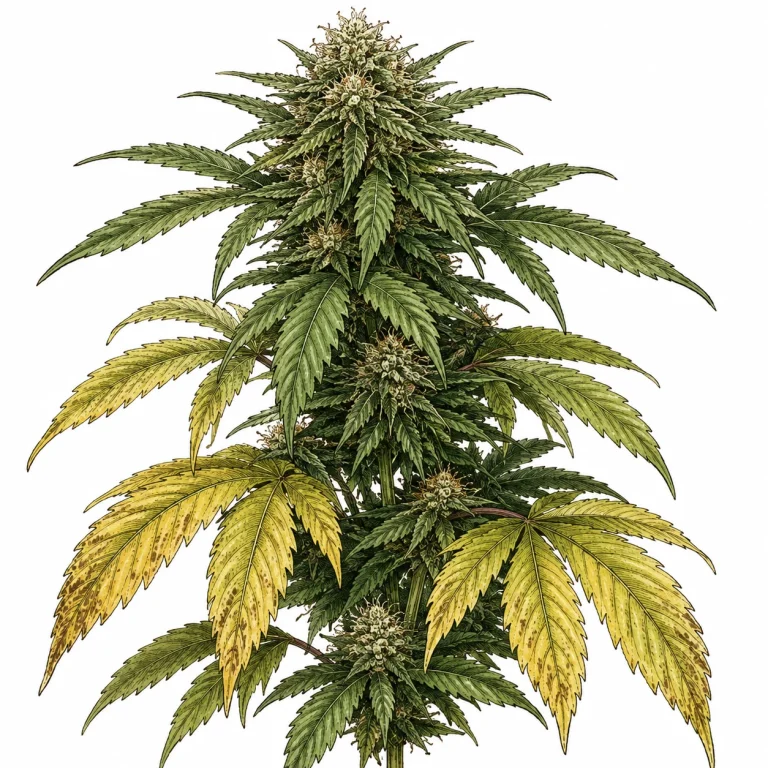
Organic cannabis growing is forgiving — but not foolproof. The most common issue in the flowering stage is a moderate nitrogen deficiency in the lower leaves. That’s often normal and even desirable, because in late flower the plant pulls nitrogen out of its leaves. It’s a different story if new growth stays pale and small or growth stops completely. Then your medium is likely short on available nutrients, often because the soil temperature is too low or the pH has drifted off course.
Calcium deficiency is another common visitor in organic grows, especially if you water with soft rainwater or have a lot of coco coir in your mix. Small brown spots on young leaves or twisted new growth can point to a calcium deficiency. Oyster shell flour or gypsum (calcium sulfate) are organic-approved fixes that reliably correct it.
Nutrient burn is less common in organic setups than with synthetic nutrients, but it can still happen. The usual cause is working in too much blood meal or fresh chicken manure. The symptoms look the same as in a conventional grow: burnt leaf tips, dark green, leathery leaves and stunted growth. When in doubt, less is more. Start with half doses and increase based on how your plant responds. You’ll find every symptom and its exact causes in our nutrient deficiency overview and neatly organized in the PlantClue Plant Diagnosis overview.
- Nitrogen deficiency in late flower: often normal. Only step in if young leaves are affected
- Soil too cold: microbes barely work below 59 °F (15 °C). Warm the soil from below
- Calcium deficiency: brown spots on young leaves. Top-dress with oyster shell flour or gypsum
- Nutrient burn: burnt leaf tips despite organic nutrients. Cut back the amount and water thoroughly
- Mold on the soil surface: too little airflow or too wet. Check your mulch layer
- pH problems: organic systems can drift too. Measure regularly and correct with lime if needed
- Pests: fungus gnats in soggy soil. Let the soil dry out between waterings
No-Till: The Most Natural Approach to Organic Cannabis Growing
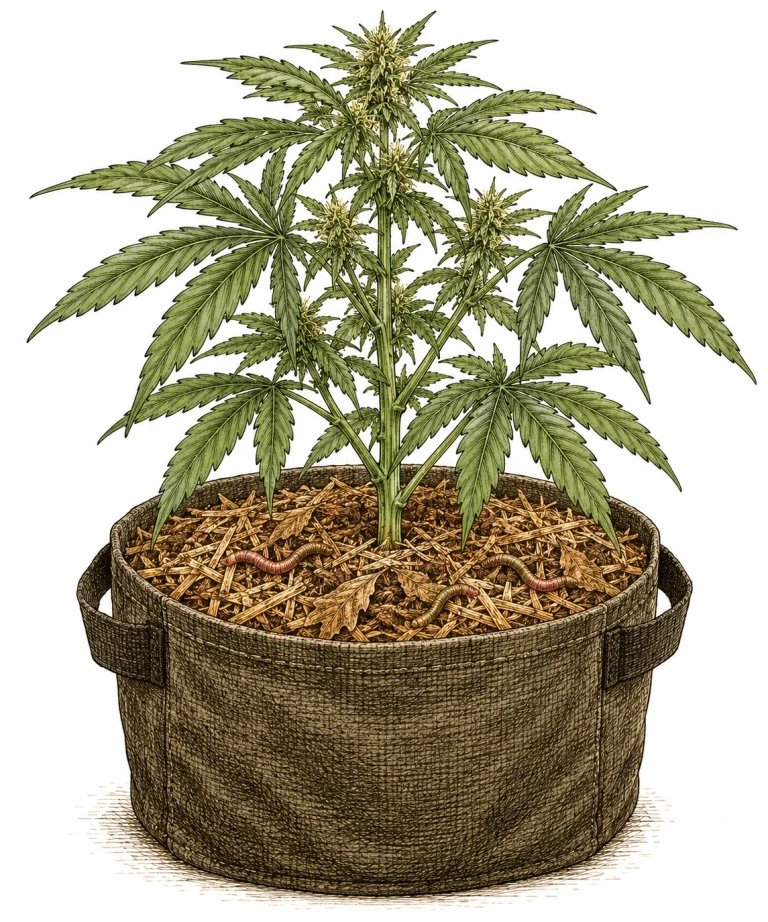
No-till is organic cannabis growing in its purest form. You don’t throw out the soil after harvest. It stays in the pot or bed. You just pull out the dead root mass of the old plant and plant straight into the aged soil. The existing microbiome, built up over months or even years, gives your new plant ideal conditions from day one.
In a no-till system, earthworms (which you can add on purpose) work as “living soil builders”: they eat organic matter, digest it and leave behind high-quality worm castings. At the same time, they loosen the soil so air and water spread evenly. Over time, you’ll barely need any outside nutrients. You just feed the soil life with layers of organic mulch.
No-till organic growing takes a bit more patience and planning, but it rewards you with stable, tough plants and top-shelf quality. Paired with a solid indoor growing setup, it’s the most sustainable and cheapest method in the long run. The upfront cost of good soil pays for itself quickly when you reuse it for several grow cycles.
- Soil stays put after harvest. No rebuilding from scratch every time
- Remove the old roots and “refresh” the soil with fresh compost and mulch
- Add earthworms: they make free worm castings for you
- Cheap over time: nutrient costs drop with every cycle
- Better aroma and terpene profile thanks to a stable, mature microbiome
- Works best in big pots of 8–13 gal (30–50 L) or more, or in raised beds for outdoor growing
- Cover crops keep the soil active between cycles
The most committed form of organic growing is living soil, where the soil stays alive permanently. For a general overview of different growing media, check out our growing medium comparison.
Frequently Asked Questions
Can I ignore pH when growing cannabis organically?
No, pH still matters in organic growing. Organic soils buffer better than synthetic setups, but with big swings (below pH 6.0 or above pH 7.5) even readily available nutrients can get locked out. Measure regularly and adjust as needed with lime (to raise pH) or diluted apple cider vinegar (to lower pH).
How long do organic nutrients take to work?
Dry organic amendments like horn meal or bone meal usually need 2–4 weeks before microbes have broken them down. Liquid organic nutrients like fish hydrolysate or compost tea act much faster, often within a few days. So plan ahead and feed before deficiency symptoms show up.
Is organic cannabis growing more expensive than conventional?
Organic growing can cost a bit more to start, because quality organic soil and various amendments aren’t cheap. Over time, though, and especially with no-till, your costs can drop a lot since you reuse the soil and need fewer outside nutrients. Plus, many organic inputs like compost, coffee grounds or wood ash are easy to make yourself or pick up cheaply.
Can I grow organic in coco coir?
Yes, but coco is naturally free of nutrients and has almost no microbiome. That means you need to work in a lot more organic amendments and actively build up soil life, for example with a mycorrhizal inoculant and regular compost tea. Many growers mix coco with 30–40 % worm castings and compost to create a living growing medium.
What’s the best organic fertilizer for the flowering stage?
In organic cannabis growing, your plant needs more phosphorus and potassium and less nitrogen once it starts flowering. Proven options include high-P bat guano, bone meal, kelp extract and wood ash for potassium. Liquid fish hydrolysate with seaweed extract rounds things out and also delivers trace elements and growth-promoting enzymes.
How should I water when growing cannabis organically?
Watering works a little differently in an organic grow. Let the growing medium dry out a bit more between waterings so aerobic bacteria get enough oxygen. Use the pot-lift test and only water once the pot feels noticeably lighter. You’ll find more details in our article on watering cannabis plants the right way on PlantClue.
Check out our Recommended Gear page for organic nutrients and growing media that have proven themselves.
How do I fight pests in an organic cannabis grow without chemicals?
Organic grows aren’t immune to pests like spider mites or fungus gnats – you just deal with them differently than with synthetic products. Focus on prevention (clean tools, controlled humidity) and on beneficial insects like predatory mites or parasitic wasps that keep pests in check naturally. For an active infestation, neem oil sprays can help, along with a targeted pest diagnosis so you can pick the right biological countermeasure.
The Bottom Line
Organic cannabis growing pays off for beginners and experienced growers alike. It isn’t rocket science. Mostly it takes patience, a sharp eye and one key idea: you don’t feed the plant, you feed the soil. With the right growing medium, natural nutrients and living soil, you can grow plants that are tough, full of aroma and free of synthetic residues. Whether you run a no-till setup indoors or a mixed bed outdoors, organic works in every situation. Start with a solid growing medium, watch your plants closely and take it one step at a time. Your first organic harvest can make you a believer.
